January 16, 2015 McKinstry Meeting
Theme: Snakes and Dragons
McKinstry wins “Best Club Display” at Butch O’Hare show

For the past few years we have been setting up display tables at the Butch O’Hare contest held in November. This year there were two tables with plenty of models along with flyers with club dates.
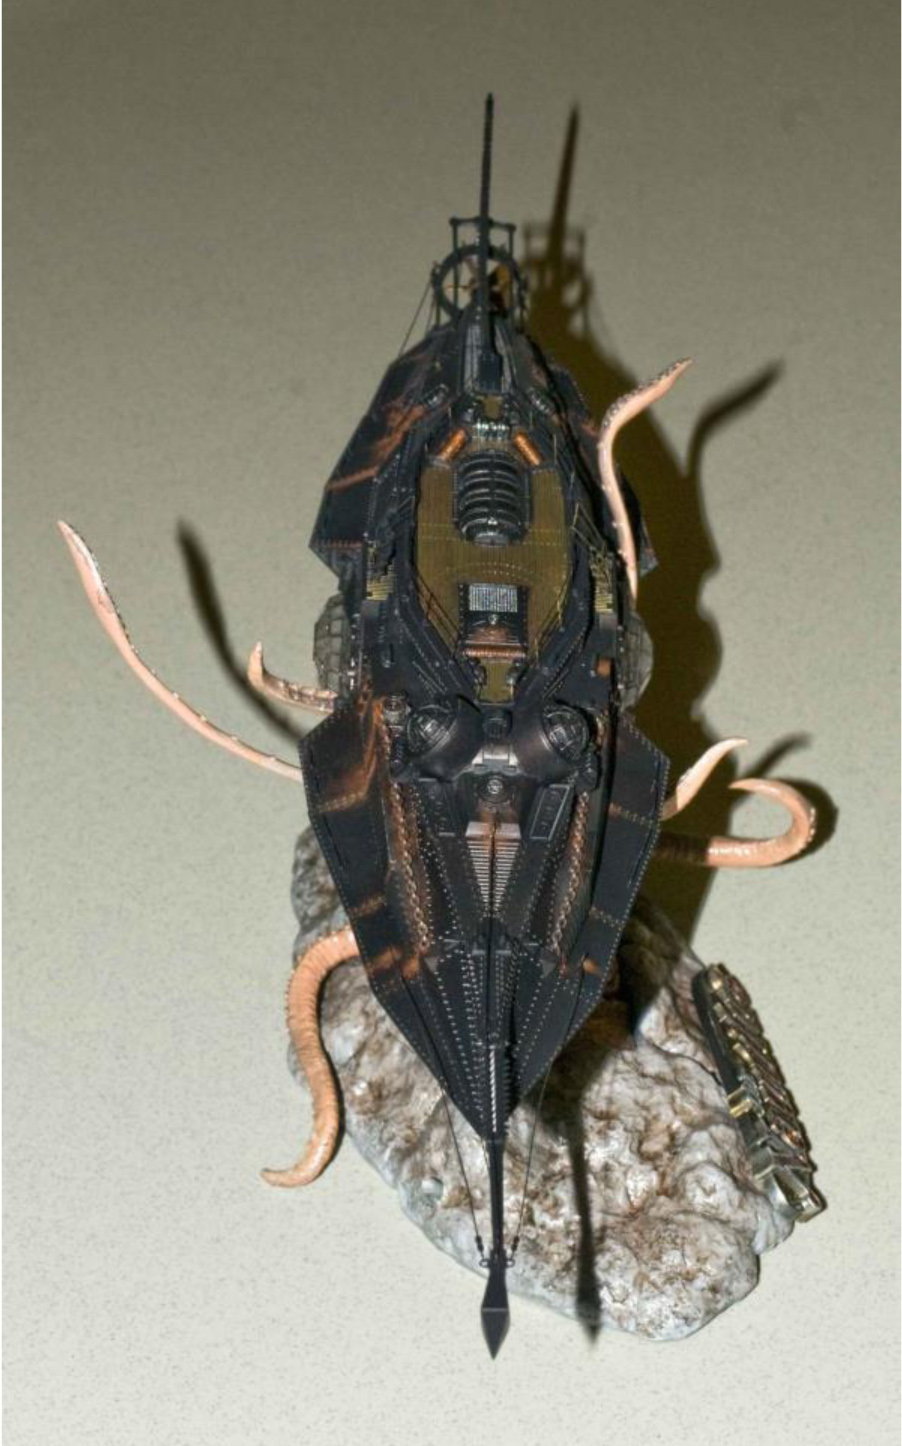
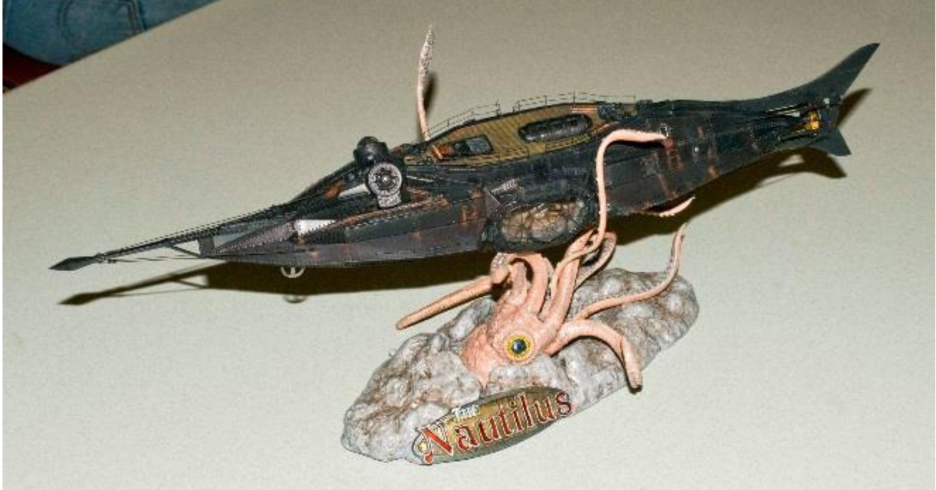
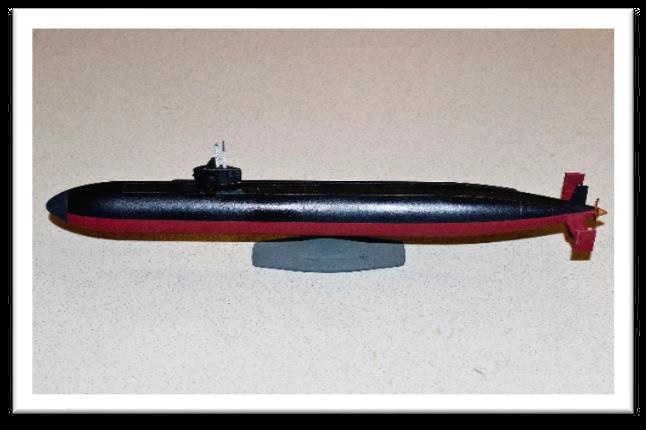
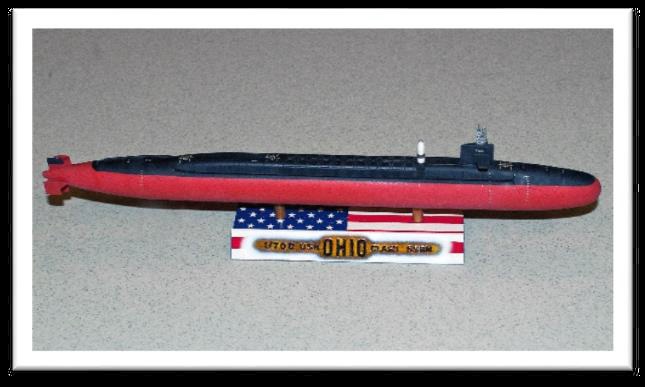
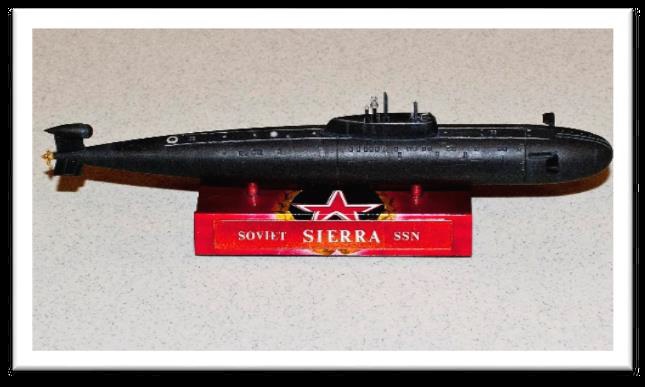
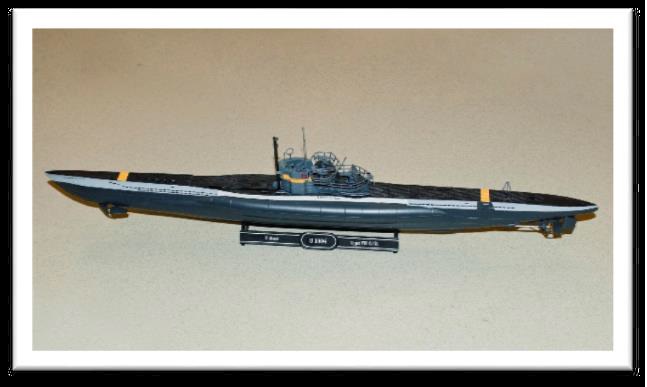
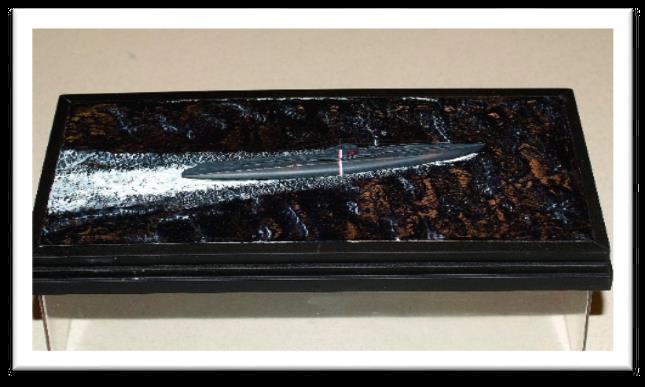
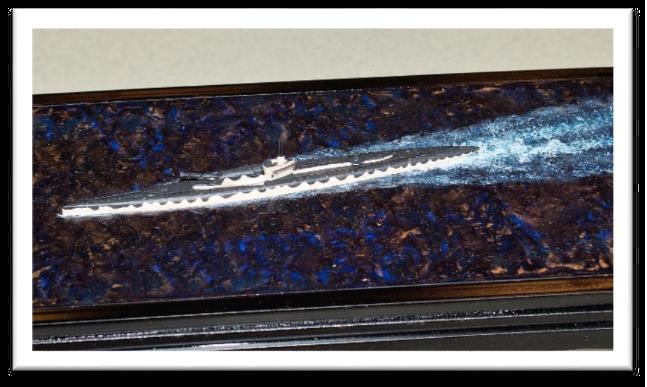
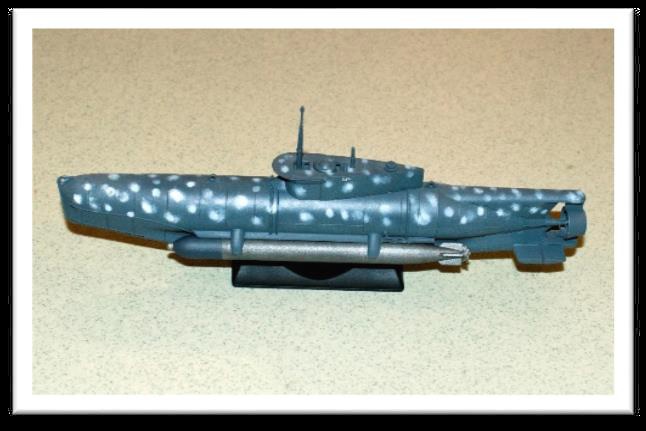
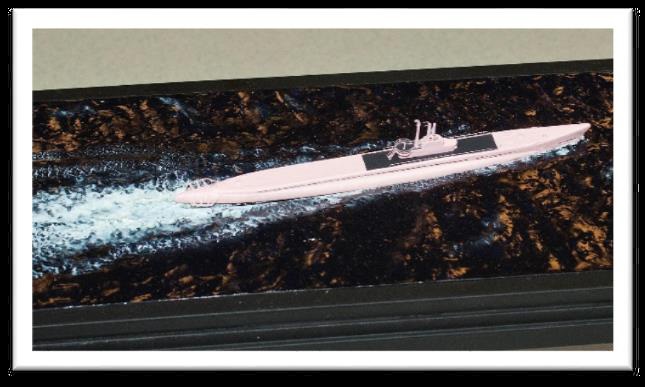
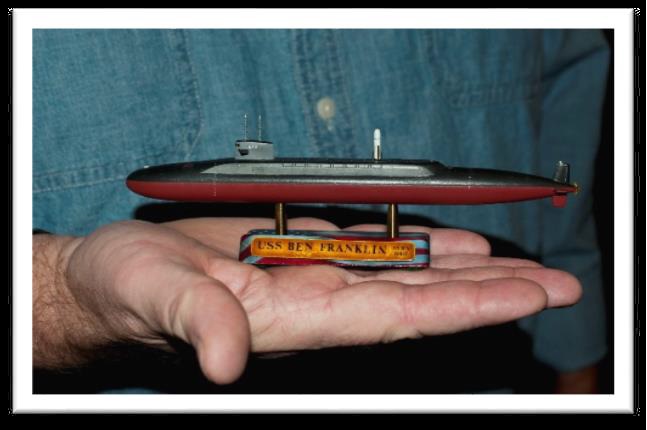
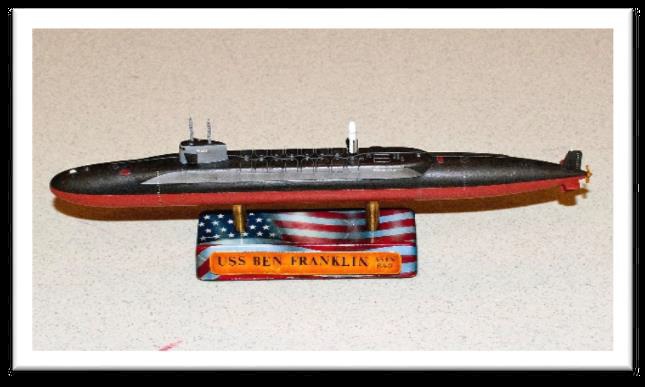
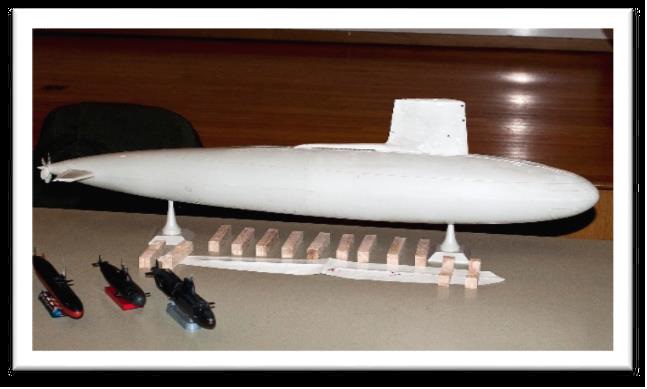
Most of the time there was a member or two “manning” the tables to talk plastic. Late afternoon John Koziol turned up with 3 of his large subs which drew quite a bit of interest. I guess size does matter! The end result was a surprise award from the Butch O’Hare club for Best Club Display. Dan Paulien is said to have taken the award home, re-engraved it to say best “Modeler in the World”, and now displays it in his model room along with all of his $1.99 builds.
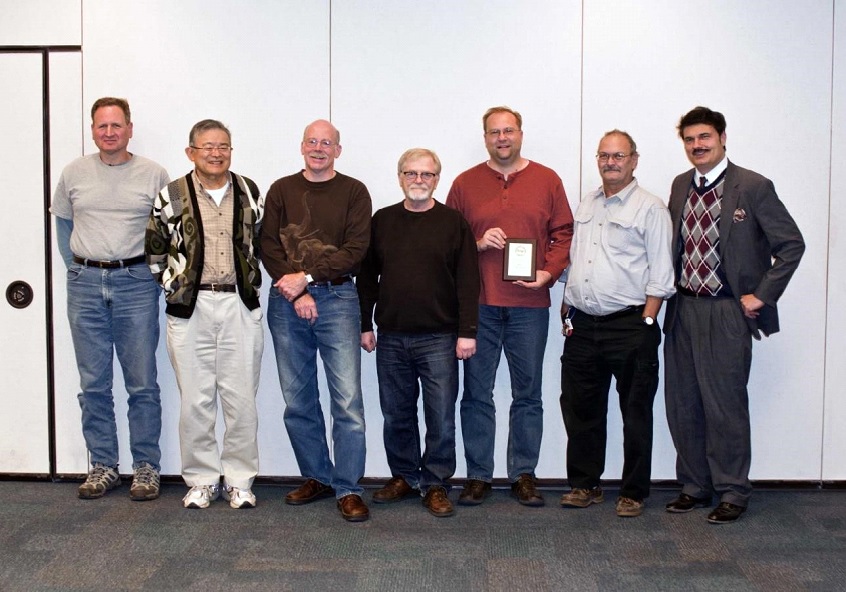
THANKS to those who contributed models or time: Carl Geiger, Steve Kumamoto, Charles Scardon, The Tick, Dan Paulien, Glenn Estrey, John Koziol, Lee Lygiros, Bill Lygiros.
Theme: Snakes and Dragons
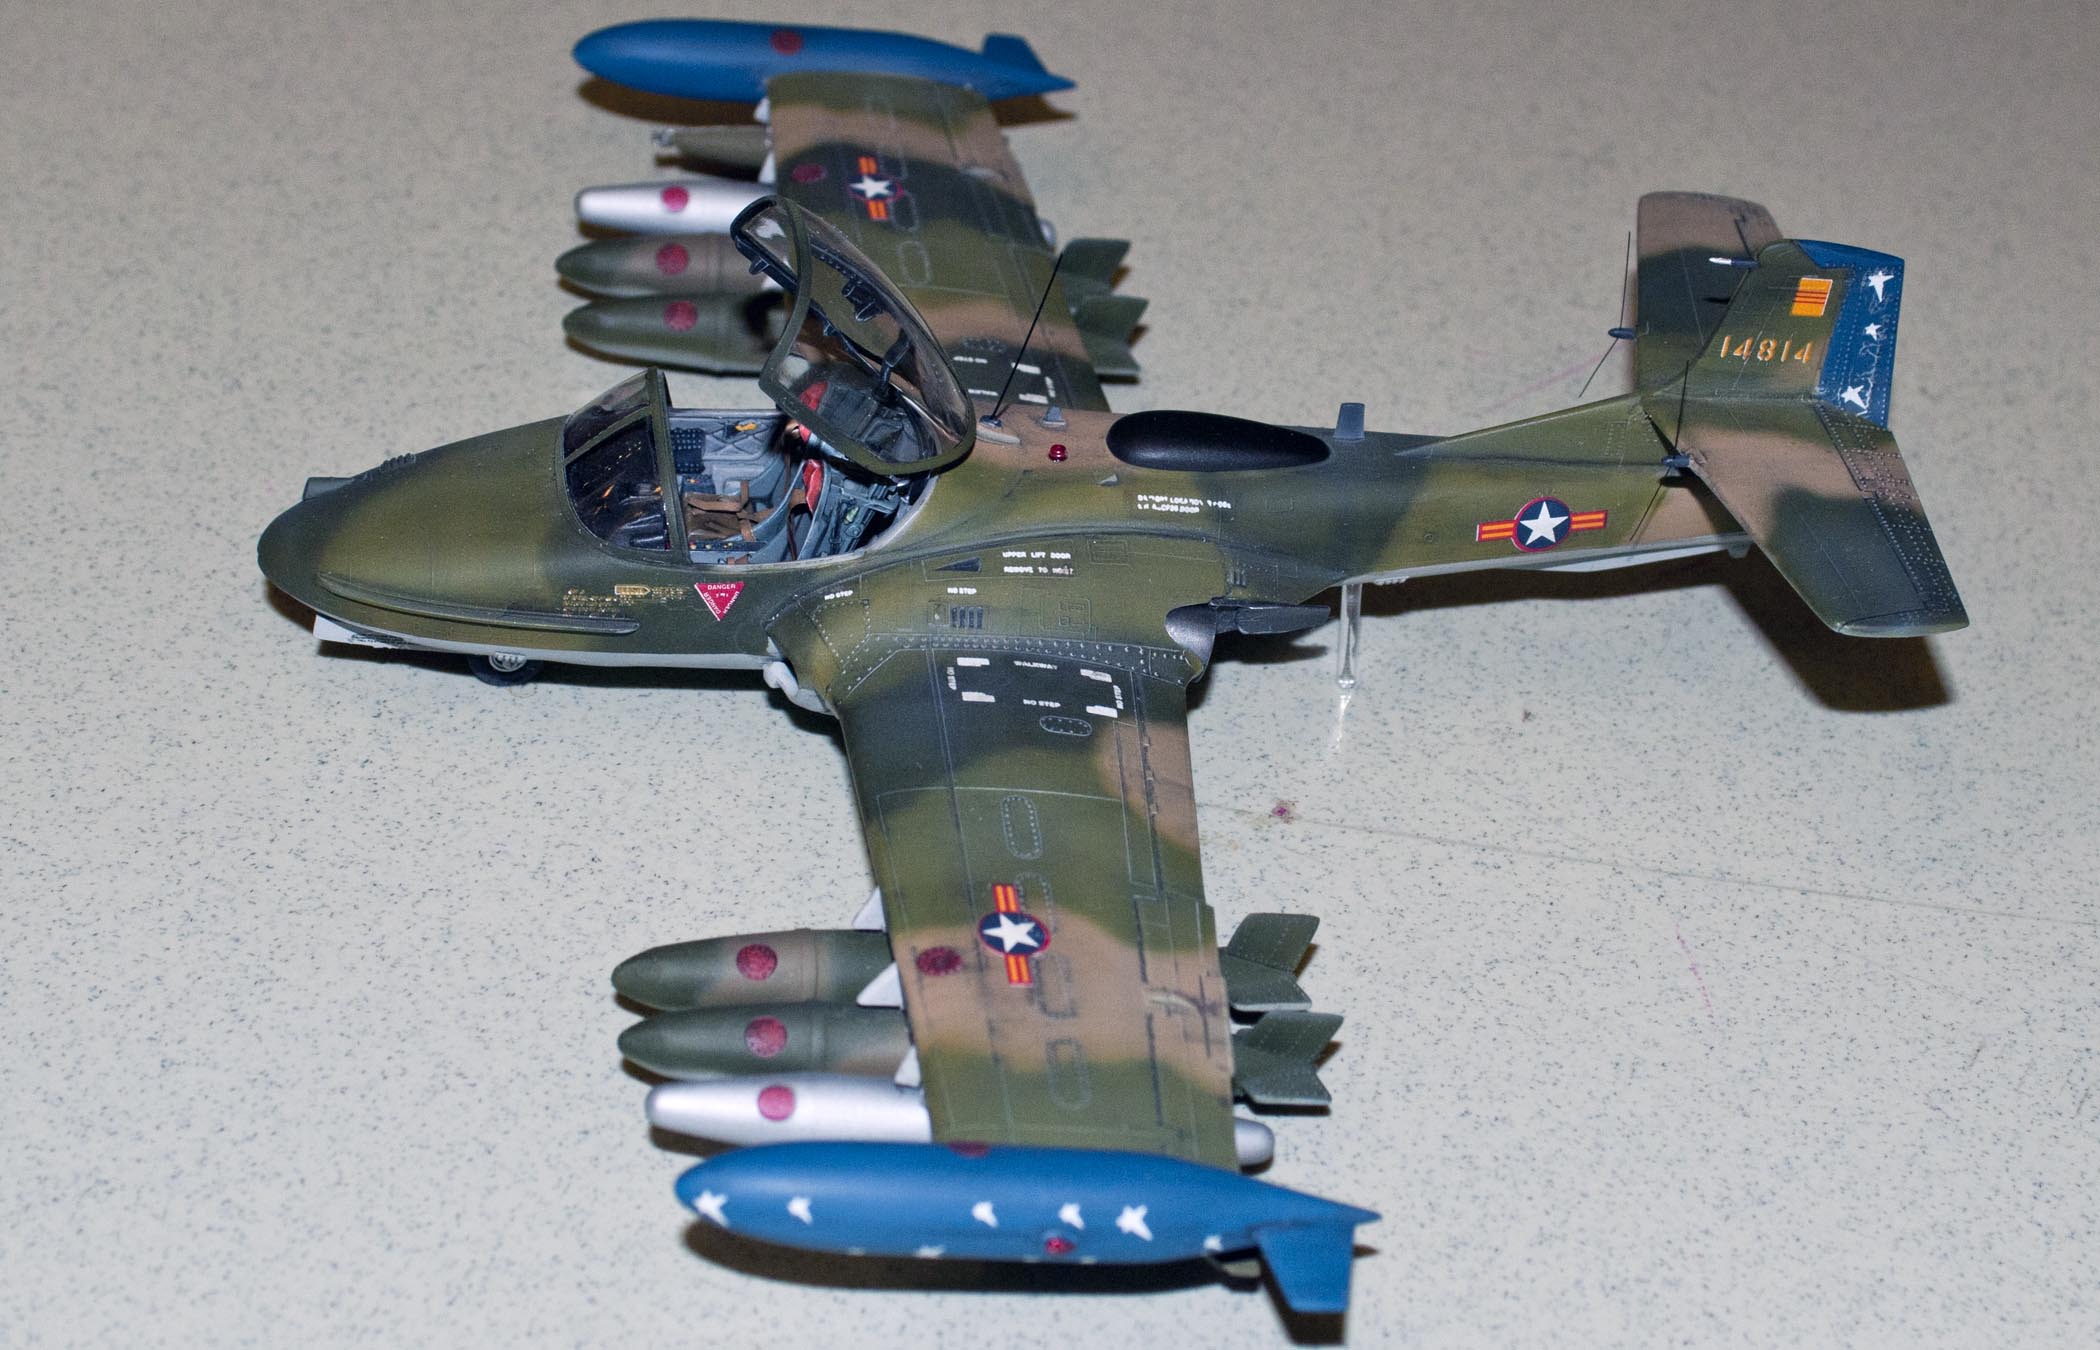
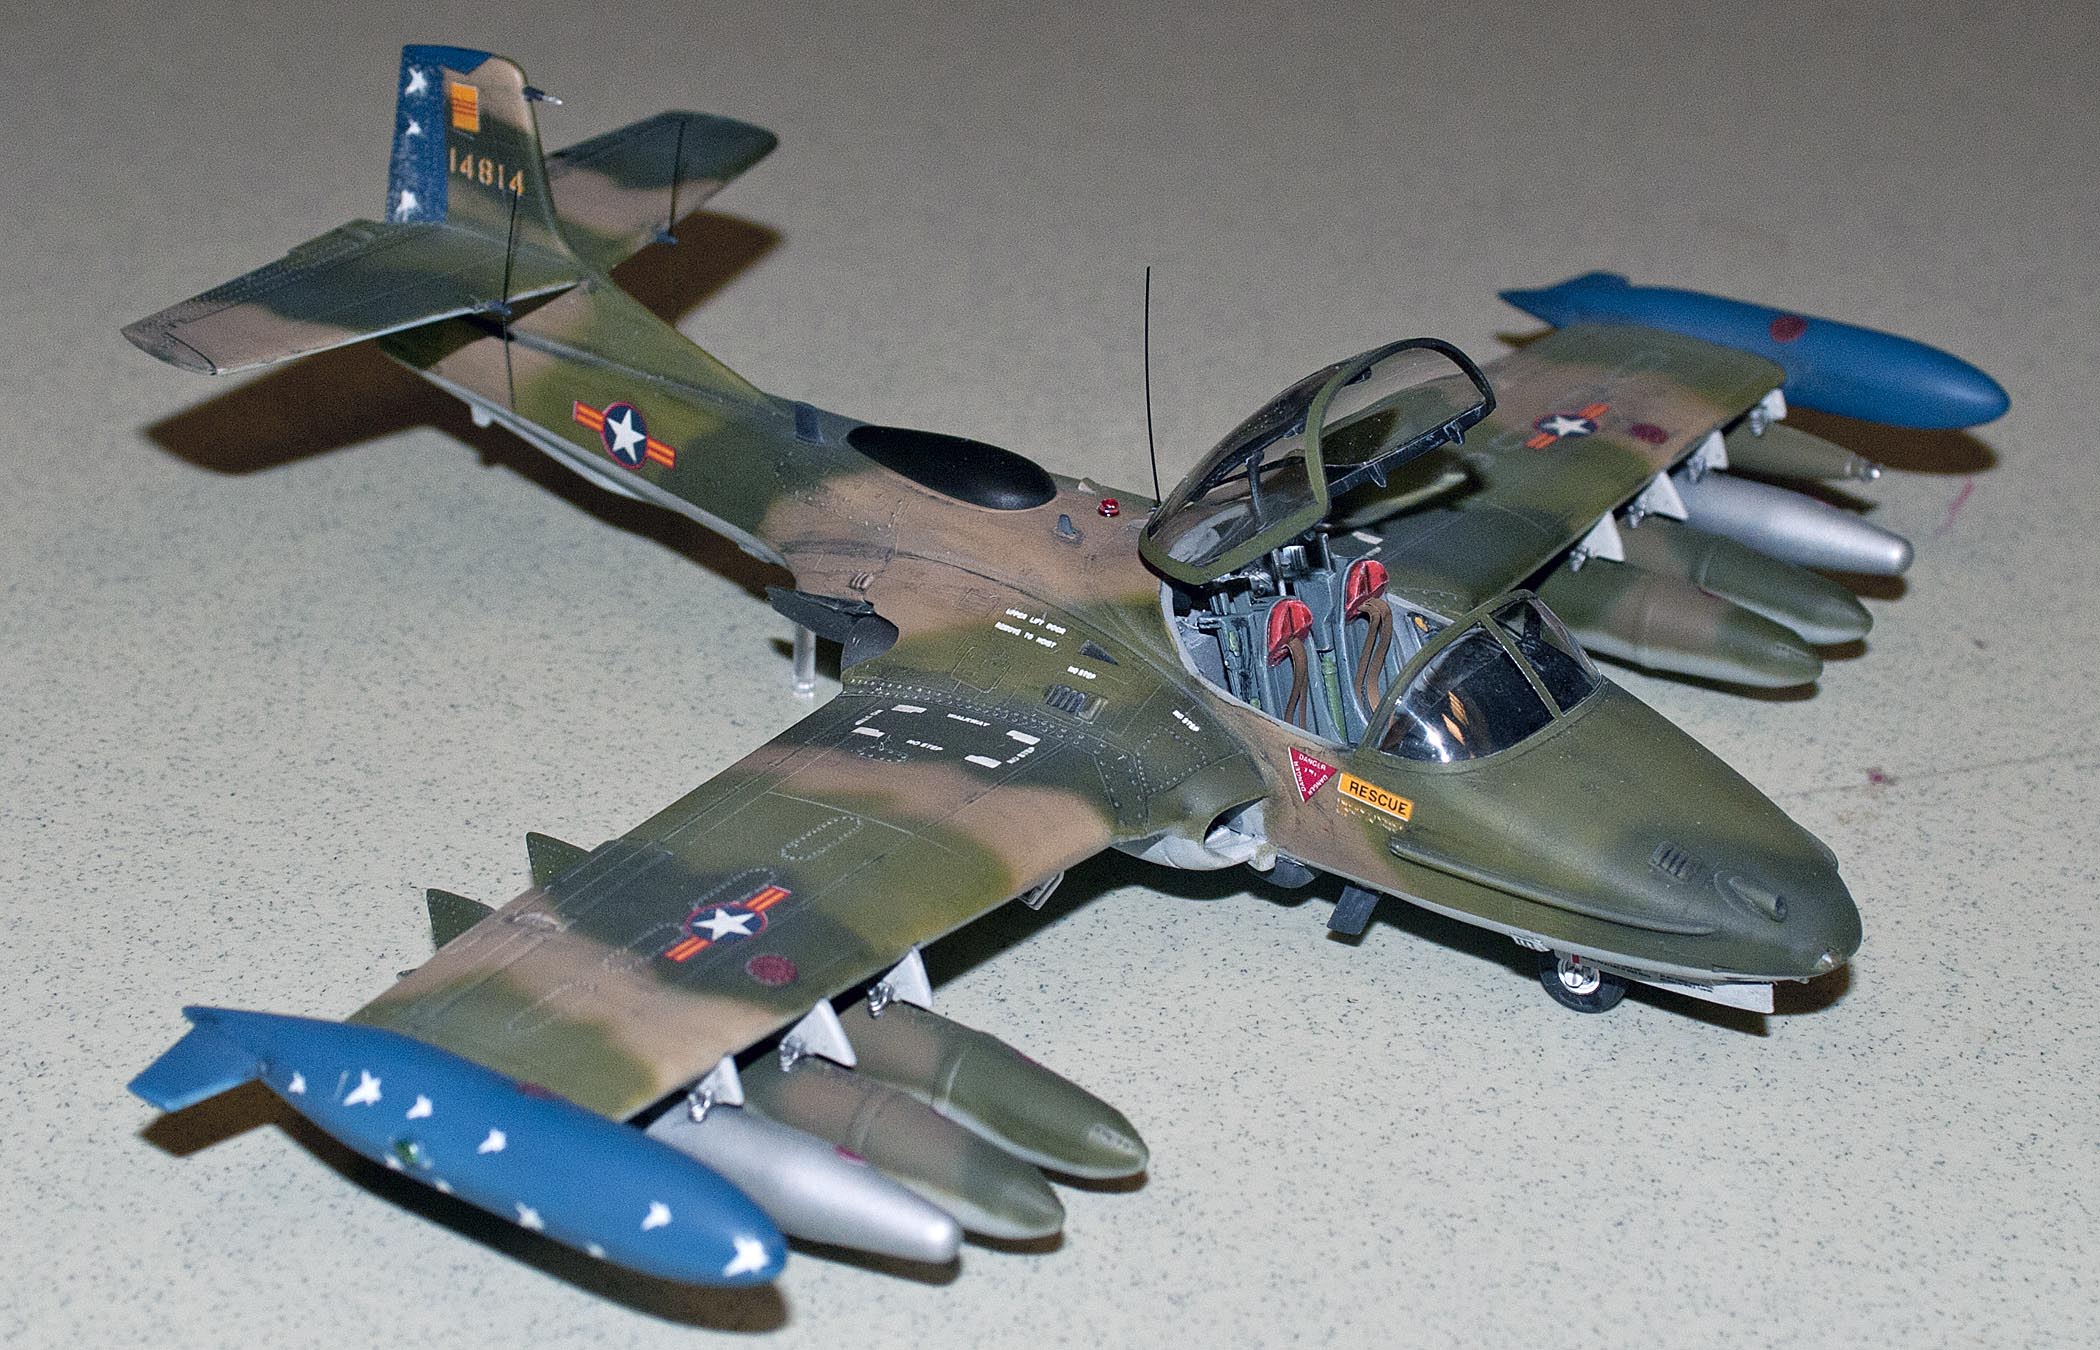
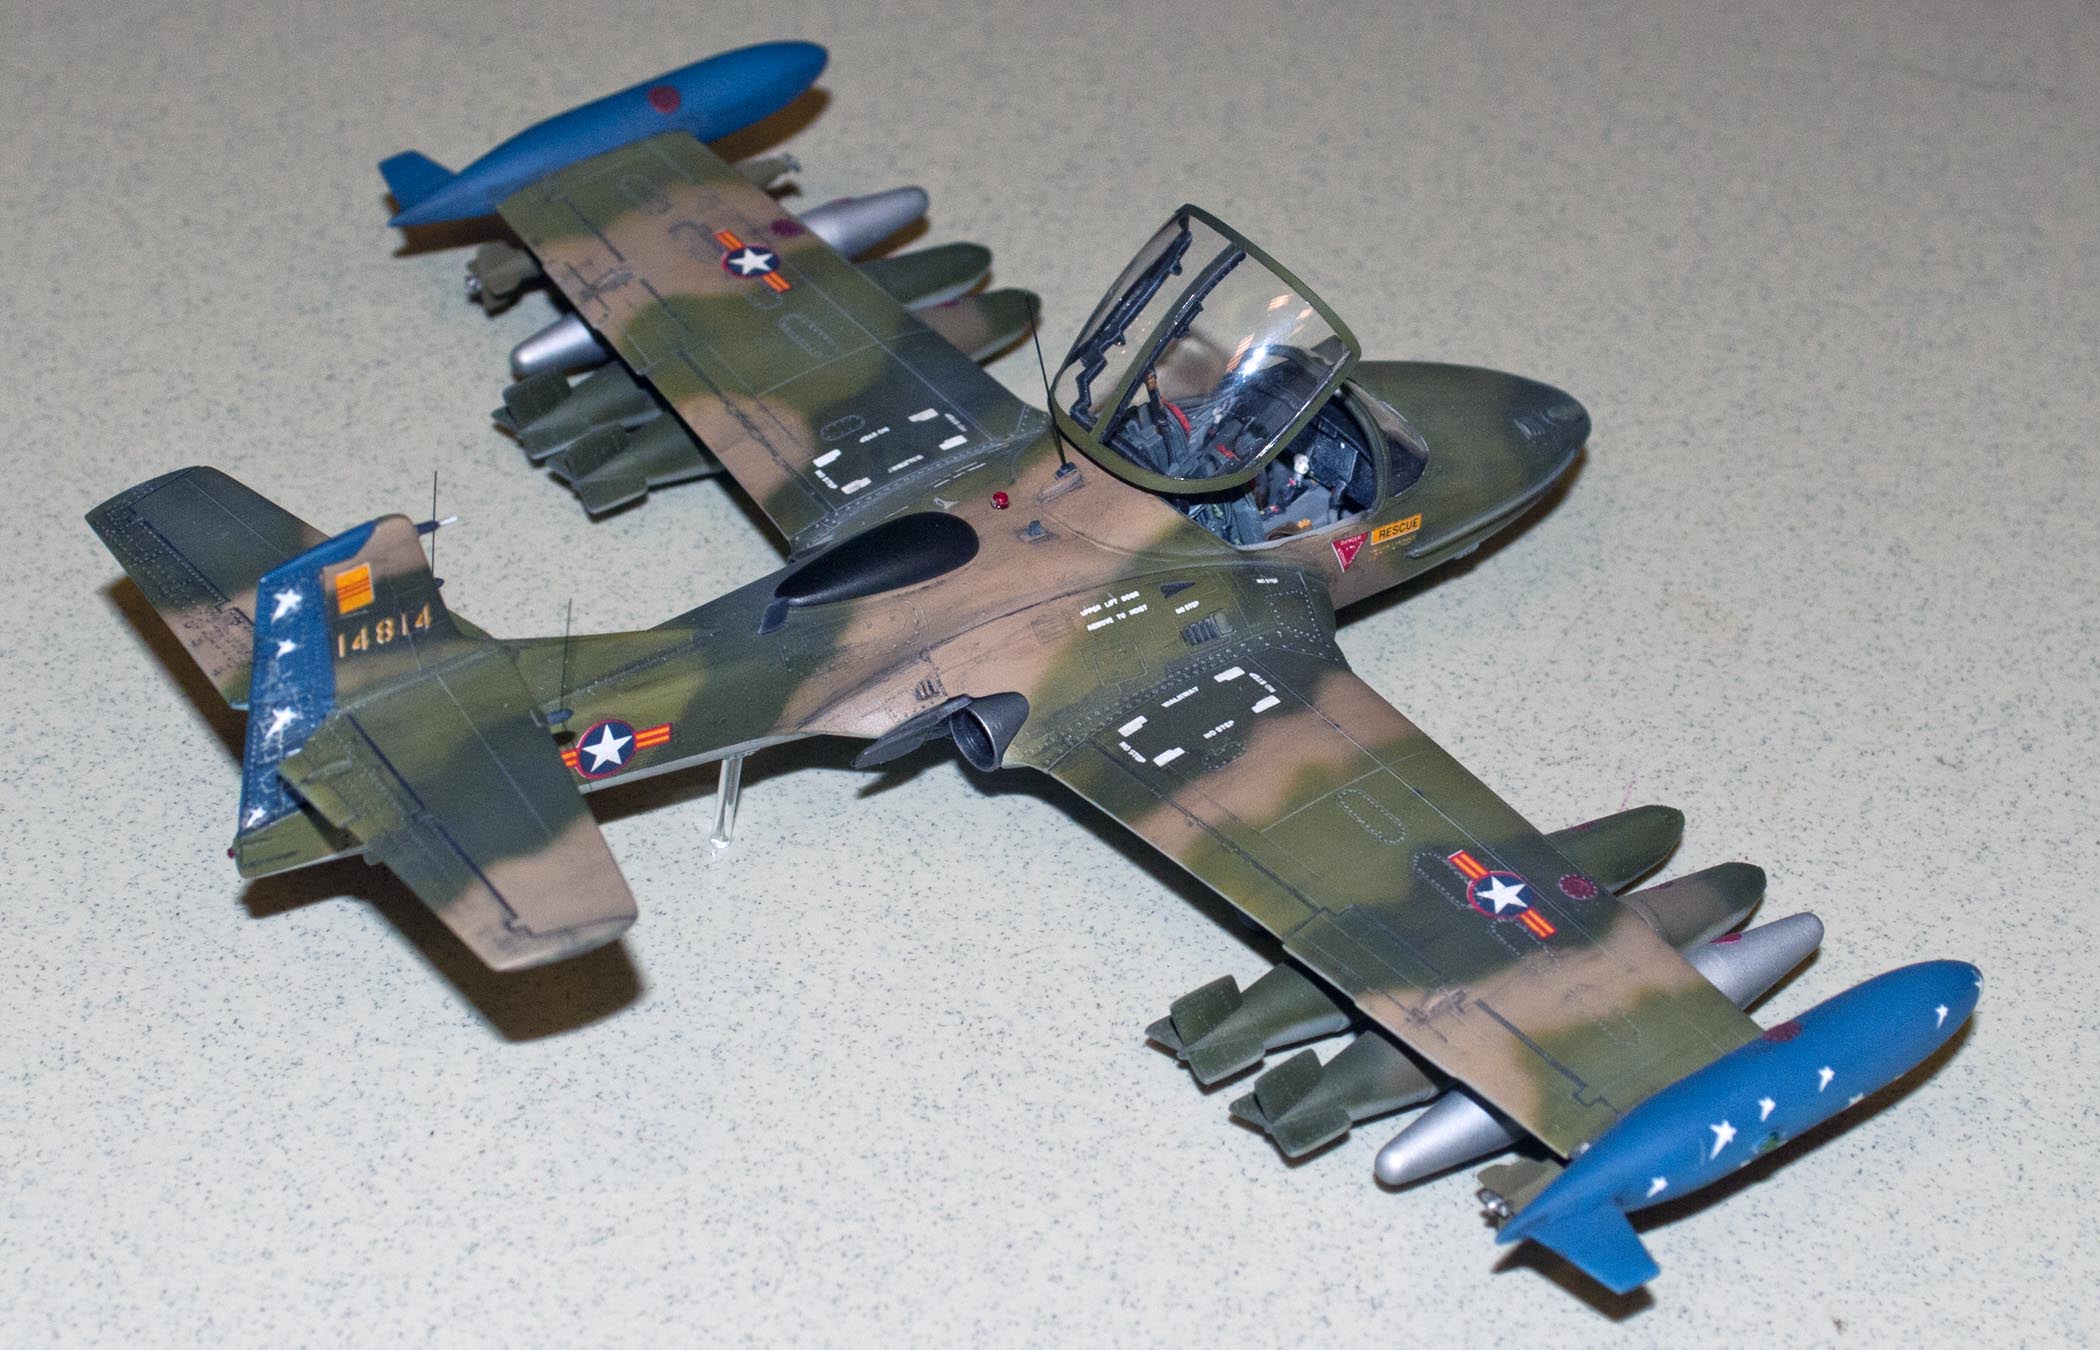
Dan Paulien – A-37 Dragonfly, 1/48 Monogram
He did it in Viet Nam colors as used by the Vietnamese AF. Used lead foil for seat belts. Stretched sprue for the antennas.. Only down side of the kit was the seam in the nose of the kit. To smooth it out he had to take some of the detail off. Paints used were Model Master Enamels. And he only paid $5.00 for the kit.
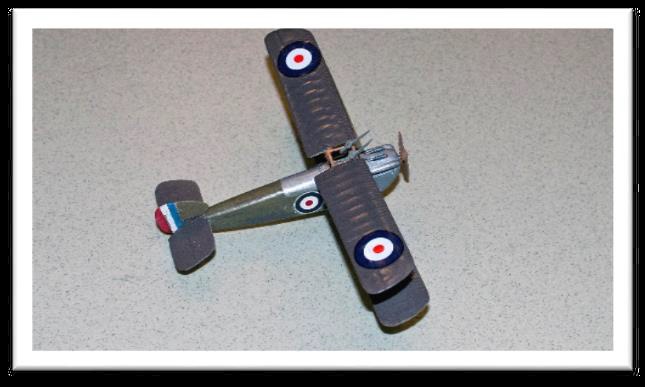
Westland Wyvern, 1/72 Trumpeter. Built OOB, mixed colors to get the correct Sky Color rather than but new paint.
Paul Gasiorowski – A-37 Dragonfly, 1/48 Monogram
Paul built his as a T-37A Training Aircraft and the other side as a T-37B, tactical close Air support. Paints used were Model Master Acrylics. Some parts were lost to the CARPET Monster, mainly the Support struts for the landing gear. Decals for the “A” version were from the spares box, the “B” version used the kit decals. A quick build.
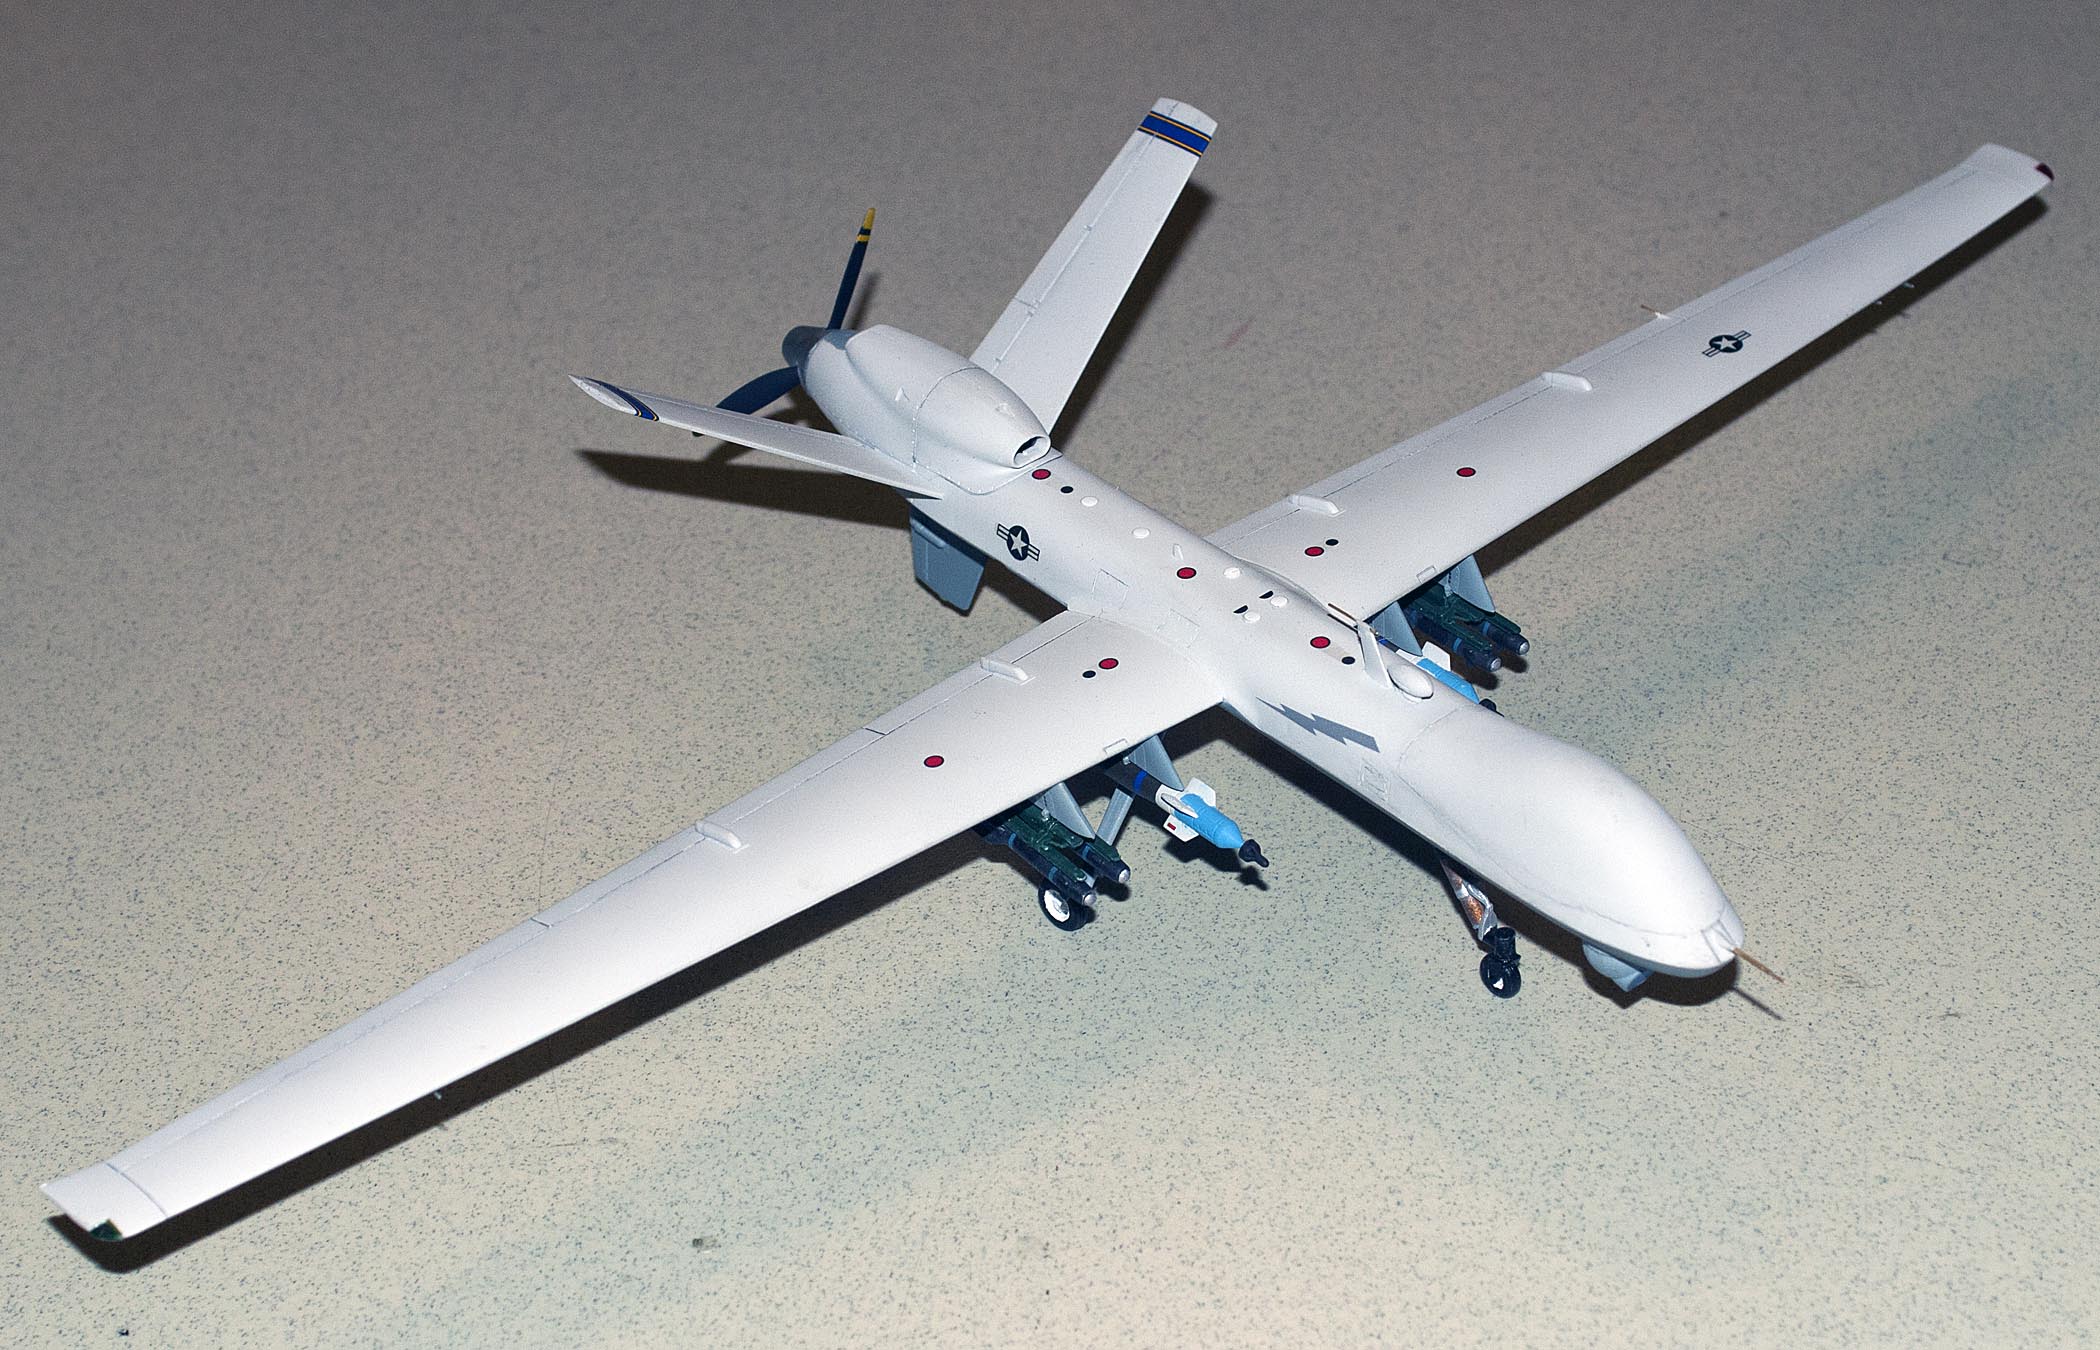
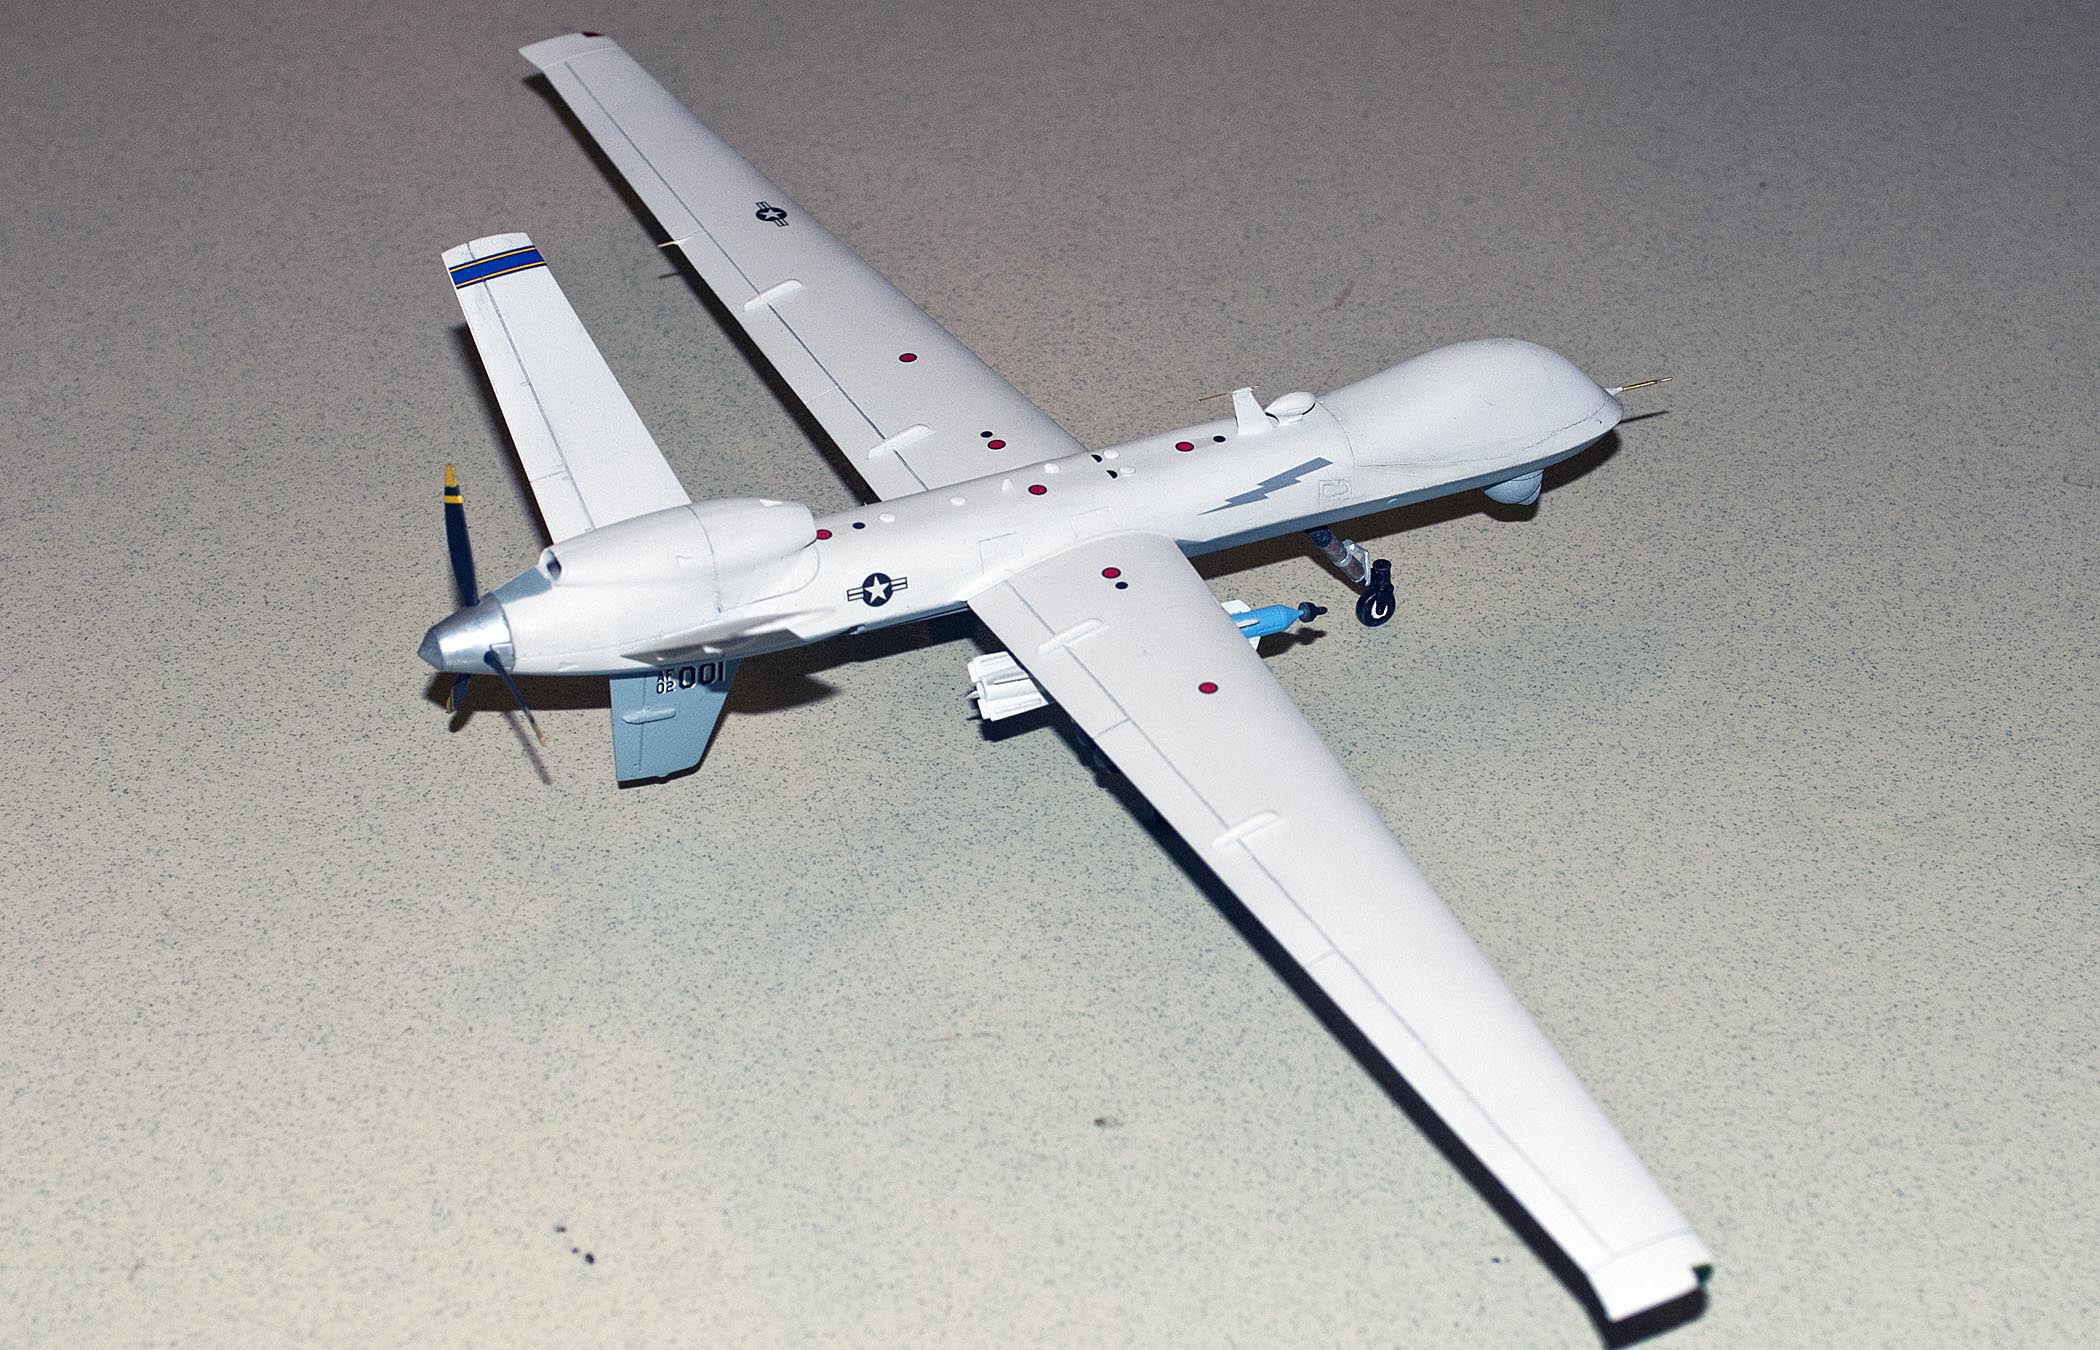
Glenn Estry – MQ-9 Reaper, 1/48, Revell Germany
OOB, replaced all the pitot tubes because they broke off during construction and replace them with brass. Also indicated the prop was molded backwards and he redid it. Sent a letter to Revell indicating the problem, there answer was kit was discontinued.
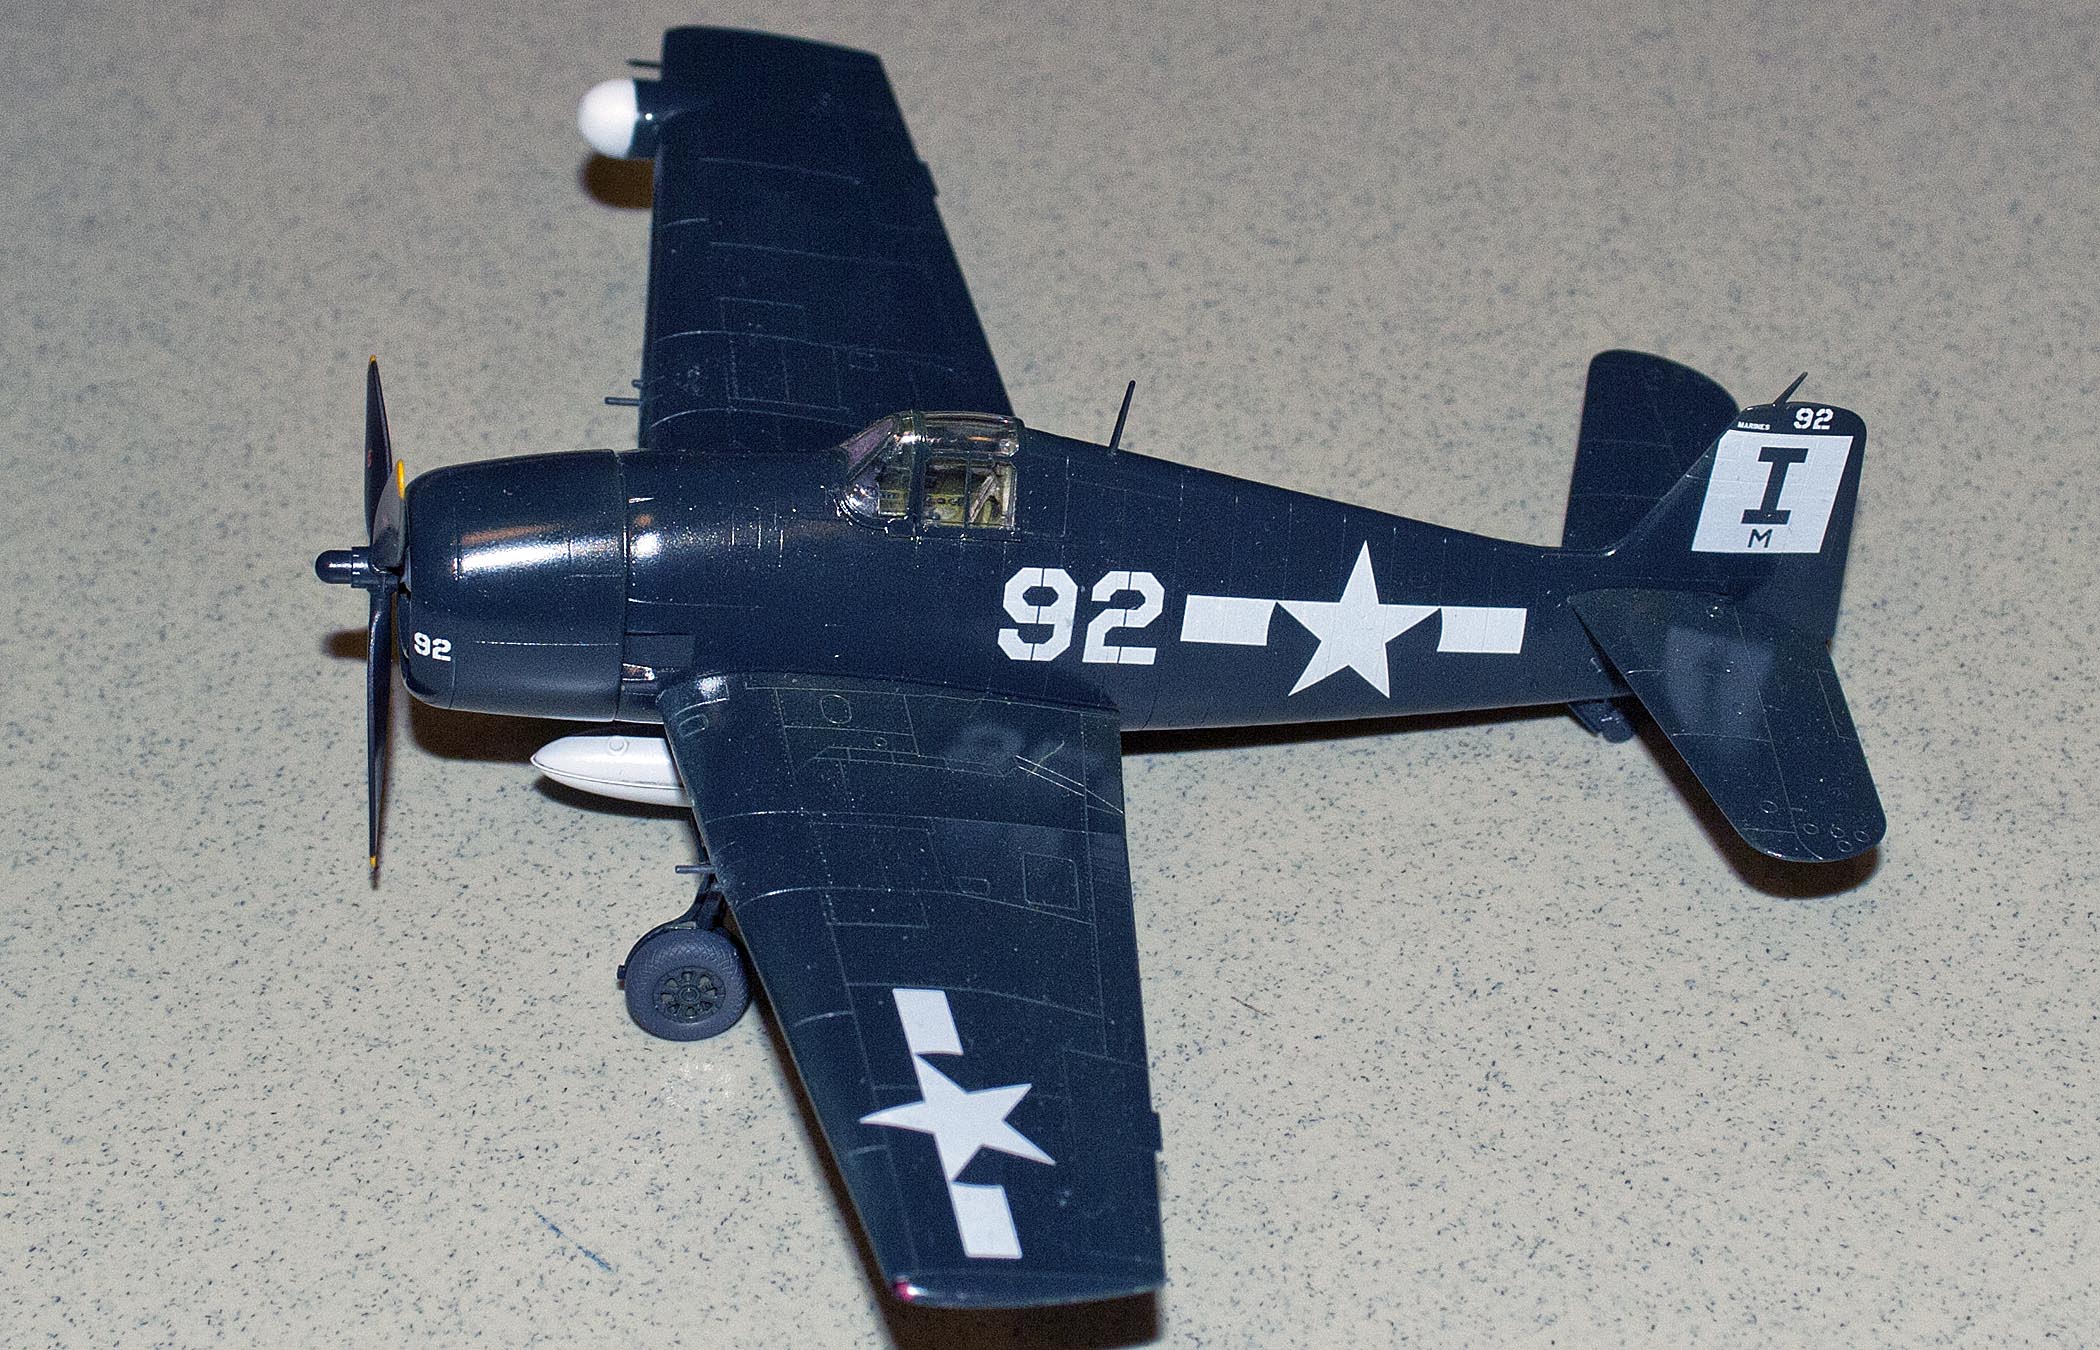
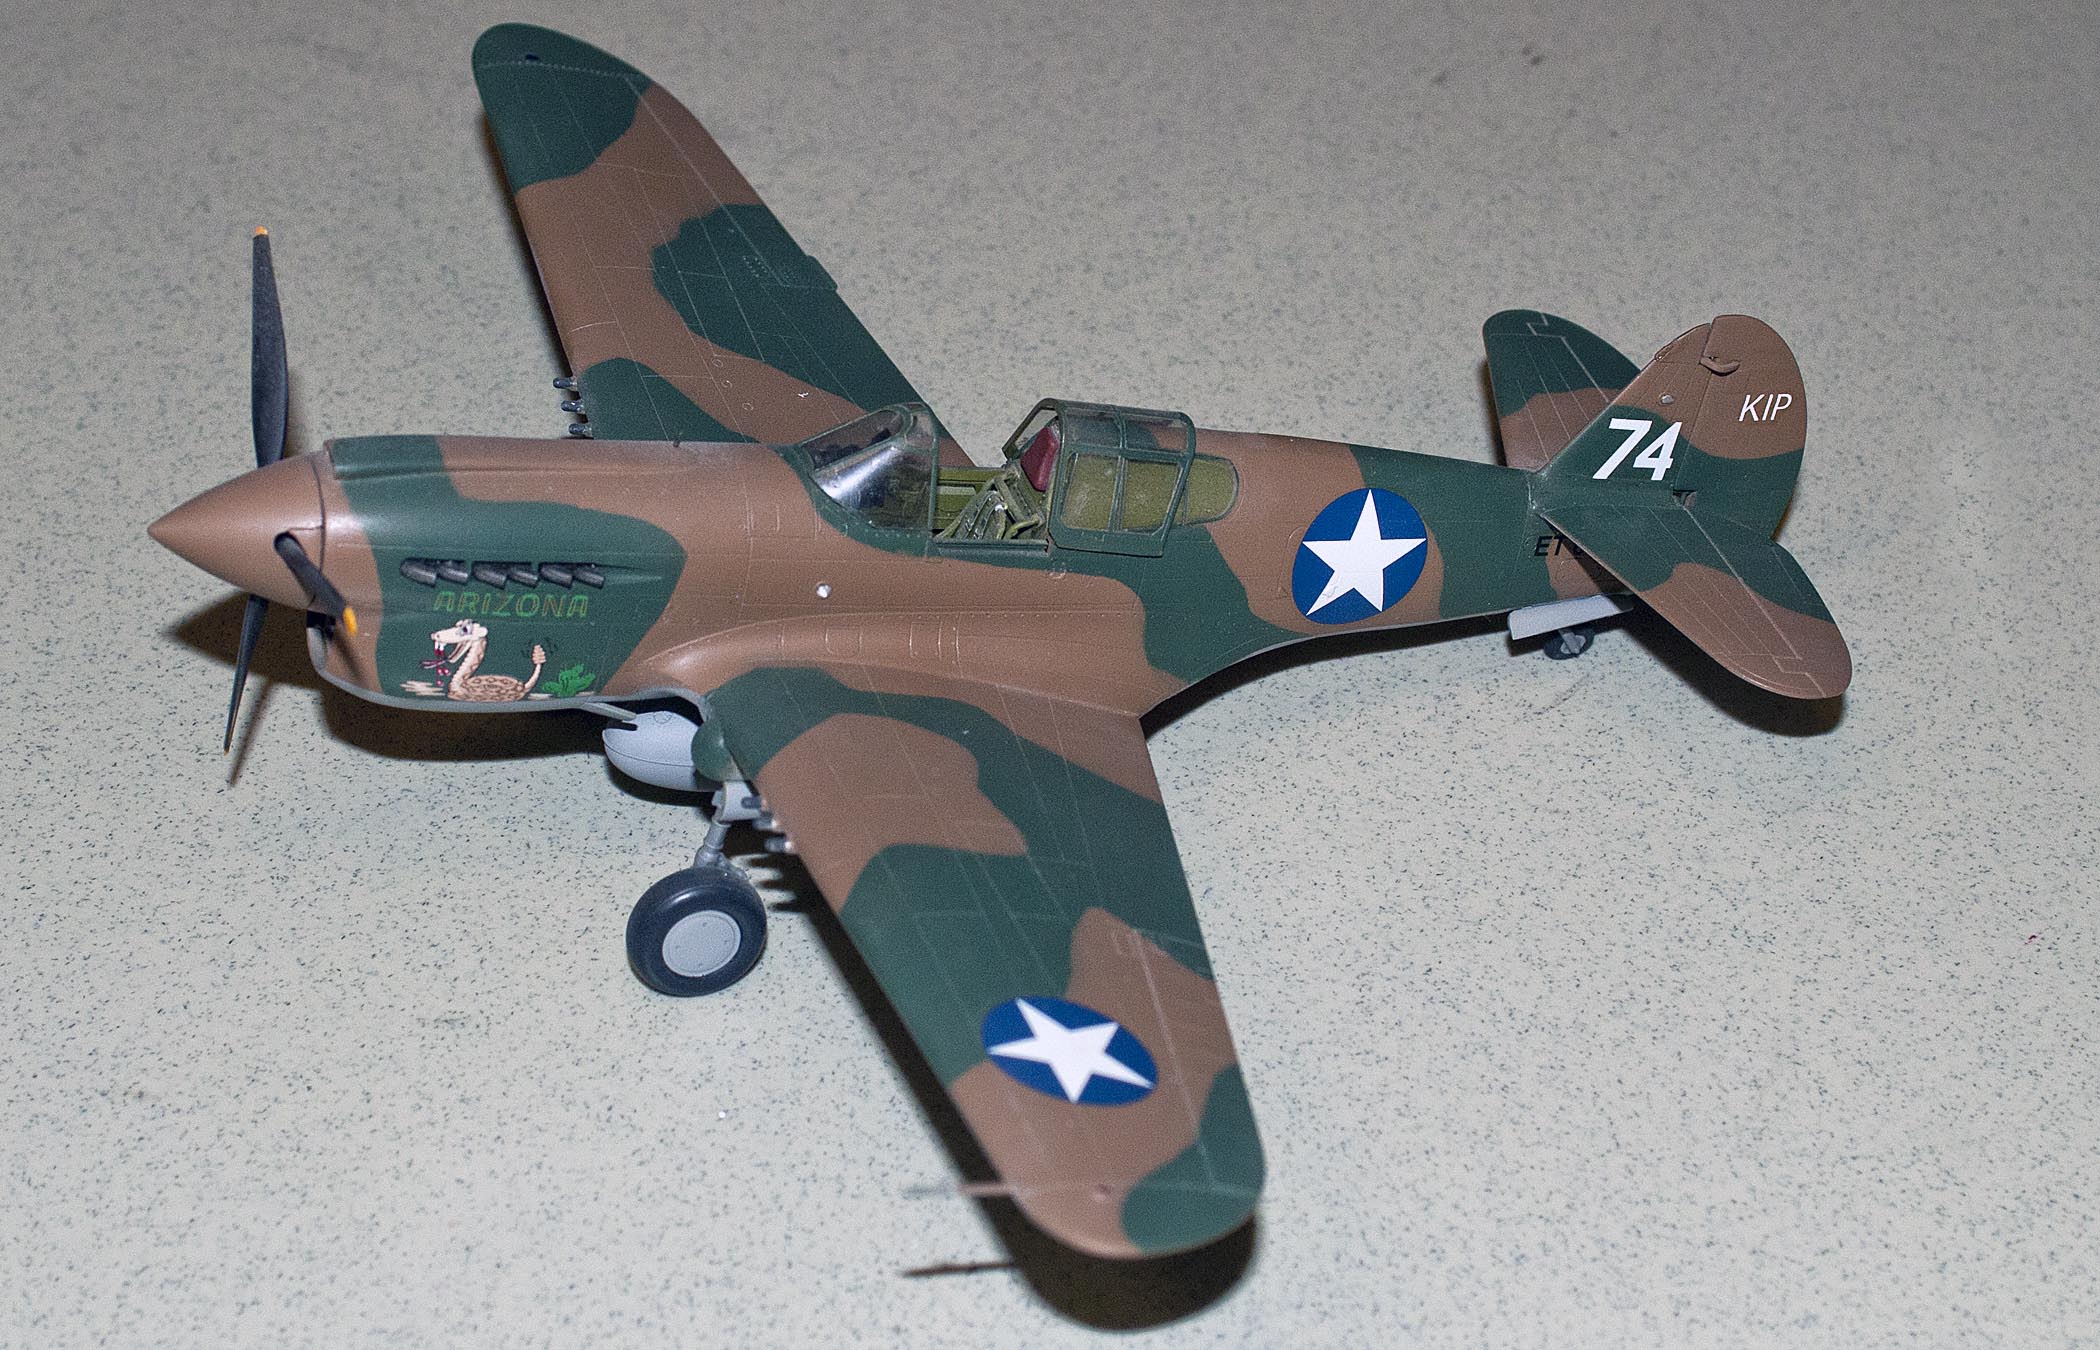
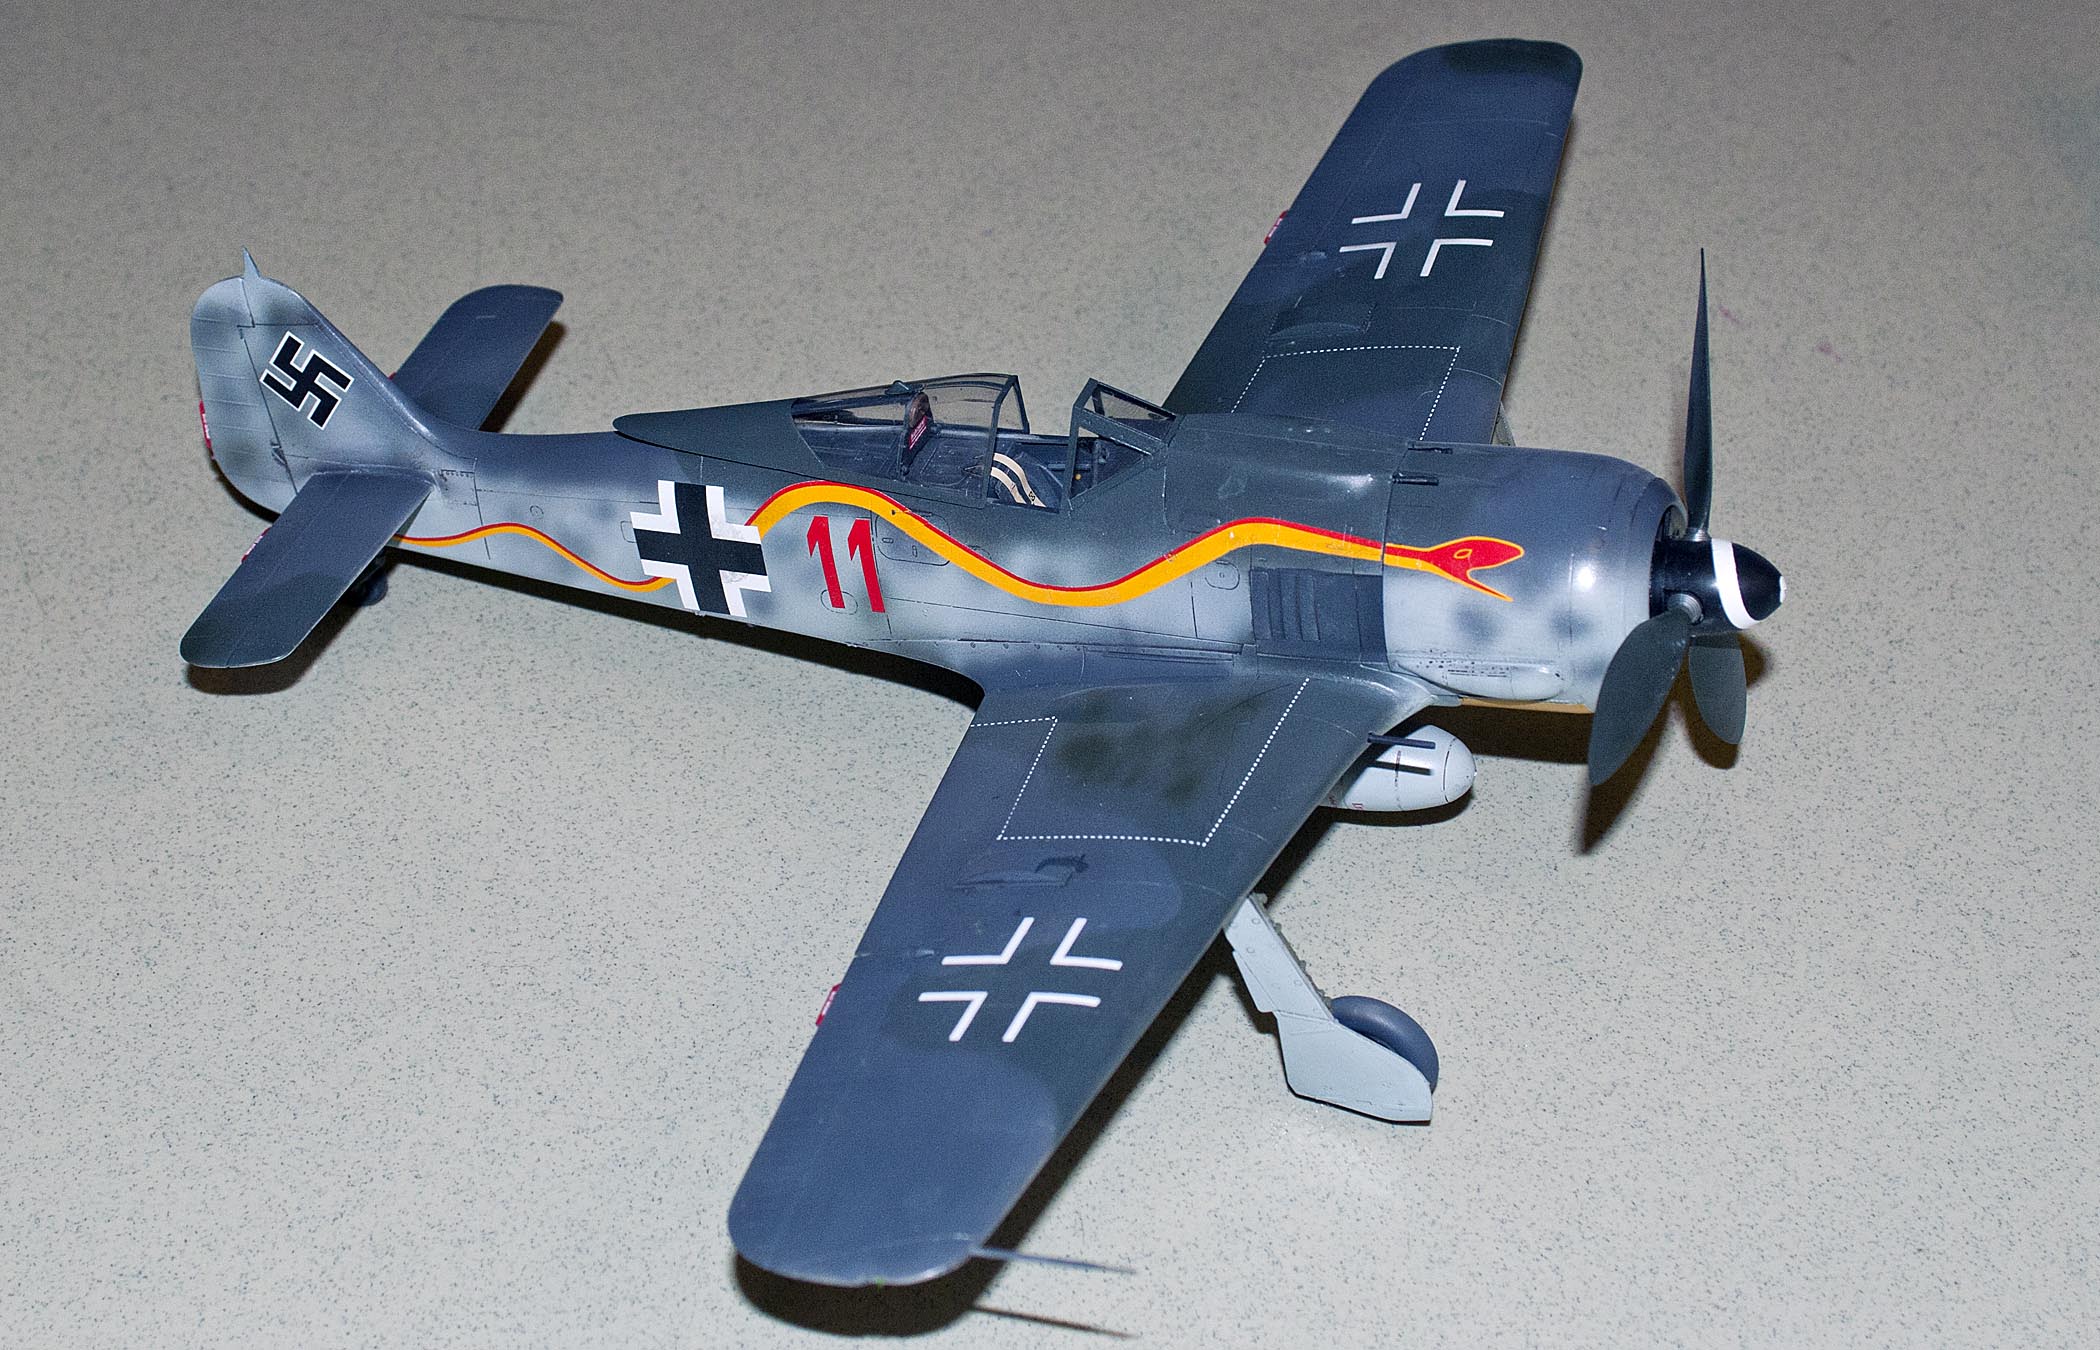
Mike Hanlon – FW-90A8, 1/32, Hasegawa
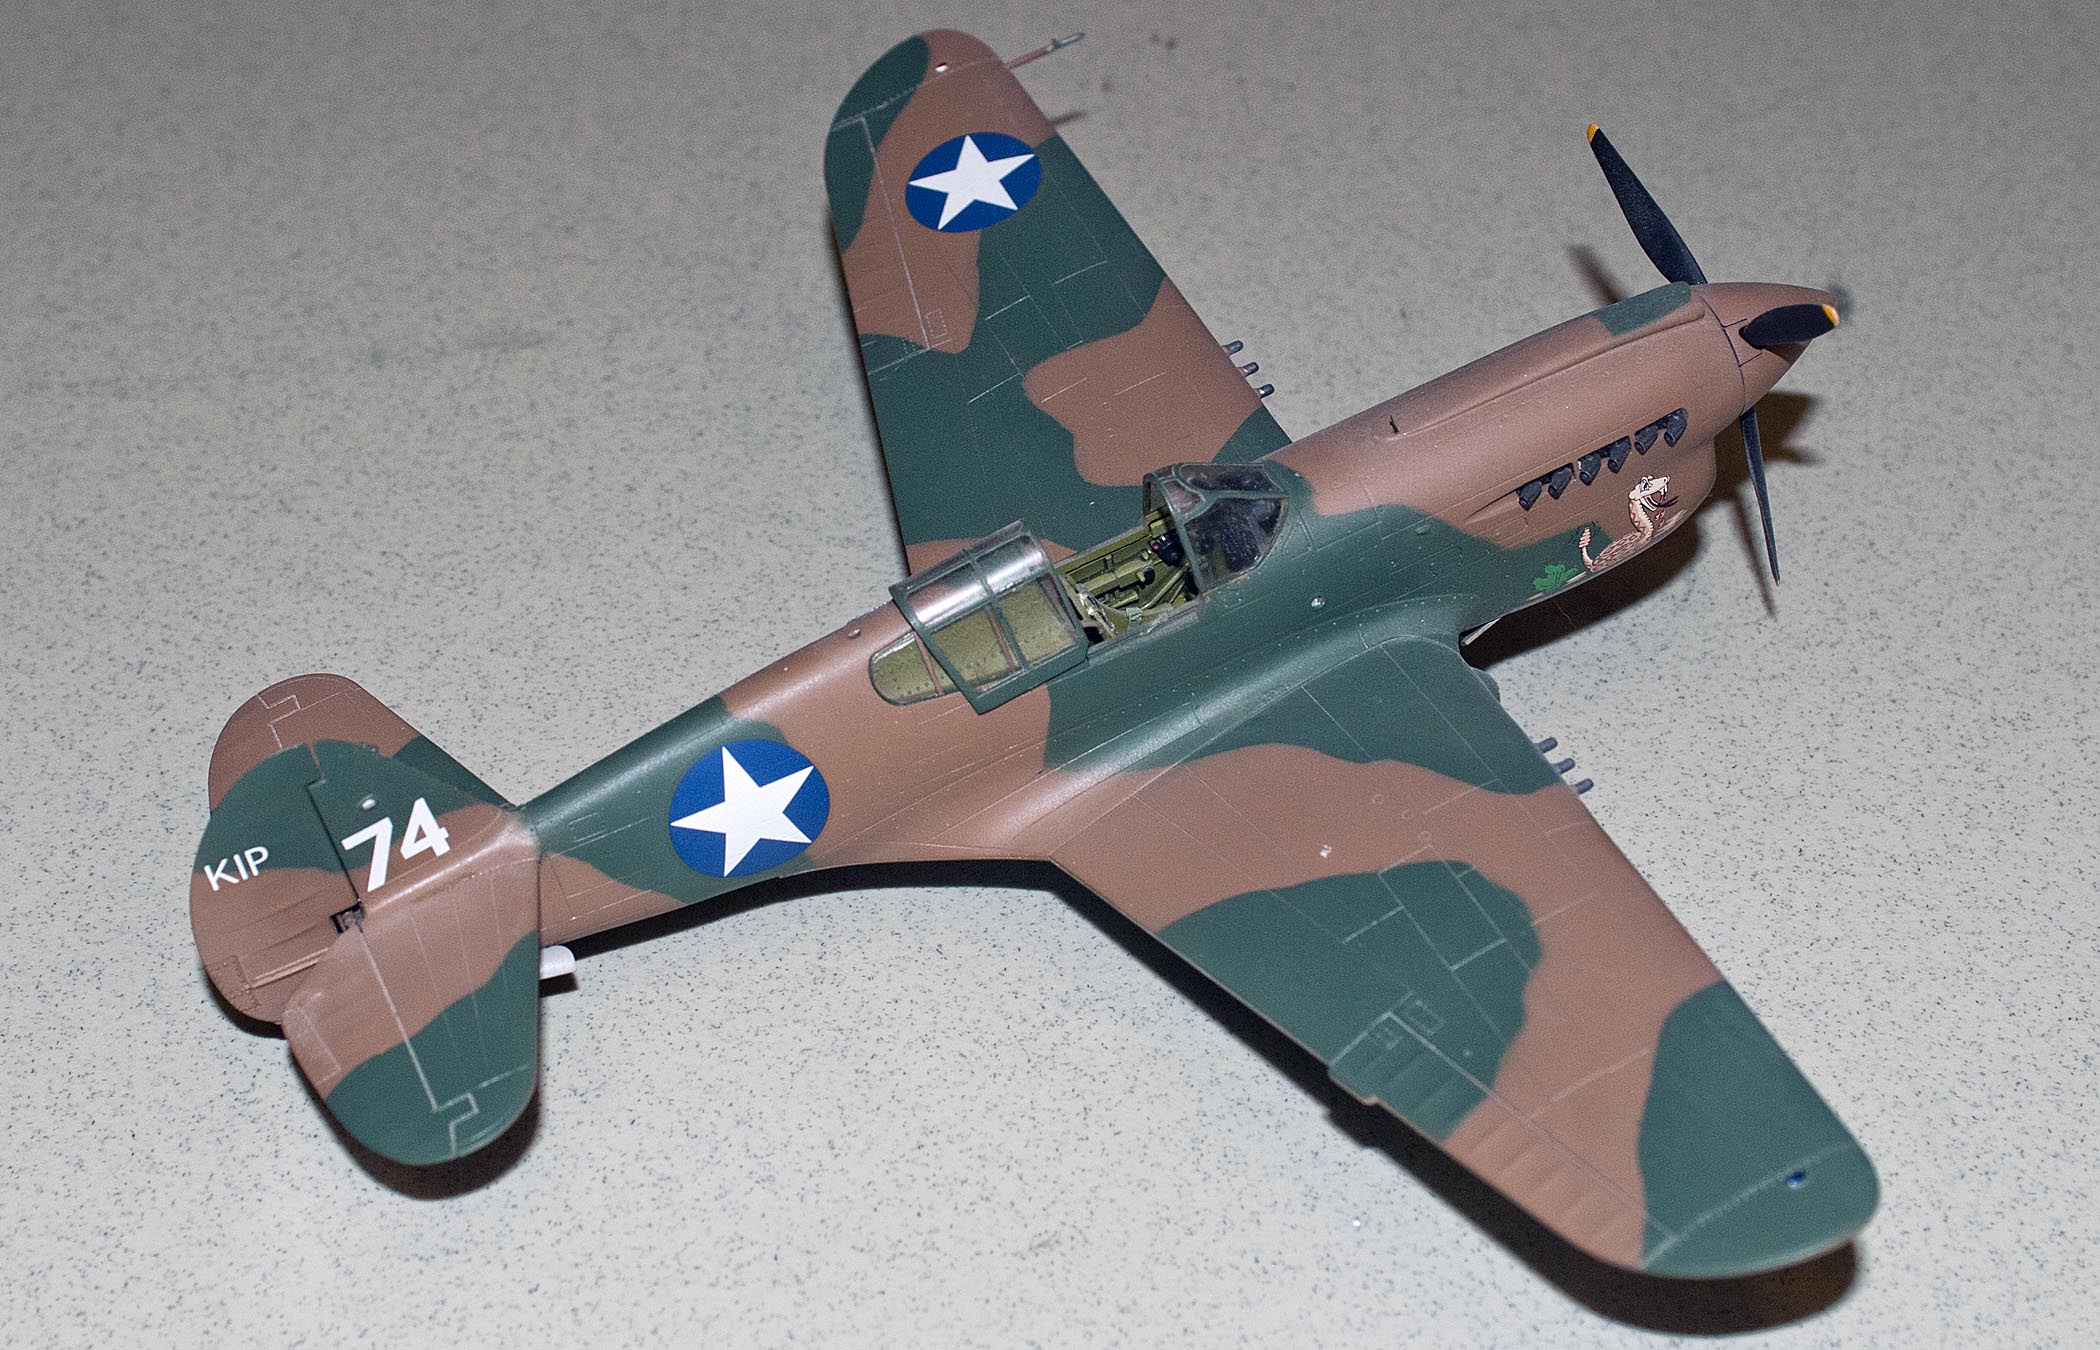
OOB changed only the decals and used Eagle decals F6F-5N Hellcat, 1/72, Eduard OOB, Gunze Gloss Sea Blue paint P-40E, 1/48, Hasegawa OOB, Superscale decals
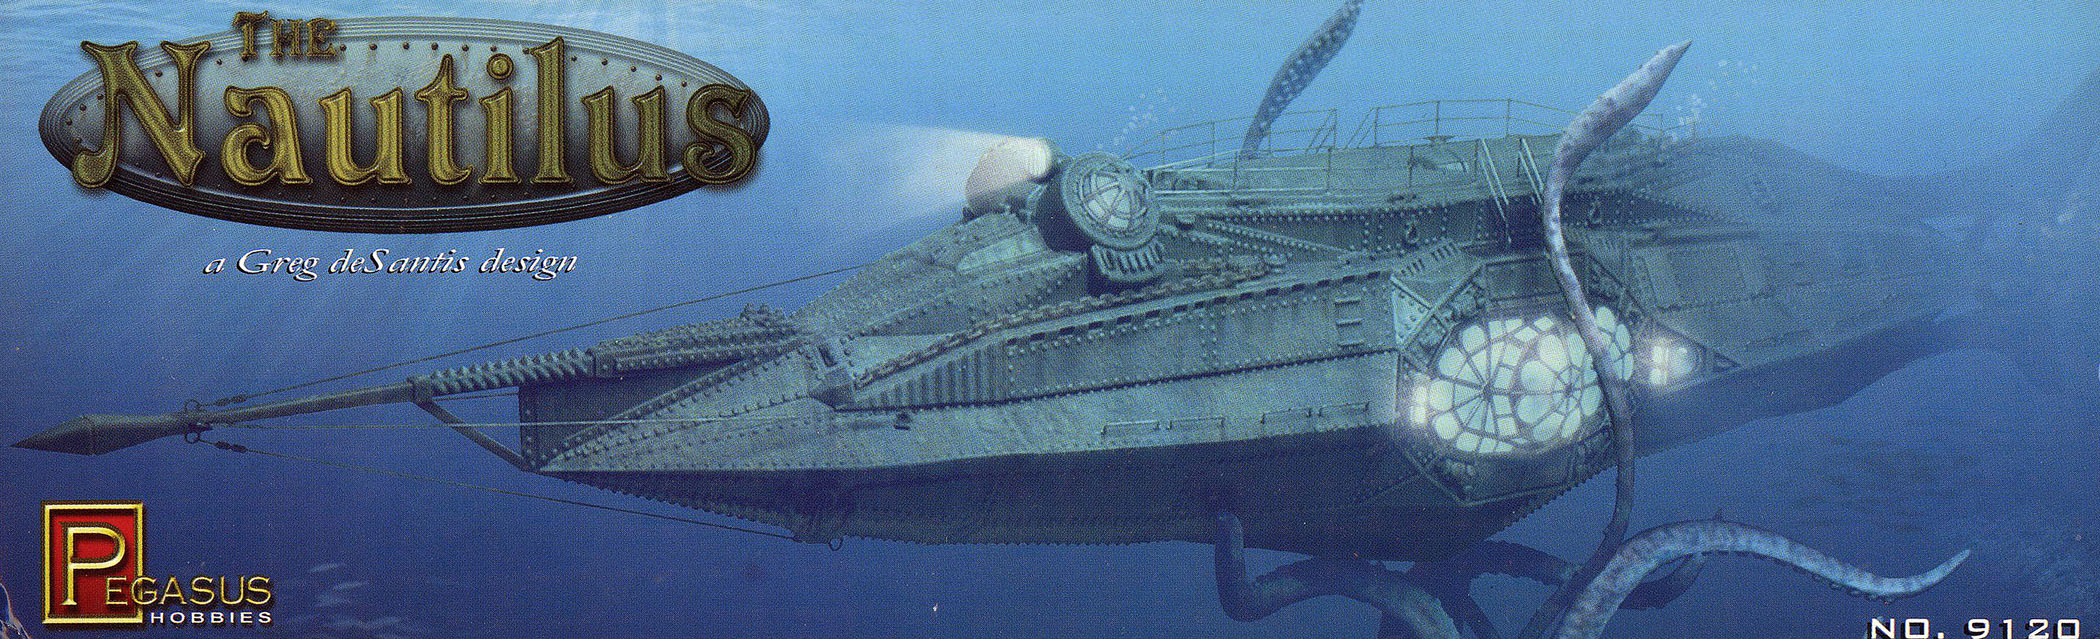
John Koziol – Stuka, 1/24 scale, 21ST Century Models
Prebuilt model, but had a large snake on both sides of the fuselage.
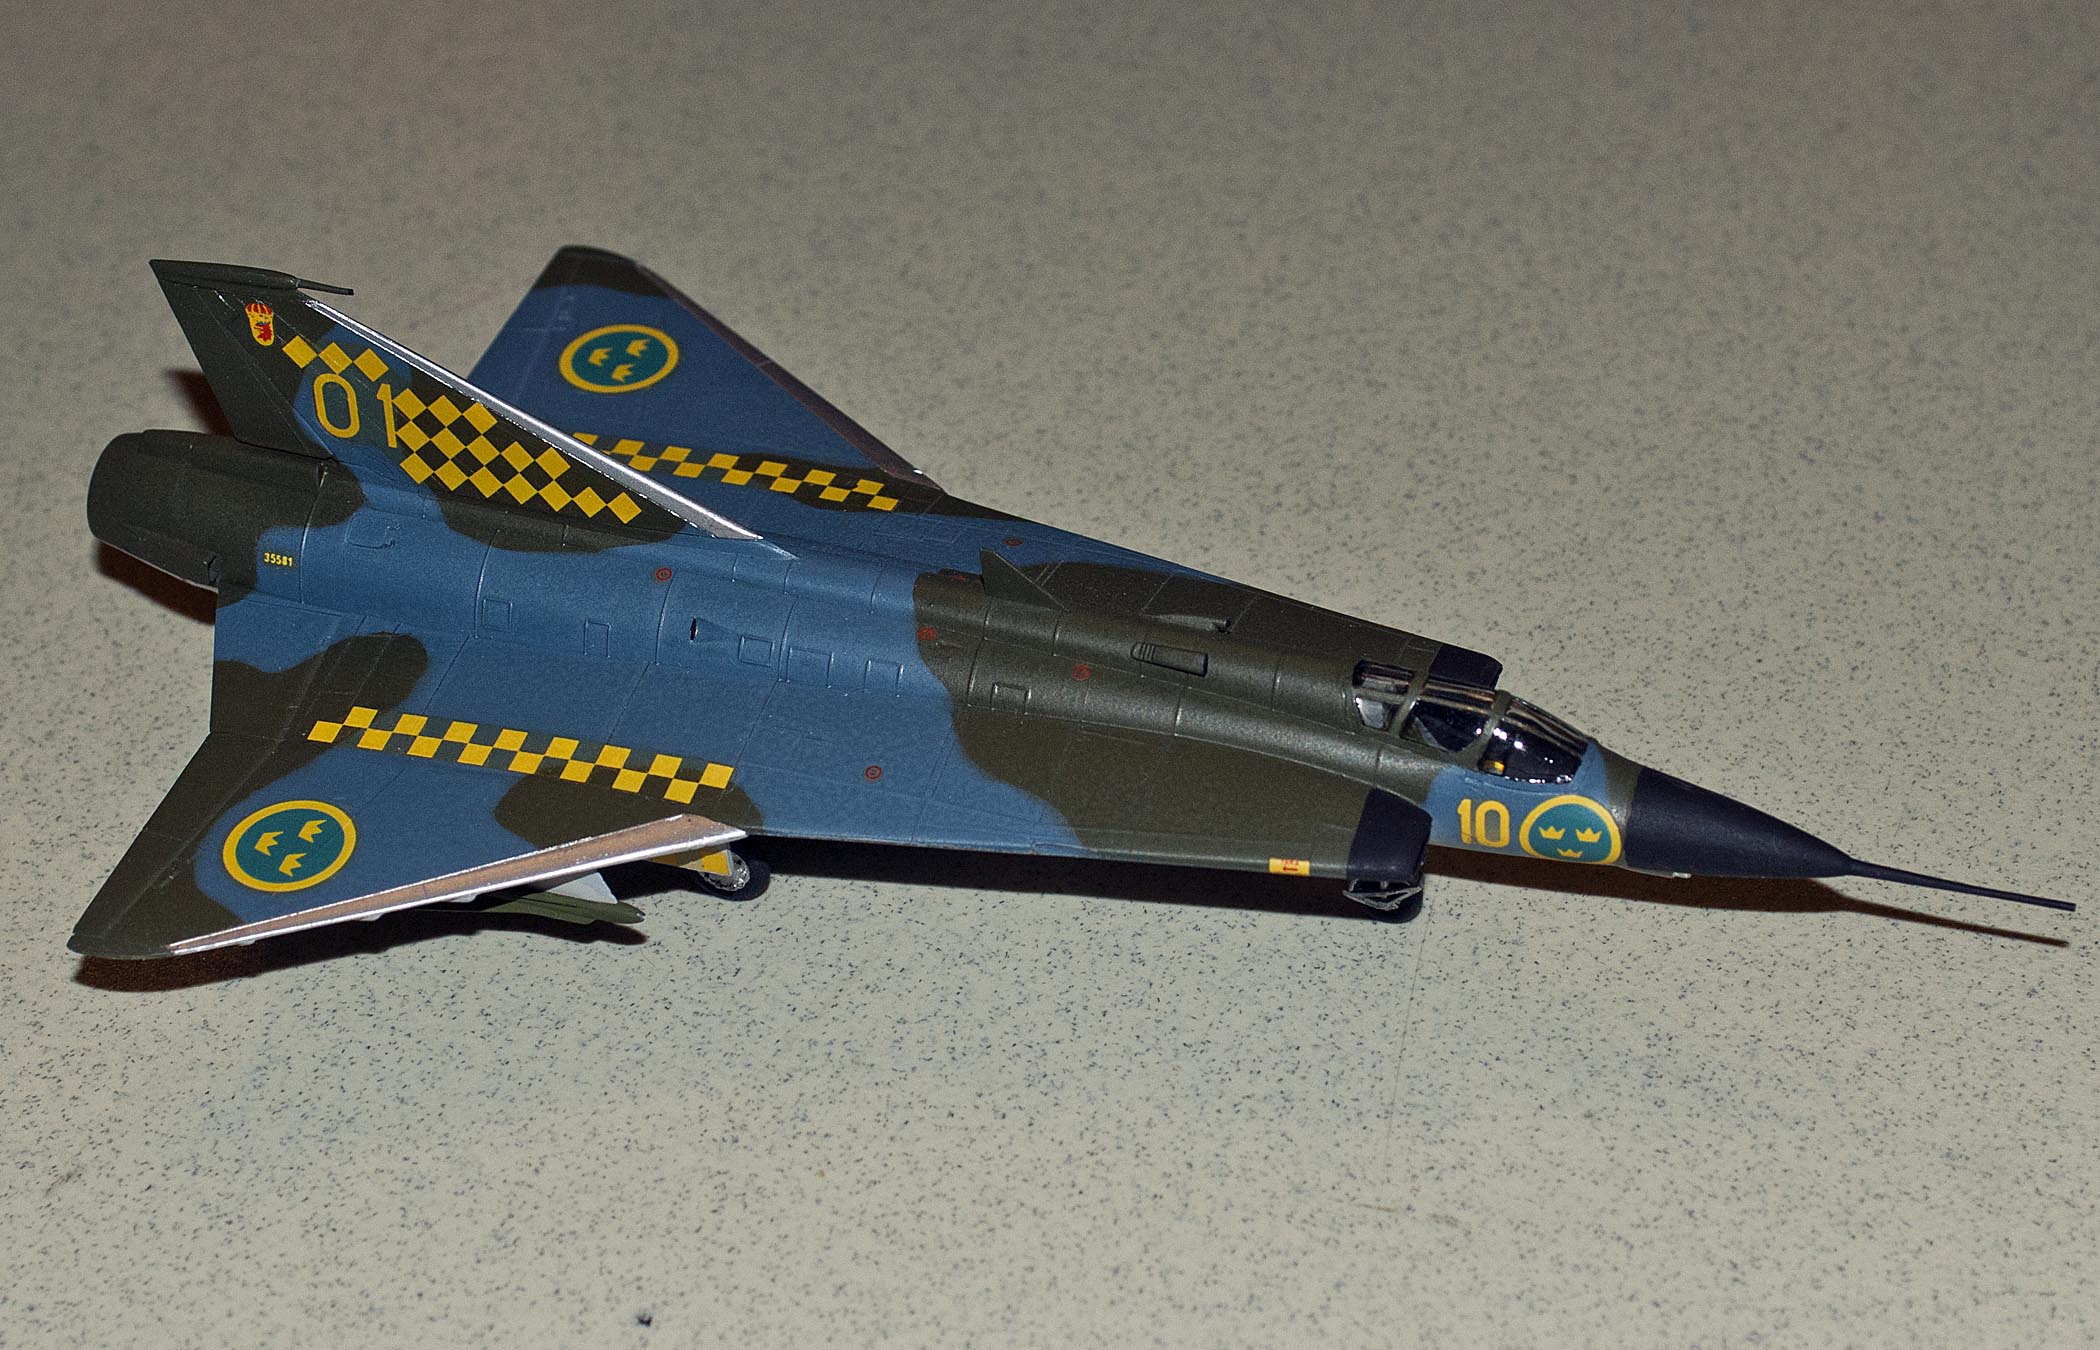
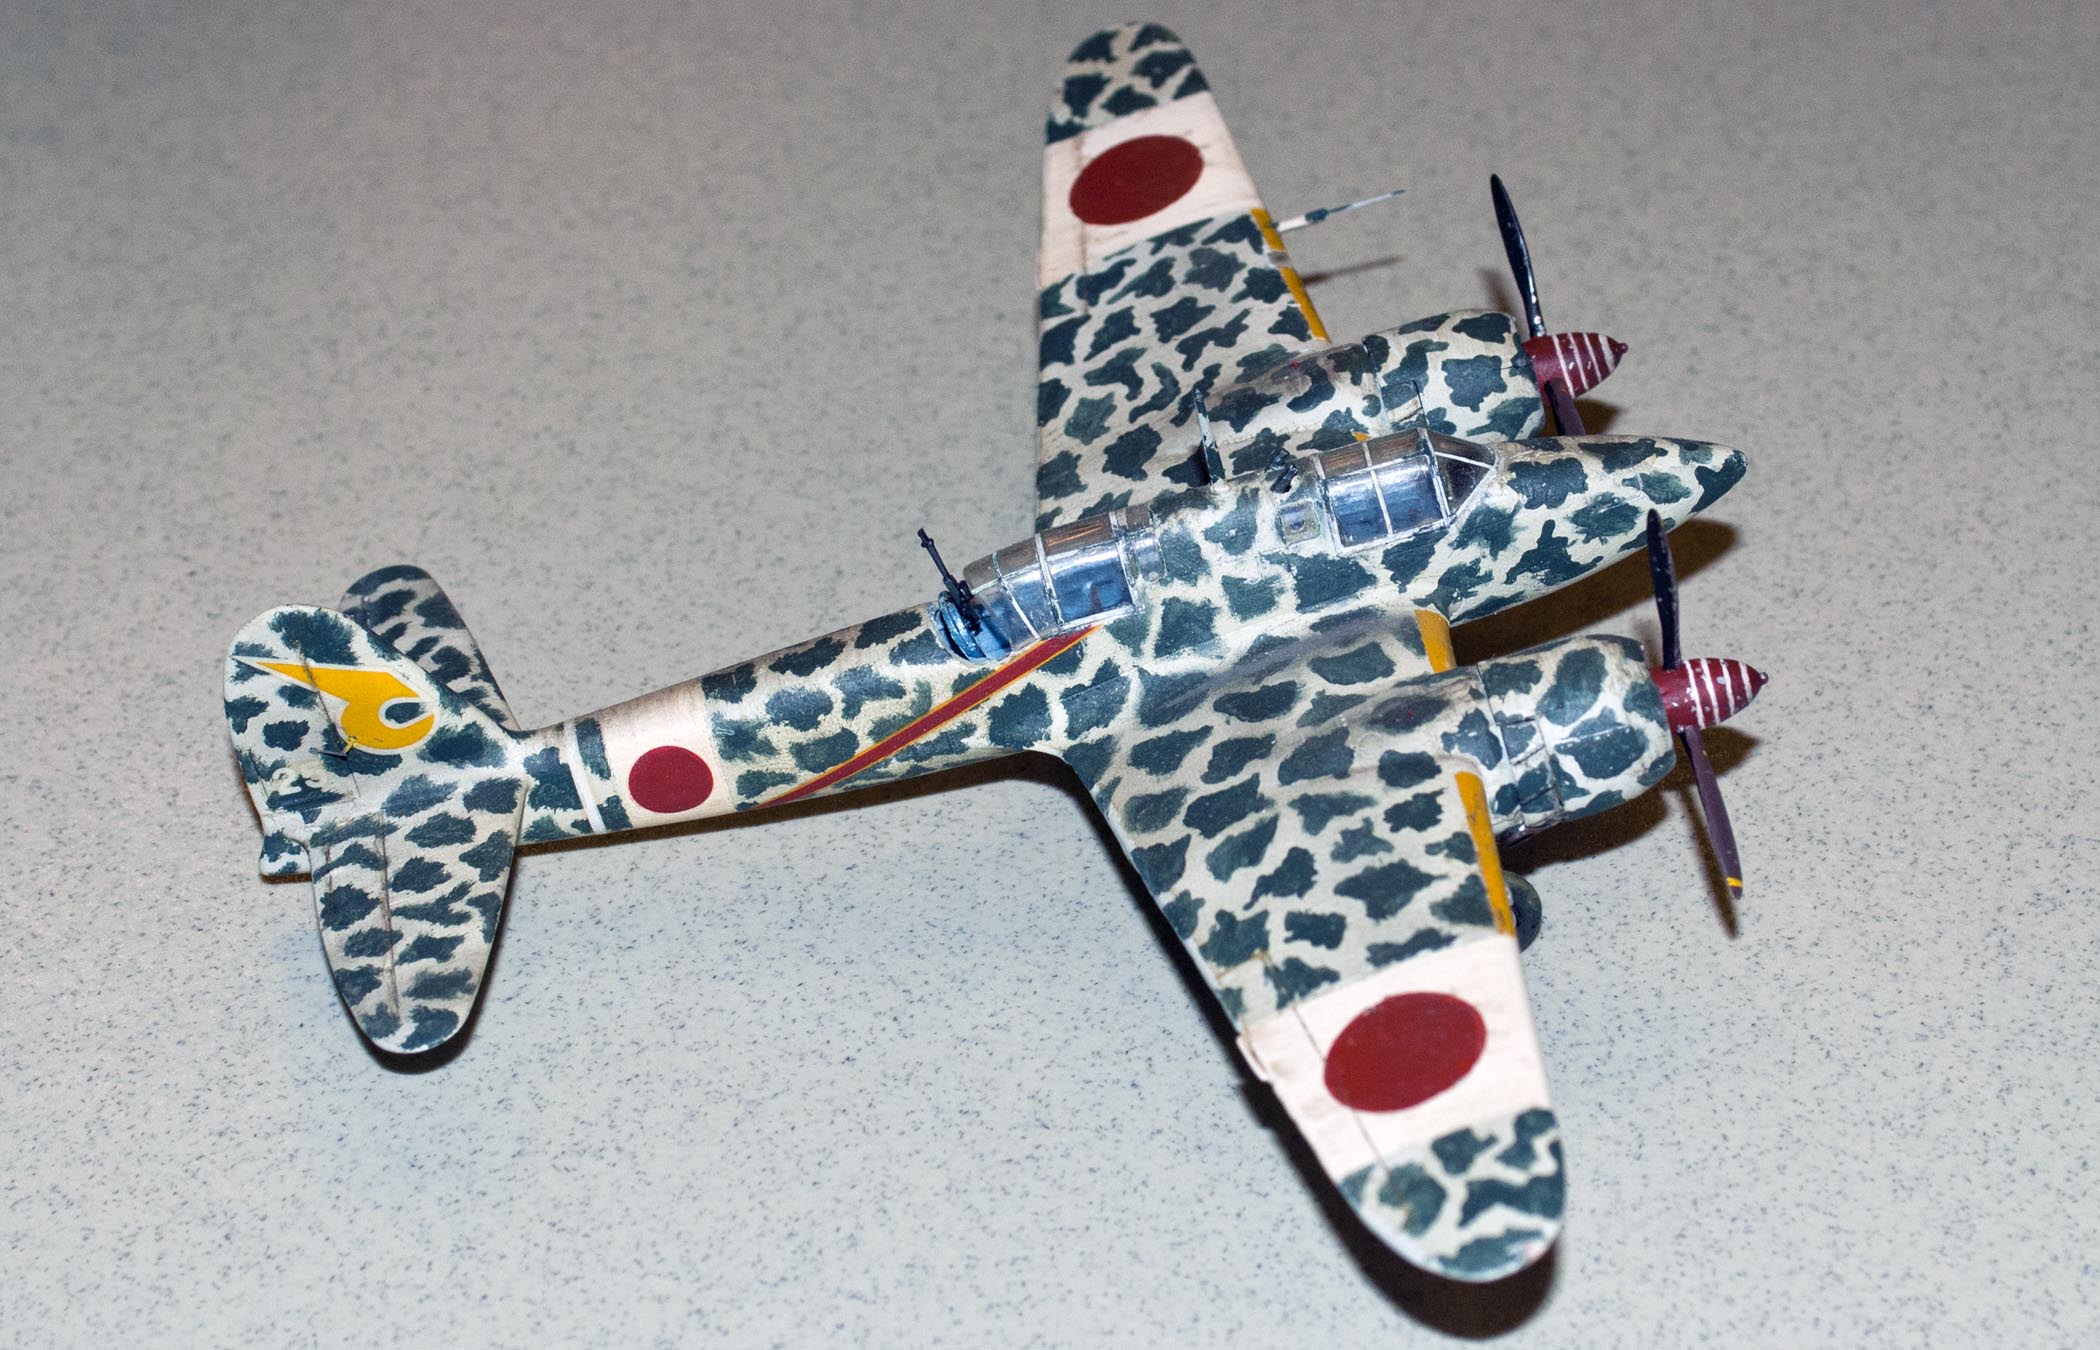
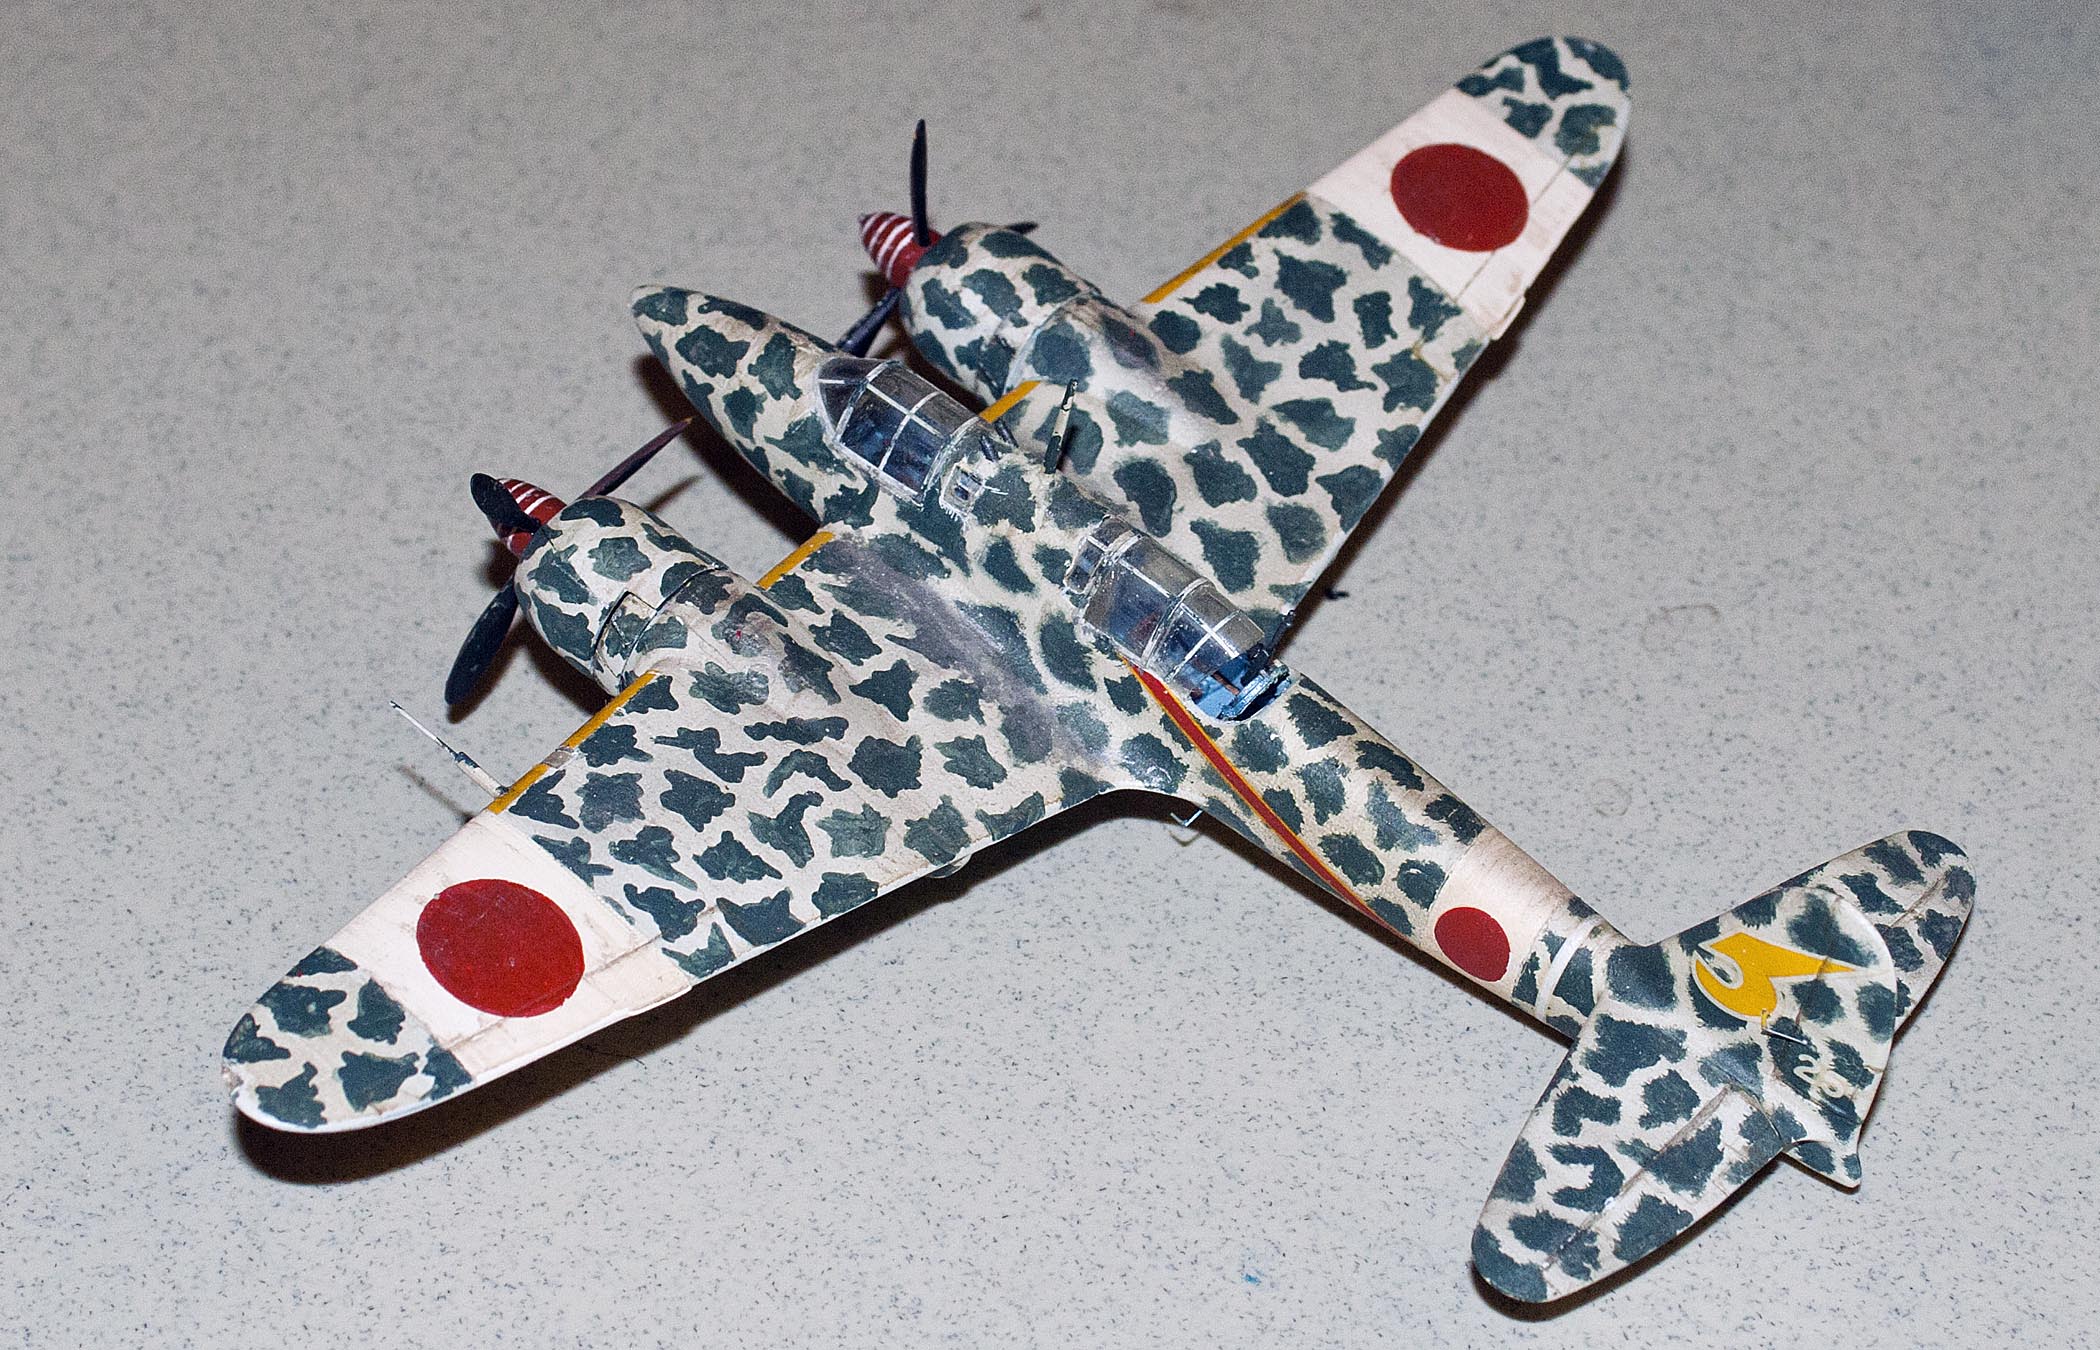
Steve Kumamoto – Ki-45 “Nick”, 1/72, Revell
In Japanese it was called the Toryu or “Dragon Killer”. He built it back in the “70’s”. Basically OOB. Used Floquil paint mixes to get the correct colors, way before paint manufactures were supplying basic colors for aircraft. Walthers decals for the stripes, used for the canopy frames.
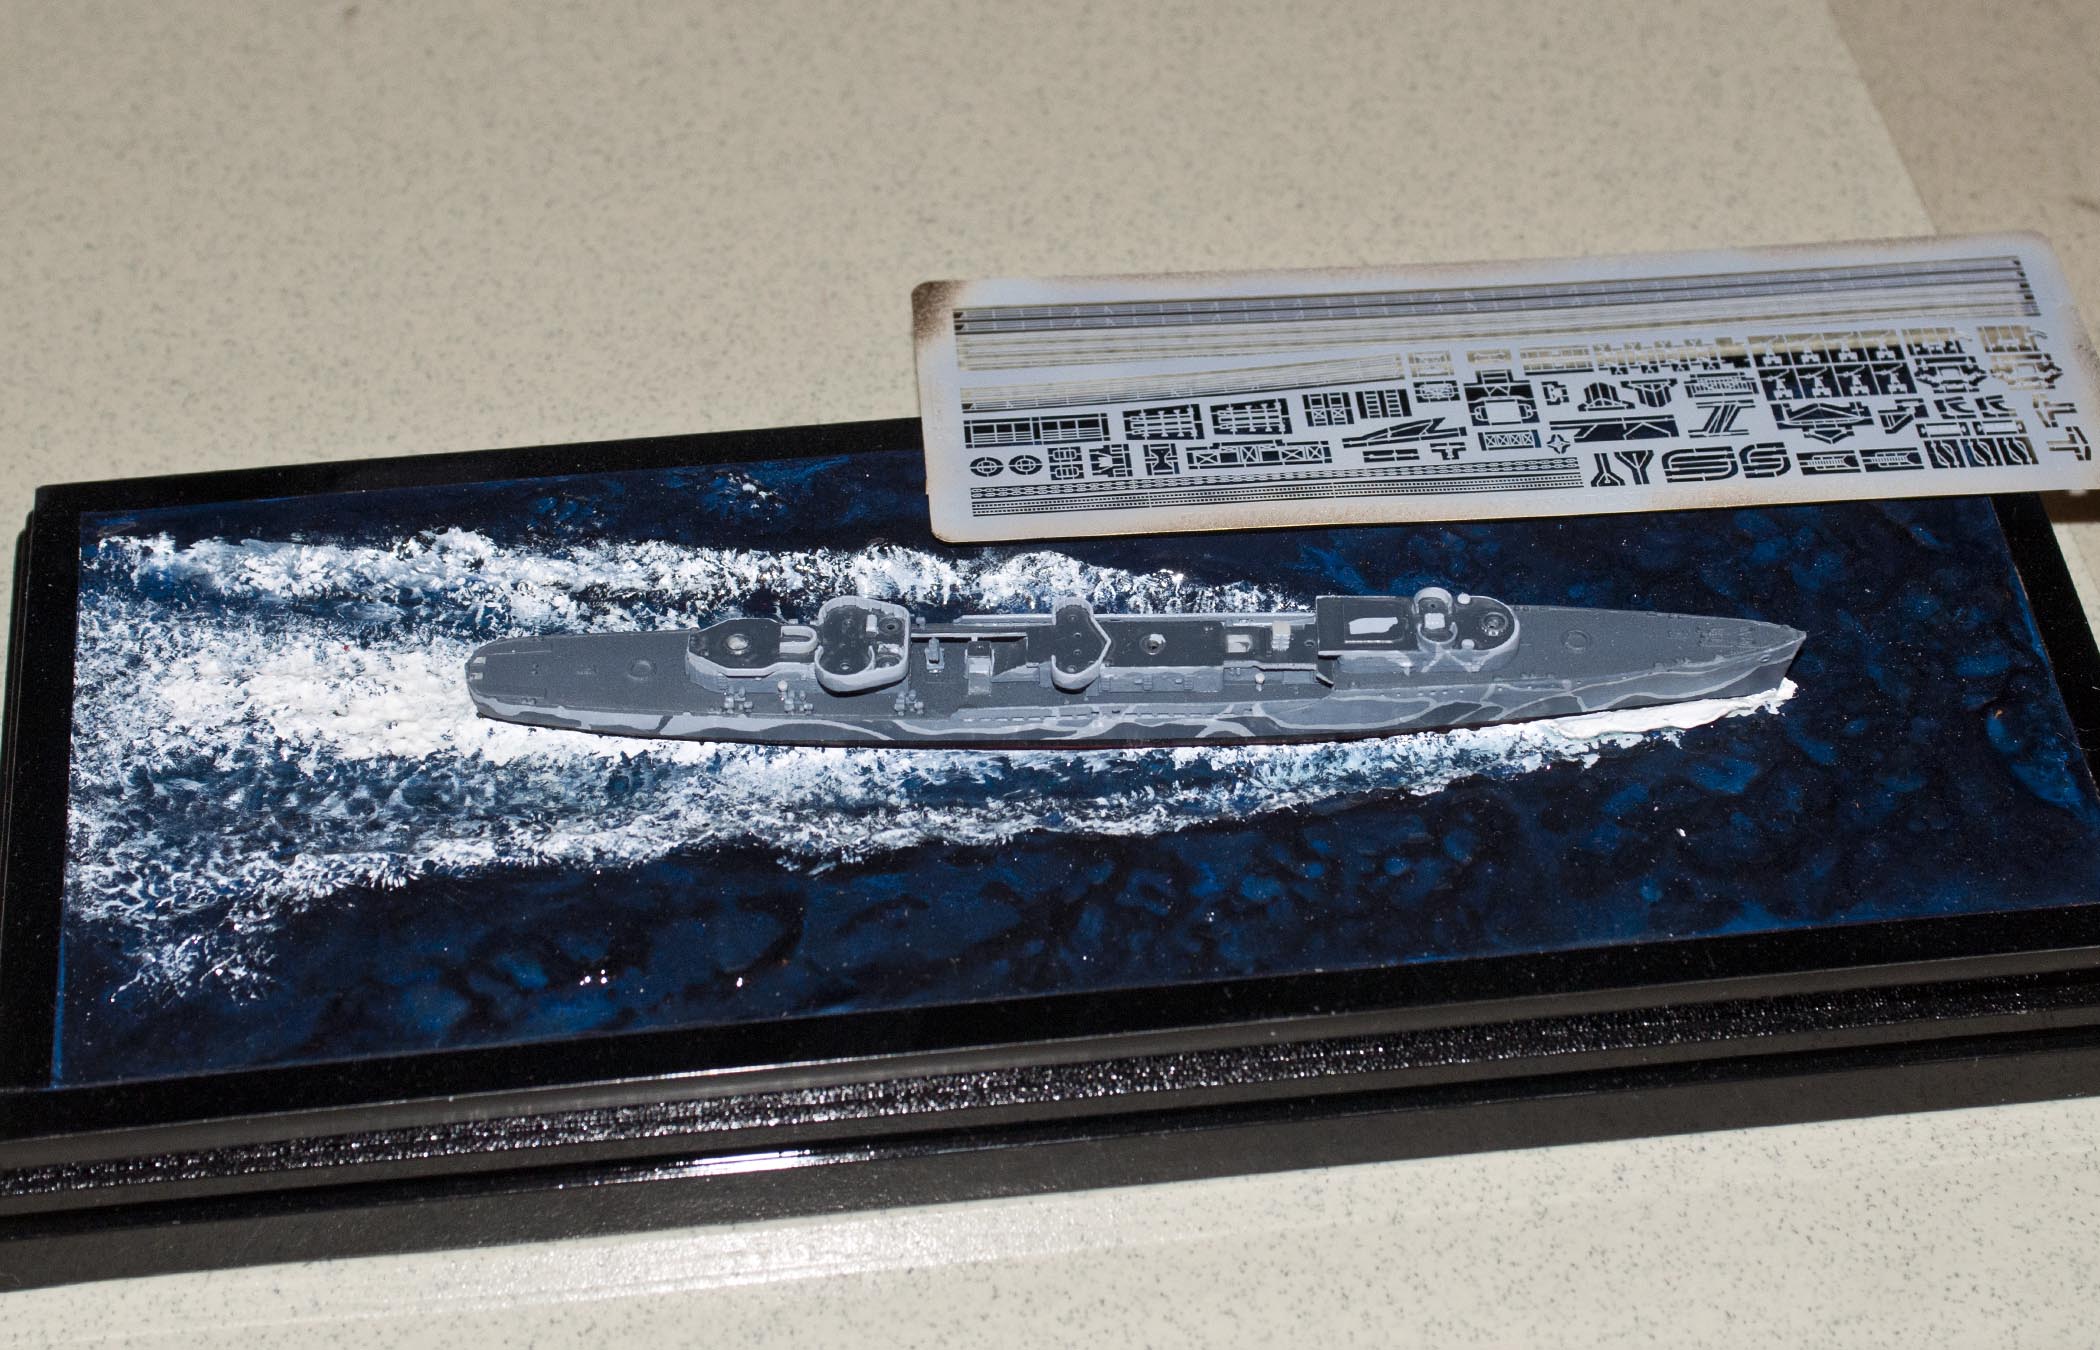
Charlie Scardon – USS Farenholt, 1/700, Dragon
Under construction. Explained how he used photo copies to understand how the other side of the ship