
Academy F-14 Tomcat
Kit #12471 in 1/72nd
by Paul Gasiorowski
Academy 1/72 F-14A Tomcat
I just pulled a kit out of the stash, decided on 1/72 since it will be a small build OOB. The kit consisted of 3 sprues of plastic parts and 1clear sprue. As usual I washed the parts in a soapy solution and set aside to dry.
I started with putting some weights in the nose of the plane. Some of the assemblies were being built at the same time. The wing assemblies were put together as the wings can be swept back and forward. Seats consisted of 4 parts each. The seats were painted in steps as several different colors were used. I used a black wash on the seat assemblies to show some age. Most ejection seat handles are black and yellow, I just painted them yellow. Painting 1/64″ stripes seemed like a little over kill. Maybe if I had a thick cat whisker it might work. The cockpit was painted and decals were added to the side panels and the instrument panels. There were 15 decals had to be put into the cockpit tub. The seats won’t be added till the end of the build.
The cockpit tub was inserted into the nose halves and set aside to drive. Several parts were added to the cockpit tub, such as the canopy frame and heads up displays on the top of the instrument panel.
I glued the wing assembly and fuselage halves together. The right and left intakes were put in place and the fit wasn’t very good. I had to glue one side and then push the other edge in place and glued it. This had to be done for both sides. The fan blades were painted and inserted in place. They are so far back that they are hard to see.

F-14 port rear view
Attaching the nose assembly to the fuselage was a butt joint. To insure a better fit I attached 1/16″ thick styrene strip to the fuselage and then attached the nose assembly. This helped cut down on the seam that was sure to show up and did.
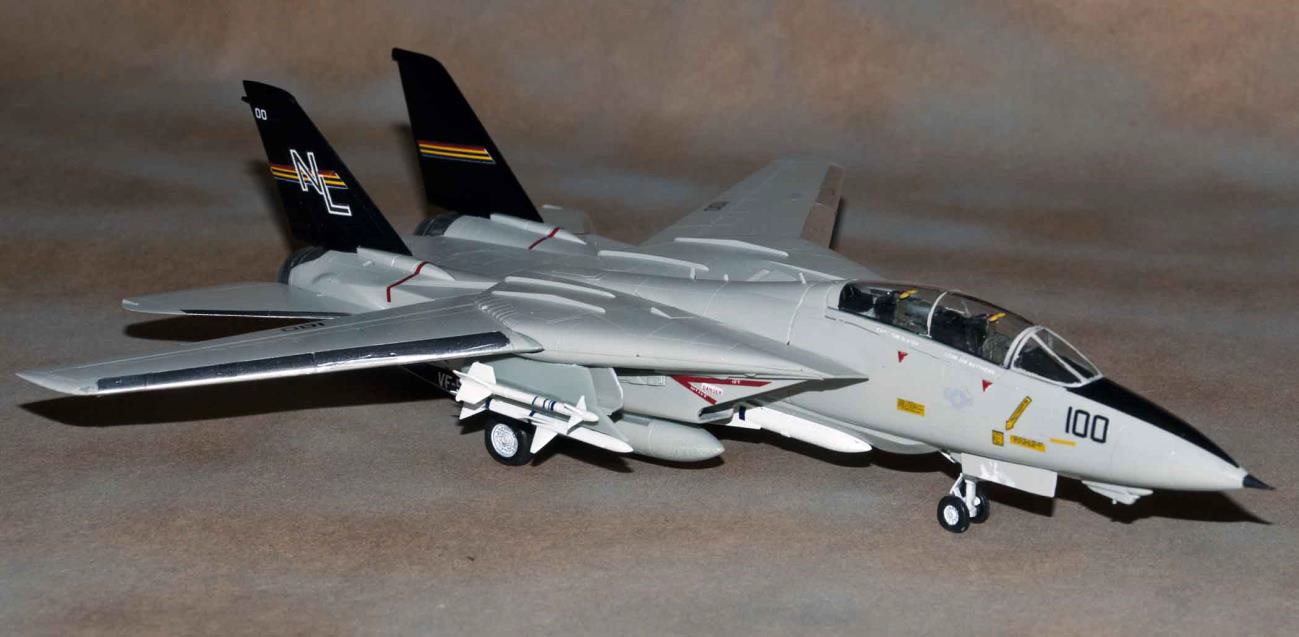
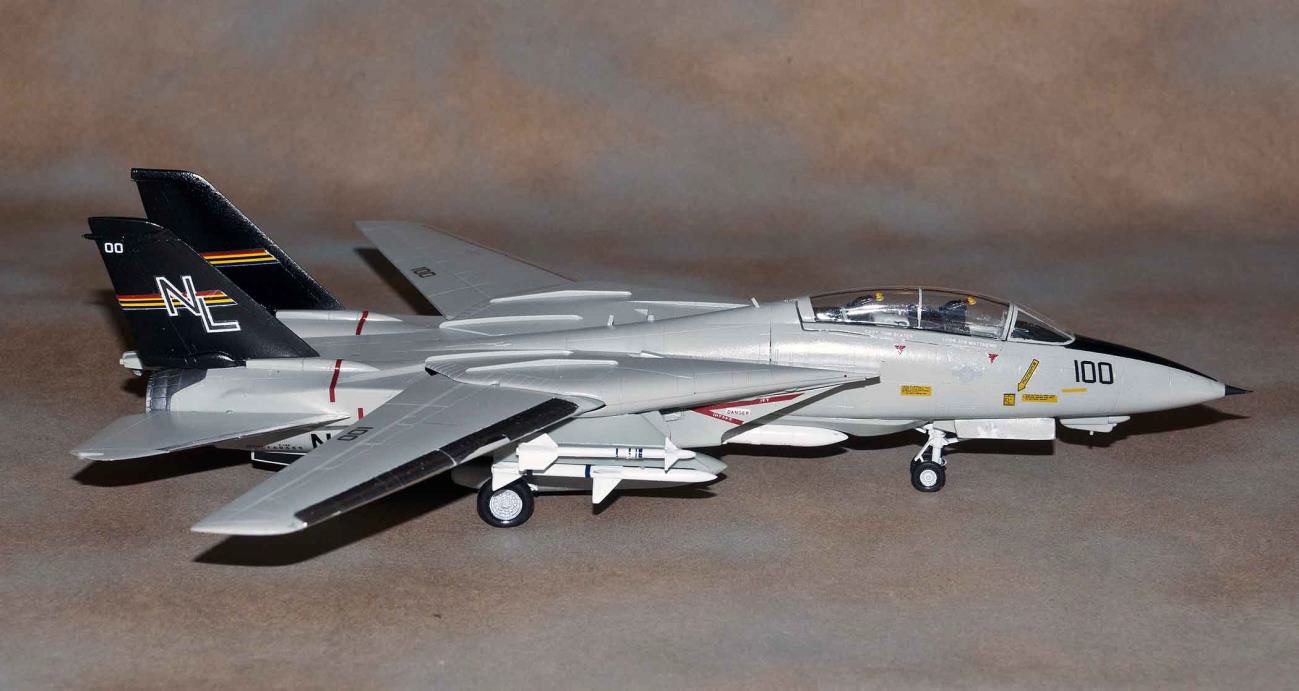
F-14 starboard front view
While some of the assemblies were drying I painted the missiles and other appropriate parts GLOSS WHITE. After the missile dried I added the appropriate decals. Quite a
few small parts had to be cemented to the fuselage top and sides, IE, small antennas. The fuselage was then painted MM Gloss Gull Gray FS16440, with 2 light coats. Set aside to dry I continued with the decaling of the missiles. I then gave it a couple of coats of FUTURE. The tail assemblies were repainted flat black and coated with FUTURE and the decals were added.

F-14 topside view
This was time to add all the decals to the fuselage, which there were many. This was also a time consuming process. The decals went down pretty well, by using a little FUTURE in the process.
The last parts to be glued were all the small parts, landing gear doors, missile assemblies. Most of the landing gear doors had very small areas to have cement added to them. It was a long process since a piece had to be glued and set aside to dry, before proceeding to the next part.
The exhaust nozzles were painted with a mix of titanium and aluminum spray paint and then glued in place. The tires were painted Flat Black and the hubs Gloss White. The wheels were then flattened and attached. I used Aluminum Bare Metal Foil for the leading edges of the wings and tail assemblies. This had to be carefully applied because if the foil needed to be moved it would lift the paint.
Prior to painting I dipped the canopy in FUTURE and set aside to dry for a day or two. To paint the canopy I used Tamiya tape to edge out the frame and then painted the canopy.
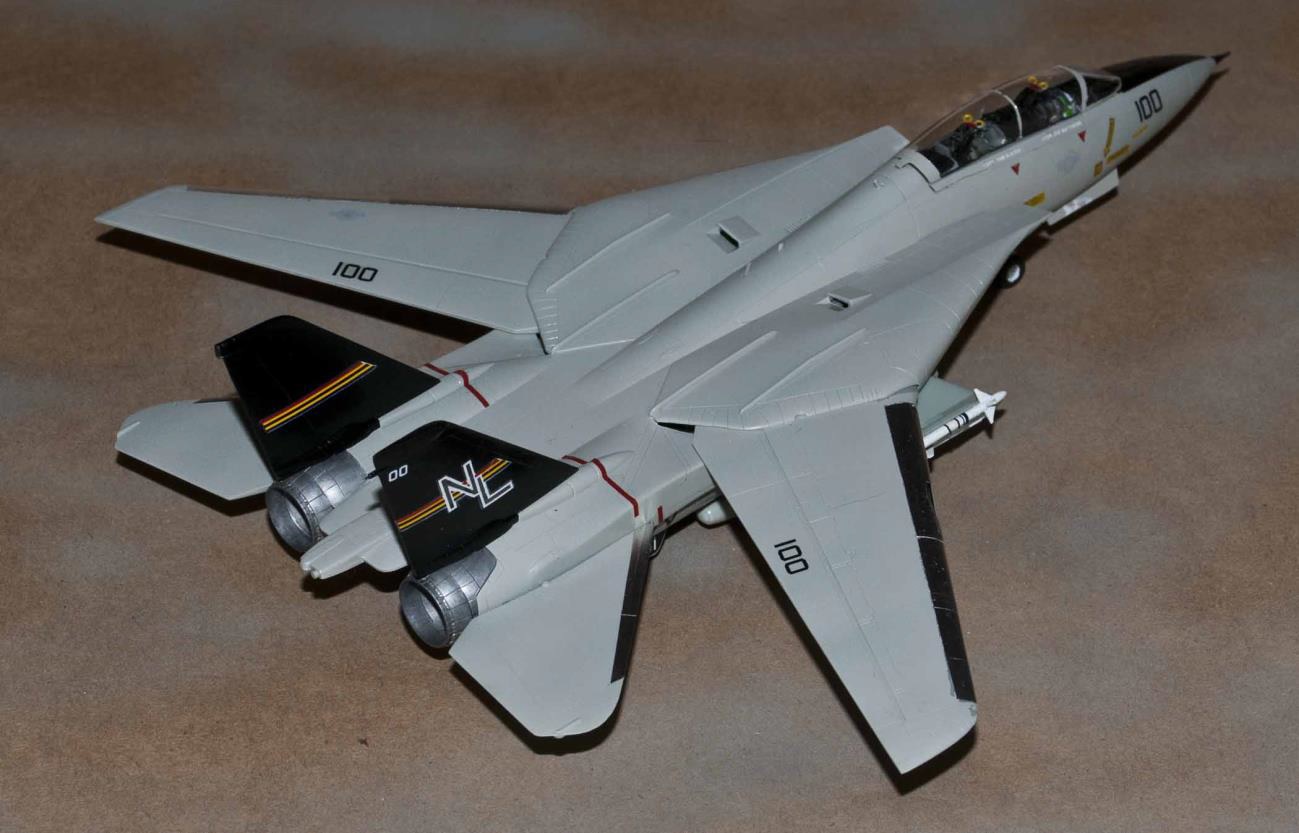
F-14 topside view
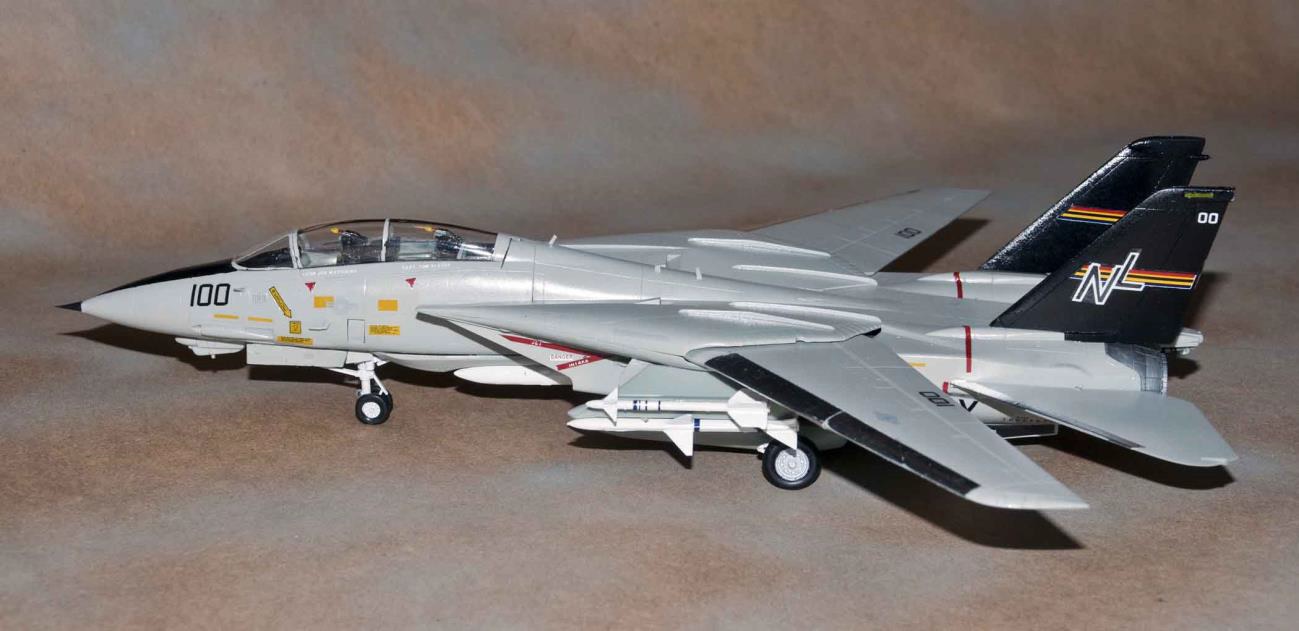
F-14 port view
