
Immelmann’s Eindecker
Eduard Eindecker in 1/48th
by Dick Smith
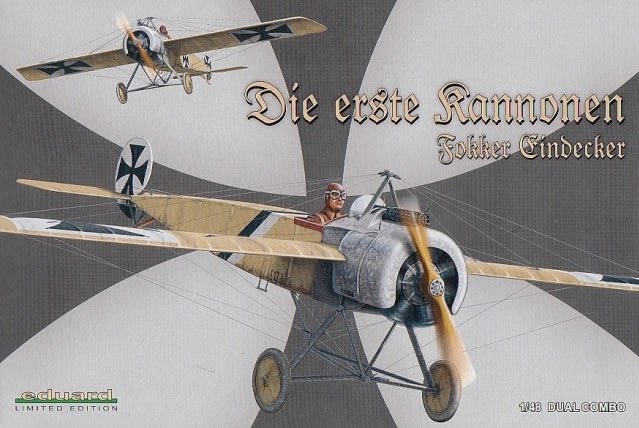
Eindecker box art
All of the major model manufacturers have produced replicas of the Fokker Eindecker. However, presently the only 1/48th scale kit of the E-II, flown by Lieutenant Max Immelmann, produced by Eduard from the Czech Republic is readily available. This is a very complicated, fragile model with many parts which builds into a very accurate representation of this important WWI fighter.
Eduard’s kit (#8156) contains the correct cowling and wings unique to the E-II version. Construction starts with the detailed cockpit which contains more than 30 plastic and photo etched parts. The interior fuselage sidewalls are painted “sand,” FS-33531, with a drop or two of dark tan, FS-30219, to give the pilot’s compartment some contrast from the exterior faded doped linen. I use an un-tinted bottle of “sand” or the slightly more yellow, radome tan, to replicate the exterior sun-bleached fabric. The cockpit and forward fuselage is surrounded by a cage of steel tubing which is painted gray, RLM-02. Paint the seat RLM-02, the cushion “leather” and then drape the etched metal seat belts into place. Follow the rest of the instructions for the cockpit construction that call for parts to be painted “wood,” steel, brass, and flat black, FS-37038.
The cockpit must be assembled carefully since tolerances are close and any mistakes will prevent the fuselage from closing properly. Attach the elevators to the fuselage and then stuff some wet tissue into the cockpit area. Select the correct wing panels and paint the fuselage, wings, and elevators “sand.” Mask the forward fuselage and paint it with a base coat of steel along with the engine cowling parts. The metal here appears to be covered with “swirls.” This effect can be duplicated with an over-brushing with Citadel’s “ironbreaker.”

The Oberursel rotary engine is sprayed with steel and dry brushed with flat black to bring out the cylinder detail. When the engine is dry, carefully attach the photo etched ignition harness, glue the finished engine to the fuselage, and attach the cowling side panels.
Set your basic airframe assembly aside and construct the landing gear struts which are painted RLM-02. The wheel hubs are the same shade as the fuselage and the tires are flat gull gray, FS-36440. (German rubber was not colored with lampblack in WWI and thus the light gray appearance.)
The underside of the top forward portion of the fuselage holds the rudimentary instrument panel. The single Spandau machine gun, that utilized the Fokker designed interrupter gear and allowed it to fire through the propeller arc, is attached to the fuselage. An etched metal cooling jacket is provided for the gun along with an ammunition belt and spent shell collector chute.
Select the correct prop for the model, paint it wood, and then brush it with clear orange to give it a varnished, high gloss appearance. A profile of the markings for the Eindecker shared by Immelmann with Lieutenant Oswald Boelcke in 1915 can be found on the bottom of page 39 of Osprey’s “Early German Aces of World War I” by Greg vanWyngarden.

The kit contains the wing Maltese crosses with white backgrounds and a second set without the white bands. I used only the national insignia crosses and painted my wing upper and lower backgrounds with insignia white, FS-17975. At the same time, I sprayed the rudder white and applied their black insignia.
Eindeckers were agile fighters that used “wing warping” for control in flight. As a result, the aircraft used several sets of control cables to enable it to maneuver in combat. The back page of the instruction sheet provides a diagram of the rigging. There are several methods of applying the wires; stretched sprue or a light duty fishing line. I prefer .020 stainless steel wire measured to the proper length utilizing pair of drafting dividers.
With the rigging compete, spray a coat of decal sealer overall, and your Eindecker is ready for display.
