
Frankentanken
by Ed Mate
The 108 gal. paper tanks in the Tamiya 1/48 P-47D Thunderbolt kits are decent, but the modeler is challenged with cleaning up the seams on the nose and tail without destroying the fine raised detail. On many of my kits that last “rib” of fine detail is detached due to the difficulty of removing the parts from the mold. This is the reason I looked into the Eduard Brassin product.
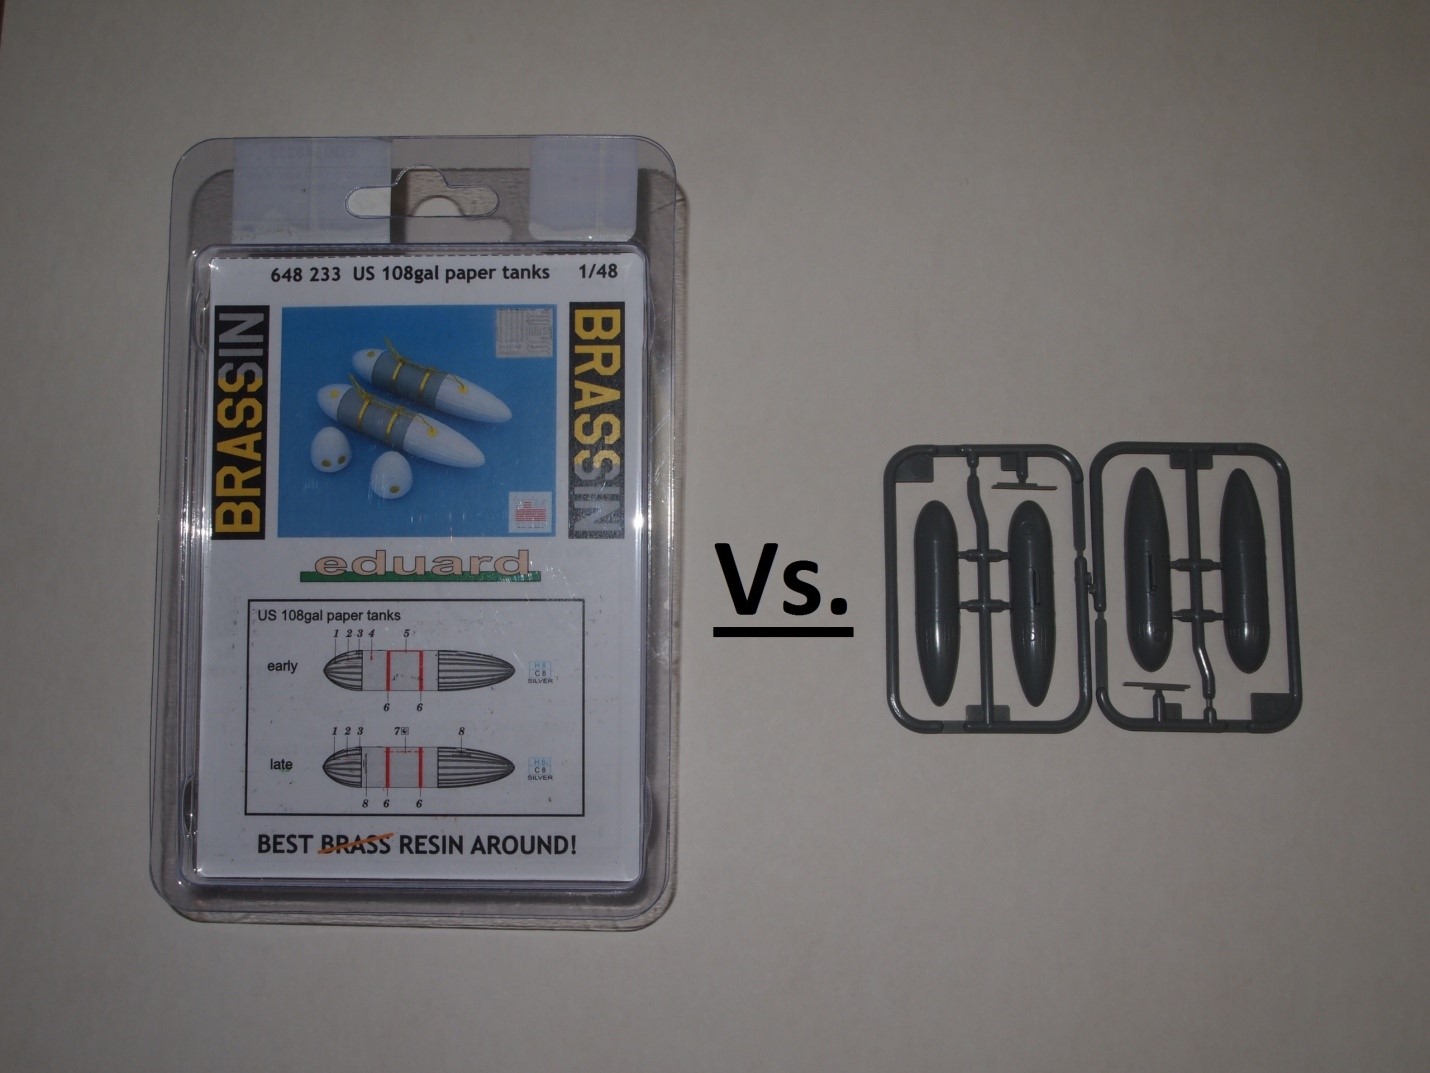
However, working with the Brassin parts a number of other modeling challenges appear. The parts don’t attach to the model the same way so a mounting system must be created, multi-media – the straps and some details are made of metal and must be bonded to the resin, but by far the worst on this Brassin set is dealing with removal of the pour stub and clean up of the resulting mess.
Additionally, Eduard did not provide the “strap” at the transition from the cylinder to the nose and tail parts so an additional set of straps must be fabricated. I find it easier to work in plastic than in metal so I fixed up a tank using 0.005″ plastic strips:
The challenge with this approach is keeping the center straps parallel with each other and the front and rear strips while using near-instant drying super glue to bond the mixed media (plastic to resin).
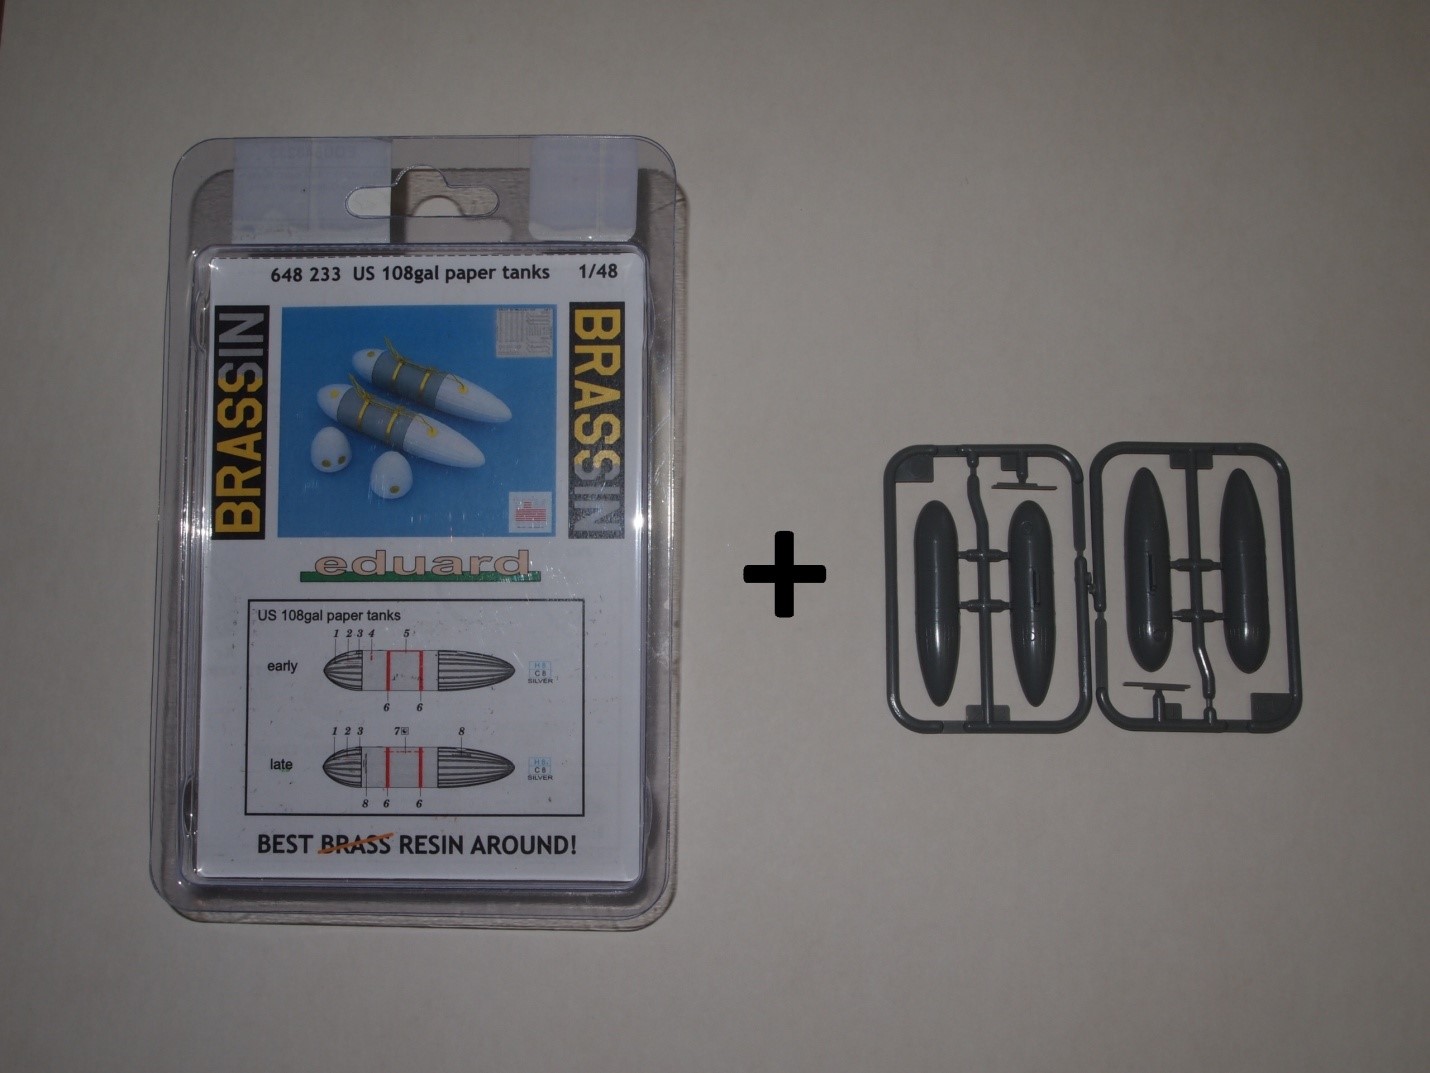
Looking for a solution to these issues led me to my current approach – the Frankentanken. This Frankenstein approach uses the kit parts for the cylinder and straps and the Brassin nose and tail parts with their nicely done rib detail.
The first step is to assemble the Tamiya kit parts paying close attention to the center cylinder to get the seam as good as possible with the straps aligned. No need to worry about closing the gaps at the nose and tail.

The next step is to clean up the seams like any seam work done on a plastic model. I like to use a Flexi-file with a sanding strip that has been thinned to easily fit between the closest straps near the tail. Then I polish out any scratches with fine grit sanding pads.
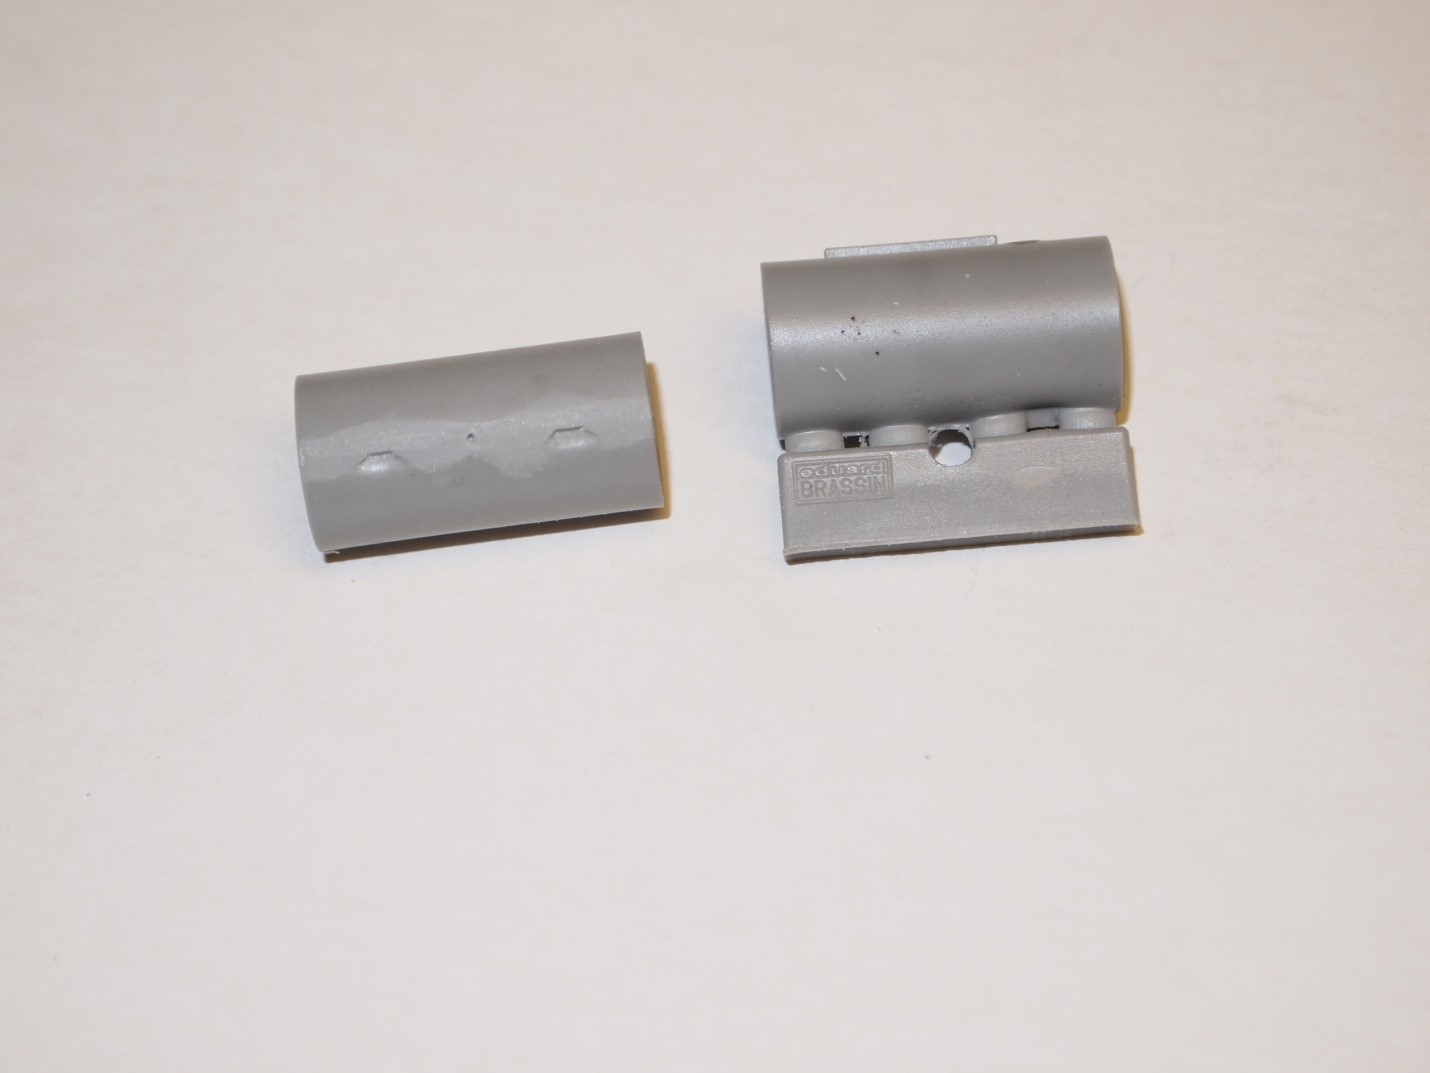
Now, cut off the nose and the tail. I use a razor saw and leave a little “waste” for final clean up ahead and behind the front and rear straps.
Now carefully trim the waste away and clean up the ends so they are nice and square. I use my lathe for this step but it can be done with a flat file – choose one that is wide enough to cover the full diameter. Also, I found that removing the alignment pin protrusions on the inside helps avoid any interference with the resin parts.
Now this is a very important step – do not neglect it! Drill a small diameter hole through the cylinder from outside to inside. I locate the hole in the mounting tab so it won’t be seen and won’t need clean up later. I discovered this the hard way. Epoxy cures with a thermal reaction that heats up the air trapped inside the cylinder. The expanding air ejects the part being bonded. So if you don’t want to hold the parts together for a seeming eternity, drill the hole to give the heated air a route to escape.
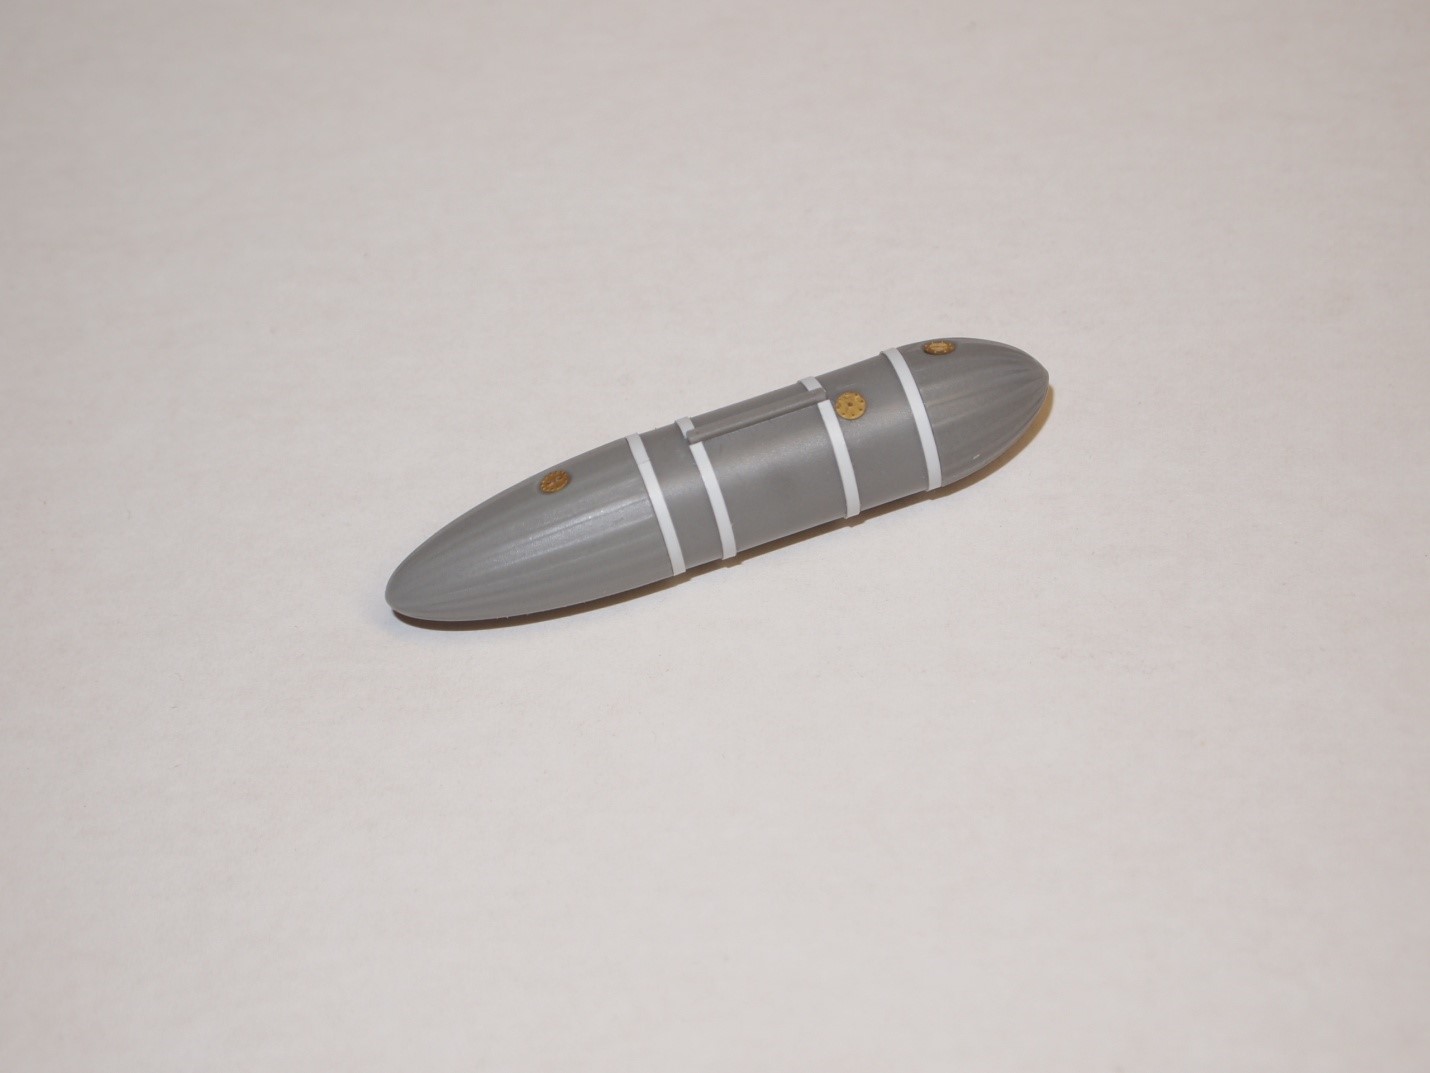
Next, attach the resin nose and tail with 5-minute epoxy. I do this in two sessions gluing first the tail then the nose. This approach takes the pressure off (no pun intended) in getting the parts aligned properly both axially and rotationally so the filler spots show up in the correct location relative to the mounting tab. I like 5-minute epoxy for this because it gives some time to align things and it will fill the small gap at the seam between the resin and plastic.
I’ve used the Brassin set photo etch filler cap and feed tube cover and I’ve salvaged the filler cap from the Tamiya part. Once those are in place, paint and attach to the model as you would have with the kit parts.
