
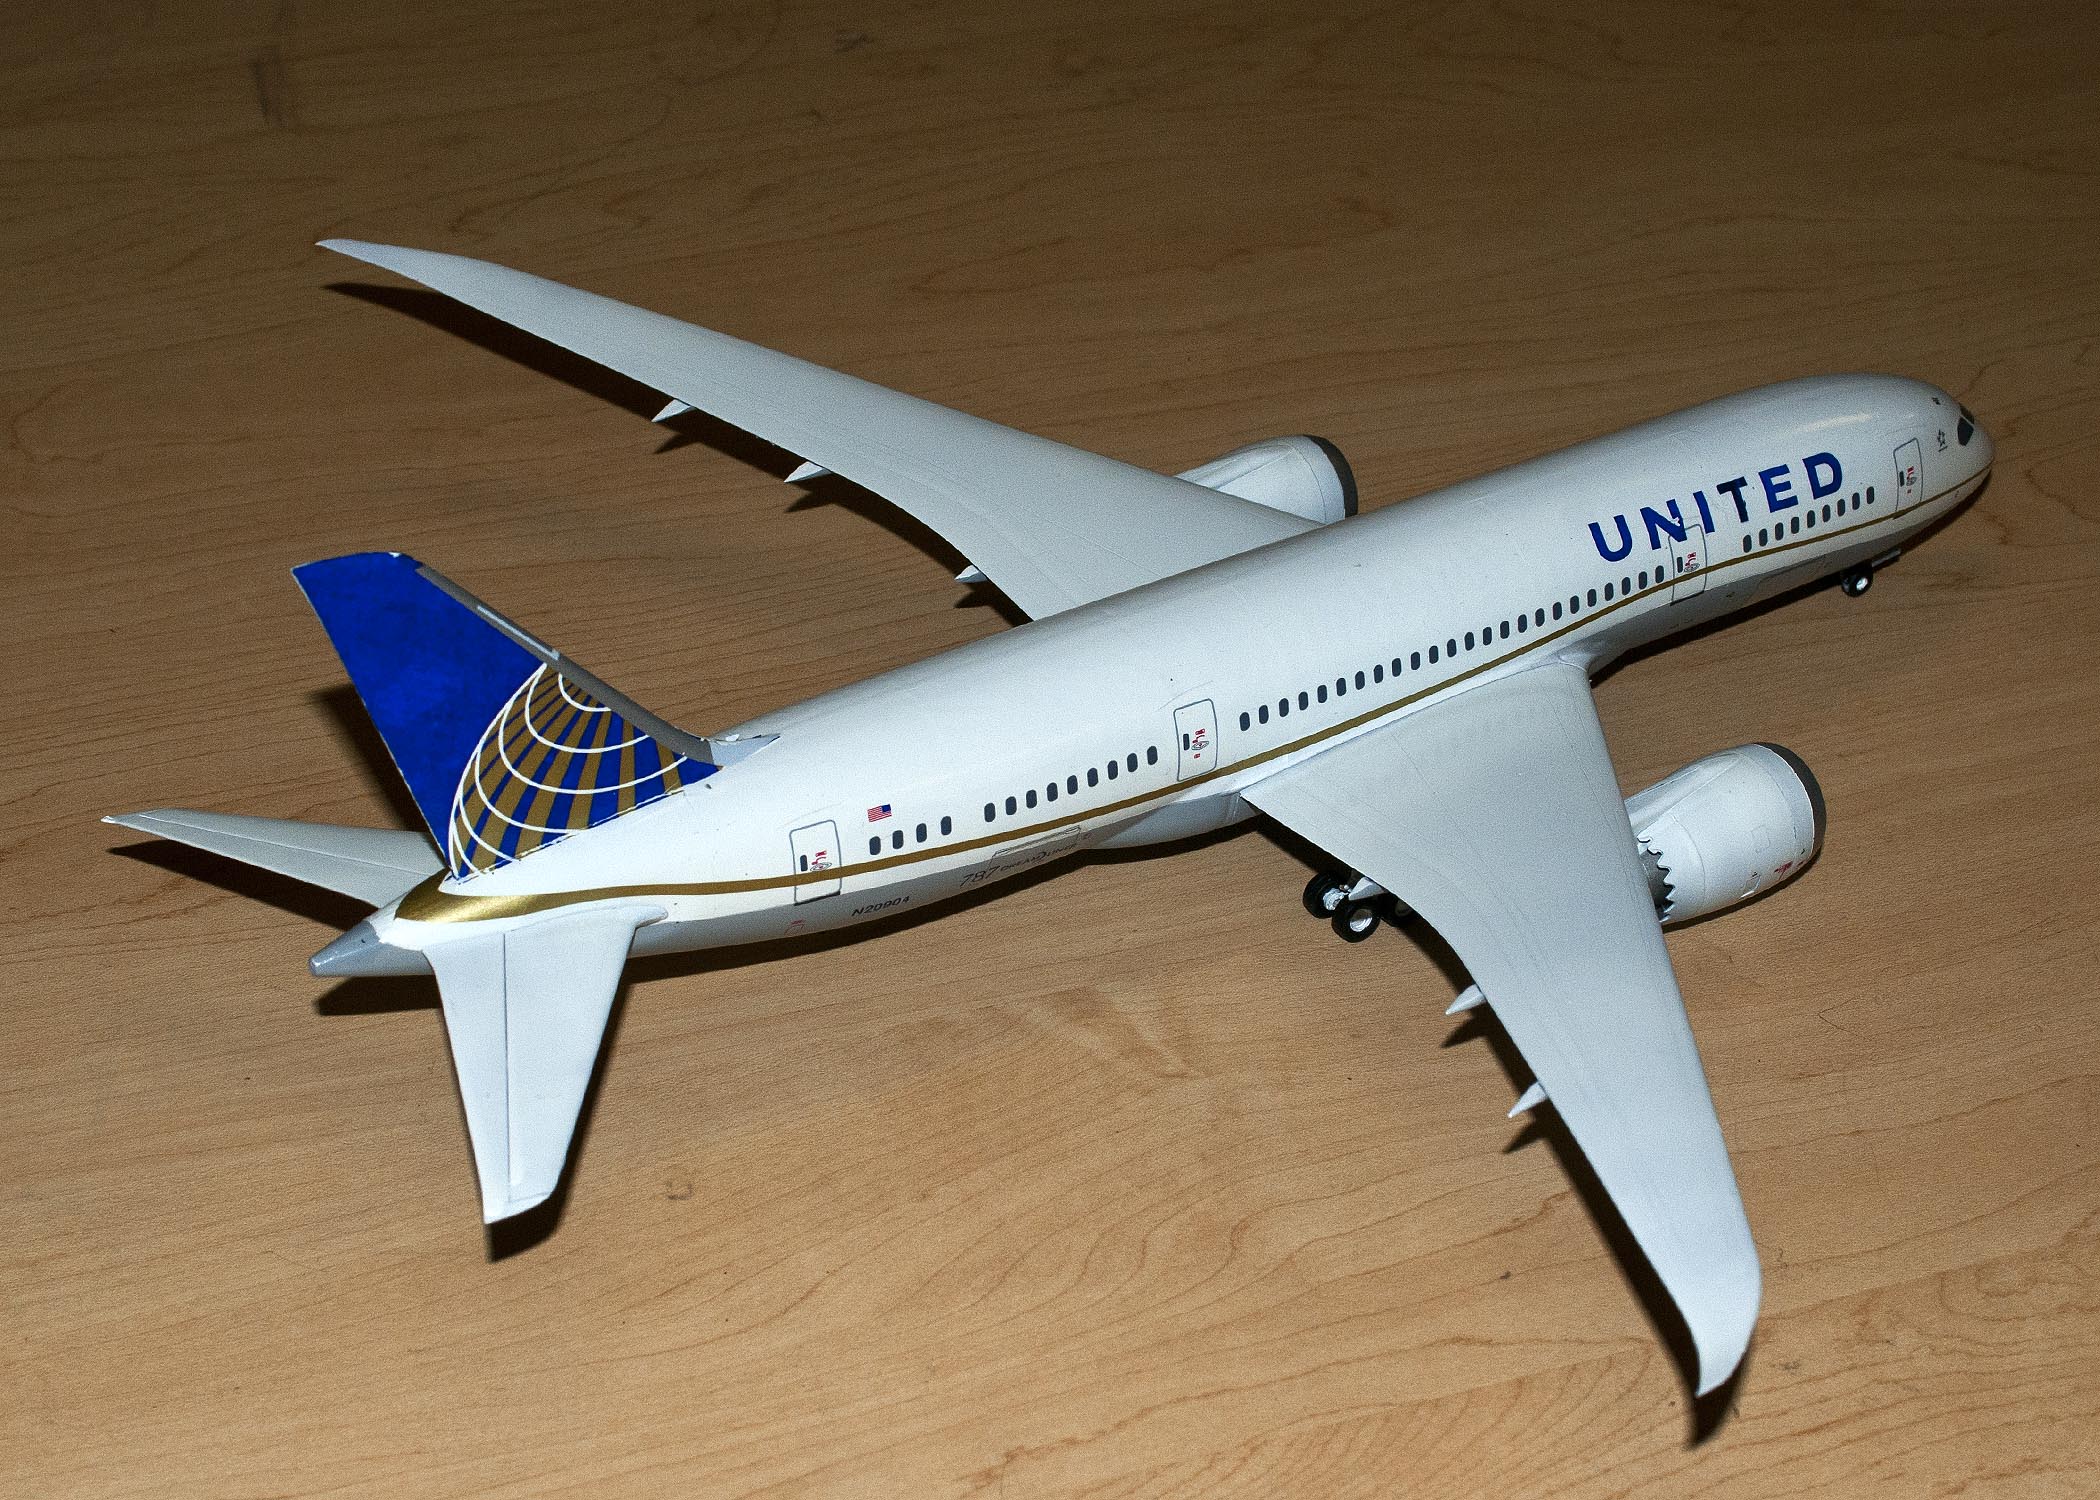
Boeing 787-8 Dreamliner in 1/144th Scale
Zveda No. 7008
by Paul Gasiorowski

The Boeing 787 Dreamliner is an American long-haul, mid-size, wide body, twin engine jet airliner made by Boeing Commercial Airplanes. Its variants seat 242 to 335 passengers in typical three-class seating configurations. It is Boeing’s most fuel efficient airliner and is a pioneering airliner with the use of composite materials as the primary material in the construction of its airframe. The 787 was designed to be 20% more fuel efficient than the Boeing 767, which it was intended to replace. The 787 Dreamliner’s distinguishing features include mostly electrical flight systems, raked wingtips, and noise reducing chevrons on its engine nacelles. It shares a common type rating with the larger Boeing 777 to allow qualified pilots to operate both models, A total of 500 airplanes have been delivered, 324 -8’s and 176 -9’s to date.
The kit was well packaged, one sprue of parts, 2 pieces for the fuselage, 2 pieces for the wings, a sprue of clear parts that contained the windows and the cockpit window. The first thing I did was wash the parts in a warm soapy water solution using a soft toothbrush gently as not to break off any of the small parts. The decal sheet that was included was for the Boeing Dreamliner initial rollout. They weren’t very colorful so I searched the internet for some other options. I found a decal sheet at F-DCAL in France for United and Continental markings. They included decals for the windows. Information on the decals and their placement will be made later in the review.
The first thing I did was glue in all the clear windows in both sides of the fuselages. I then applied a coat of Tamiya gray primer to all the parts. This was a big model I added some lead to nose of the plane after I had glued the nose wheel box in place. The windows protruded somewhat from the fuselage, since there were decals for the windows, I sanded them smooth with the fuselage. After this was done, the halves were glued together and set aside to dry. The fuselage was then given another coat of gray primer.
I then proceeded to paint and assemble the engines. They were quite detailed, included double fan blades and a detailed exhaust nozzle. These assemblies were then put aside to be added later in the build.
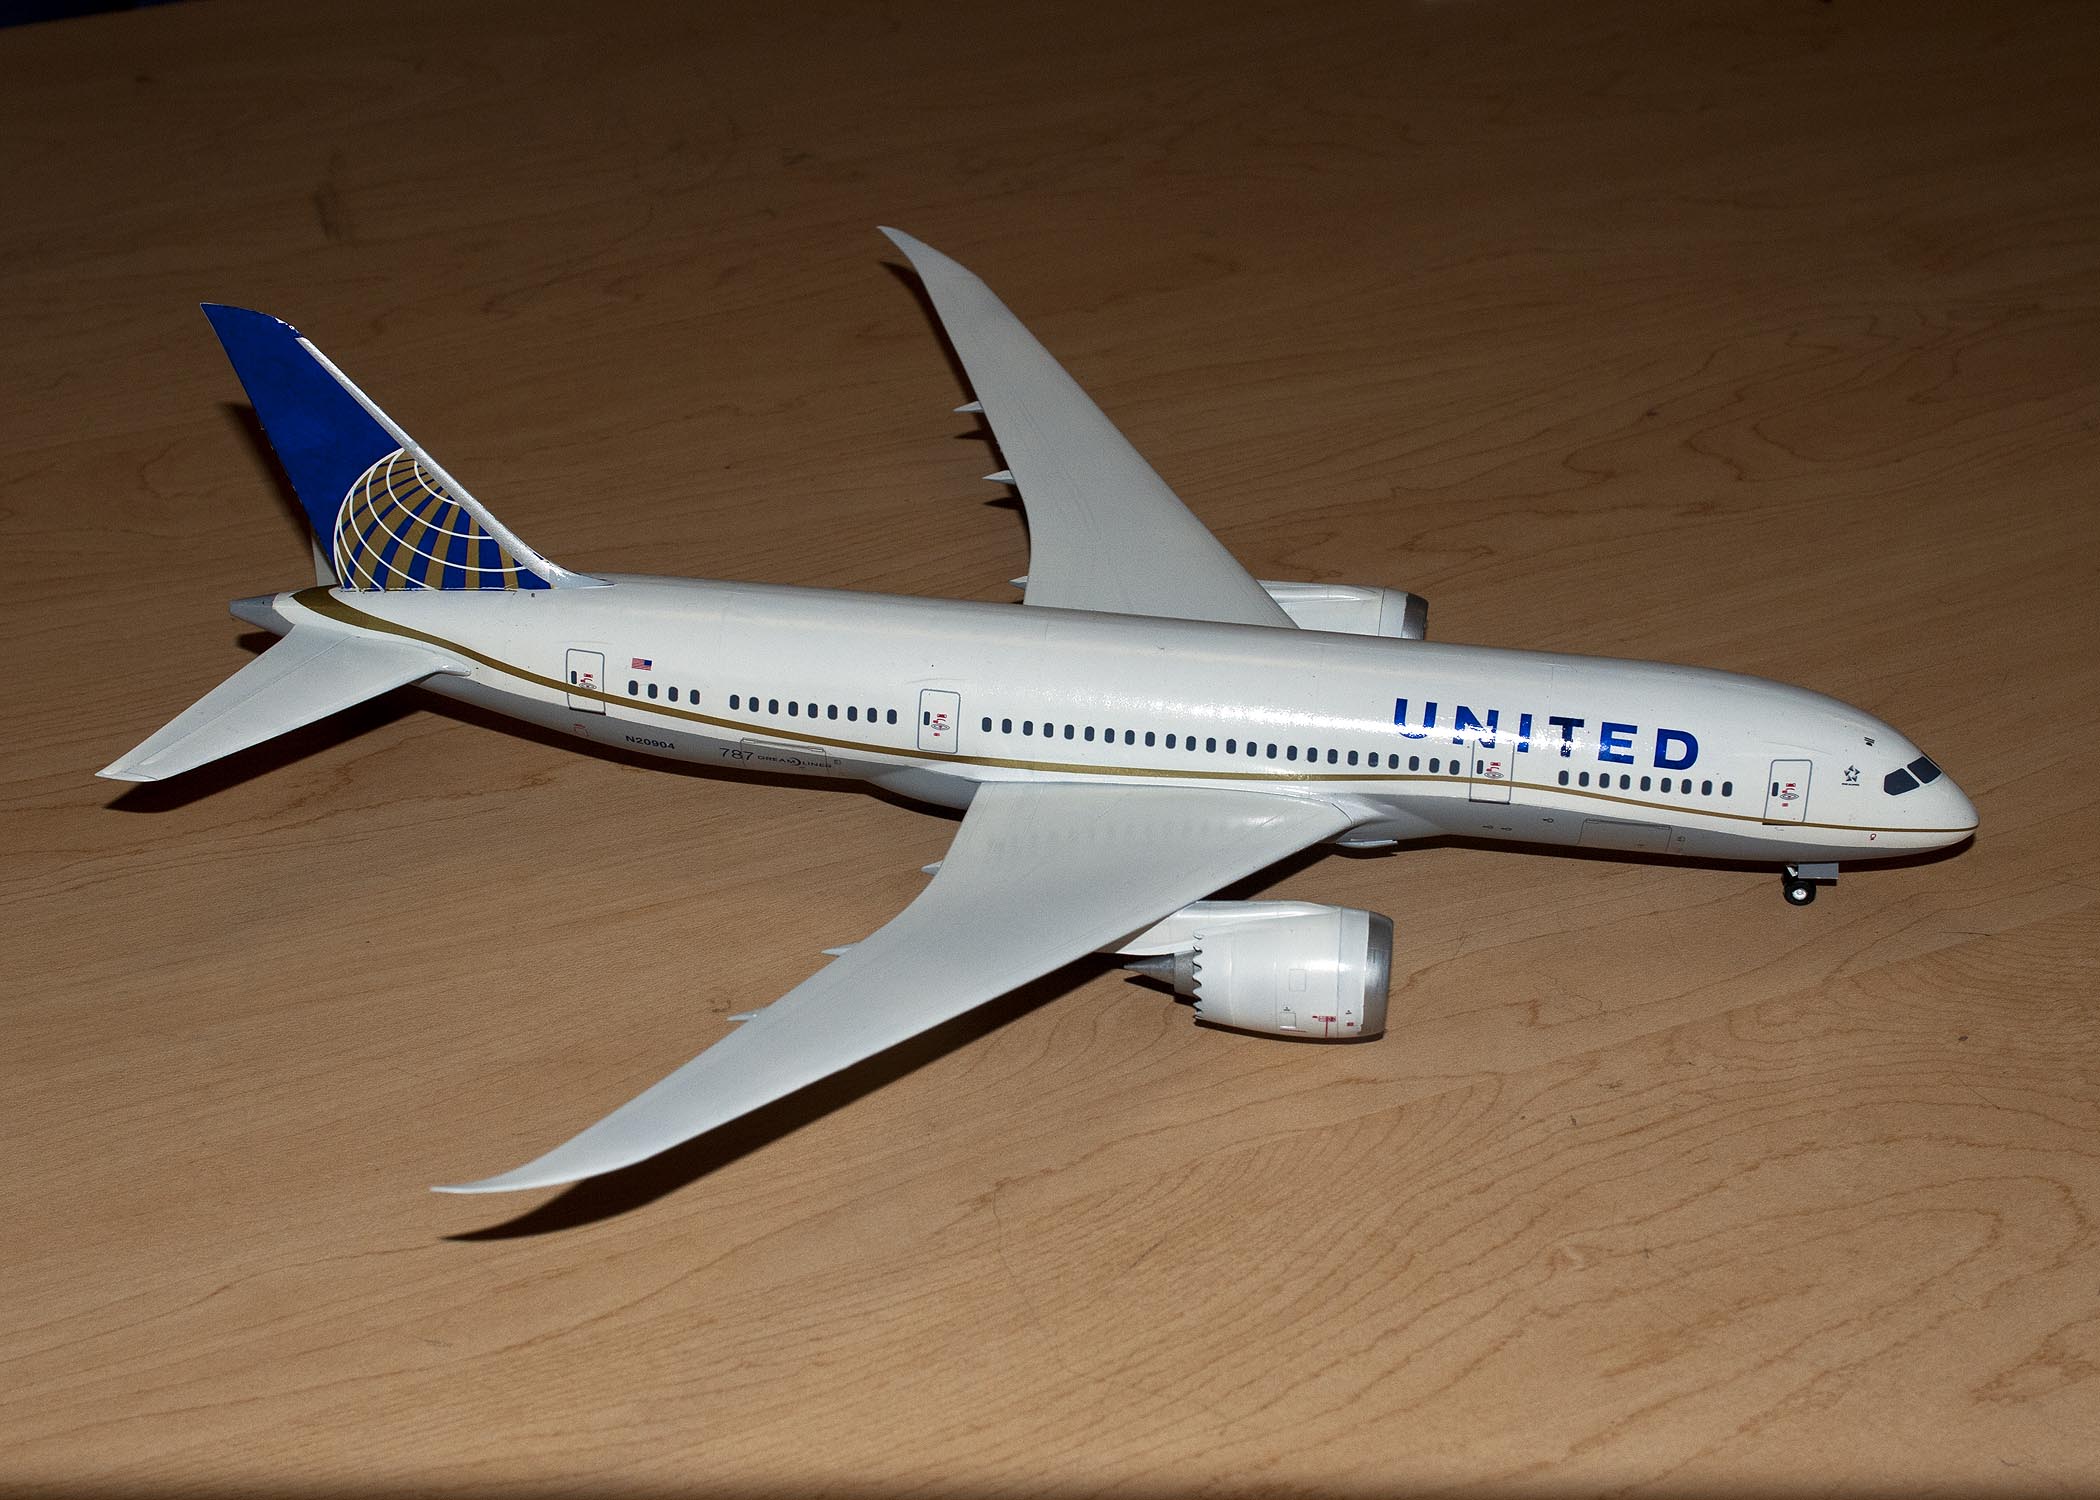
The wings were then assembled; the lower wing was one piece and two pieces for the upper wing. After the wing dried, I did a dry fit with fuselage and it looked like I wouldn’t have to glue them together. That eliminated any filling and sanding going forward. The paint scheme was Gloss White on the upper fuselage and Light Ghost Grey (MM Acryl FS36375) on the lower body. The wings and fuselage were painted separately. The fuselage for the United Airline scheme had a wavy scheme from front to back. So I made copies of the decals and cut out the gold scheme decals and used them as a template for painting the lower fuselage. I cut out the copies and laid them on some Tamiya 18mm tape and traced them out. I trimmed them out with a brand new No. 11 blade. These pieces were placed just below were the gold decal stripes would be as the curvature is the same. I then added a little more tape and proceeded to paint the lower fuselage Light Grey (MM Acryl). I gave it two/three coats to make sure I had good coverage.
I them made more copies of the wavy scheme and applied them to the lower fuselage just lining them up with the grey that was just painted. Next was to apply several coats of Gloss White (MM Acryl FS17875). This process was done over several days. After applying the last coat of Gloss White, I removed all the Tamiya tape and misc. paper coverage from the lower fuselage.
The next thing I did was to paint the wings. I started with the Gloss White and applied several coats to insure good coverage. The lower part of the wing was painted Light Ghost Grey with several coats. After looking on the internet at many pictures of the Dreamliner, there was no definitive scheme for the leading edges of the wings. Some pictures showed an aluminum/silver leading edge, other were just white. Even in pictures of the liveries of different airlines, there was no consistence in the color of the leading edges.

The next step was to add the decals that I purchased from F-DCAL. I started with the door decals as the gold stripe decals would be going over some of the doors in the process. I added the decals and let them sit for a couple of hours before proceeding to add the window decals. These decals were added in segments since it would be easier to position smaller pieces, rather than use a long strip of windows. I let the plane sit for a day before adding the gold stripe along each side of the fuselage. These were also cut into manageable strips to aid in the positioning of the decals. The next day I added the United decals and any smaller decals, like aircraft number, the name Dreamliner, and any other small details. The decals came off the backing if you just looked at them; it took no more than about 20 seconds for them to come loose. The only decals that seemed out of the ordinary were the ones for the cargo doors on the right side and one decal on the left side. After applying them they were very glossy. The engines by themselves took a long time to apply as there were about 12 pieces for each engine. There was also one spinner decal for the inside of each engine. The cockpit window decal was one piece and it lay down very nicely.
For the landing gear I opted to use metal parts from Scale Aircraft Conversion which I ordered from Sprue Brothers. The cast metal parts are very delicate and are prone to be bent easily. Replacing the plastic landing gears was an easy decision based on the size of the model.
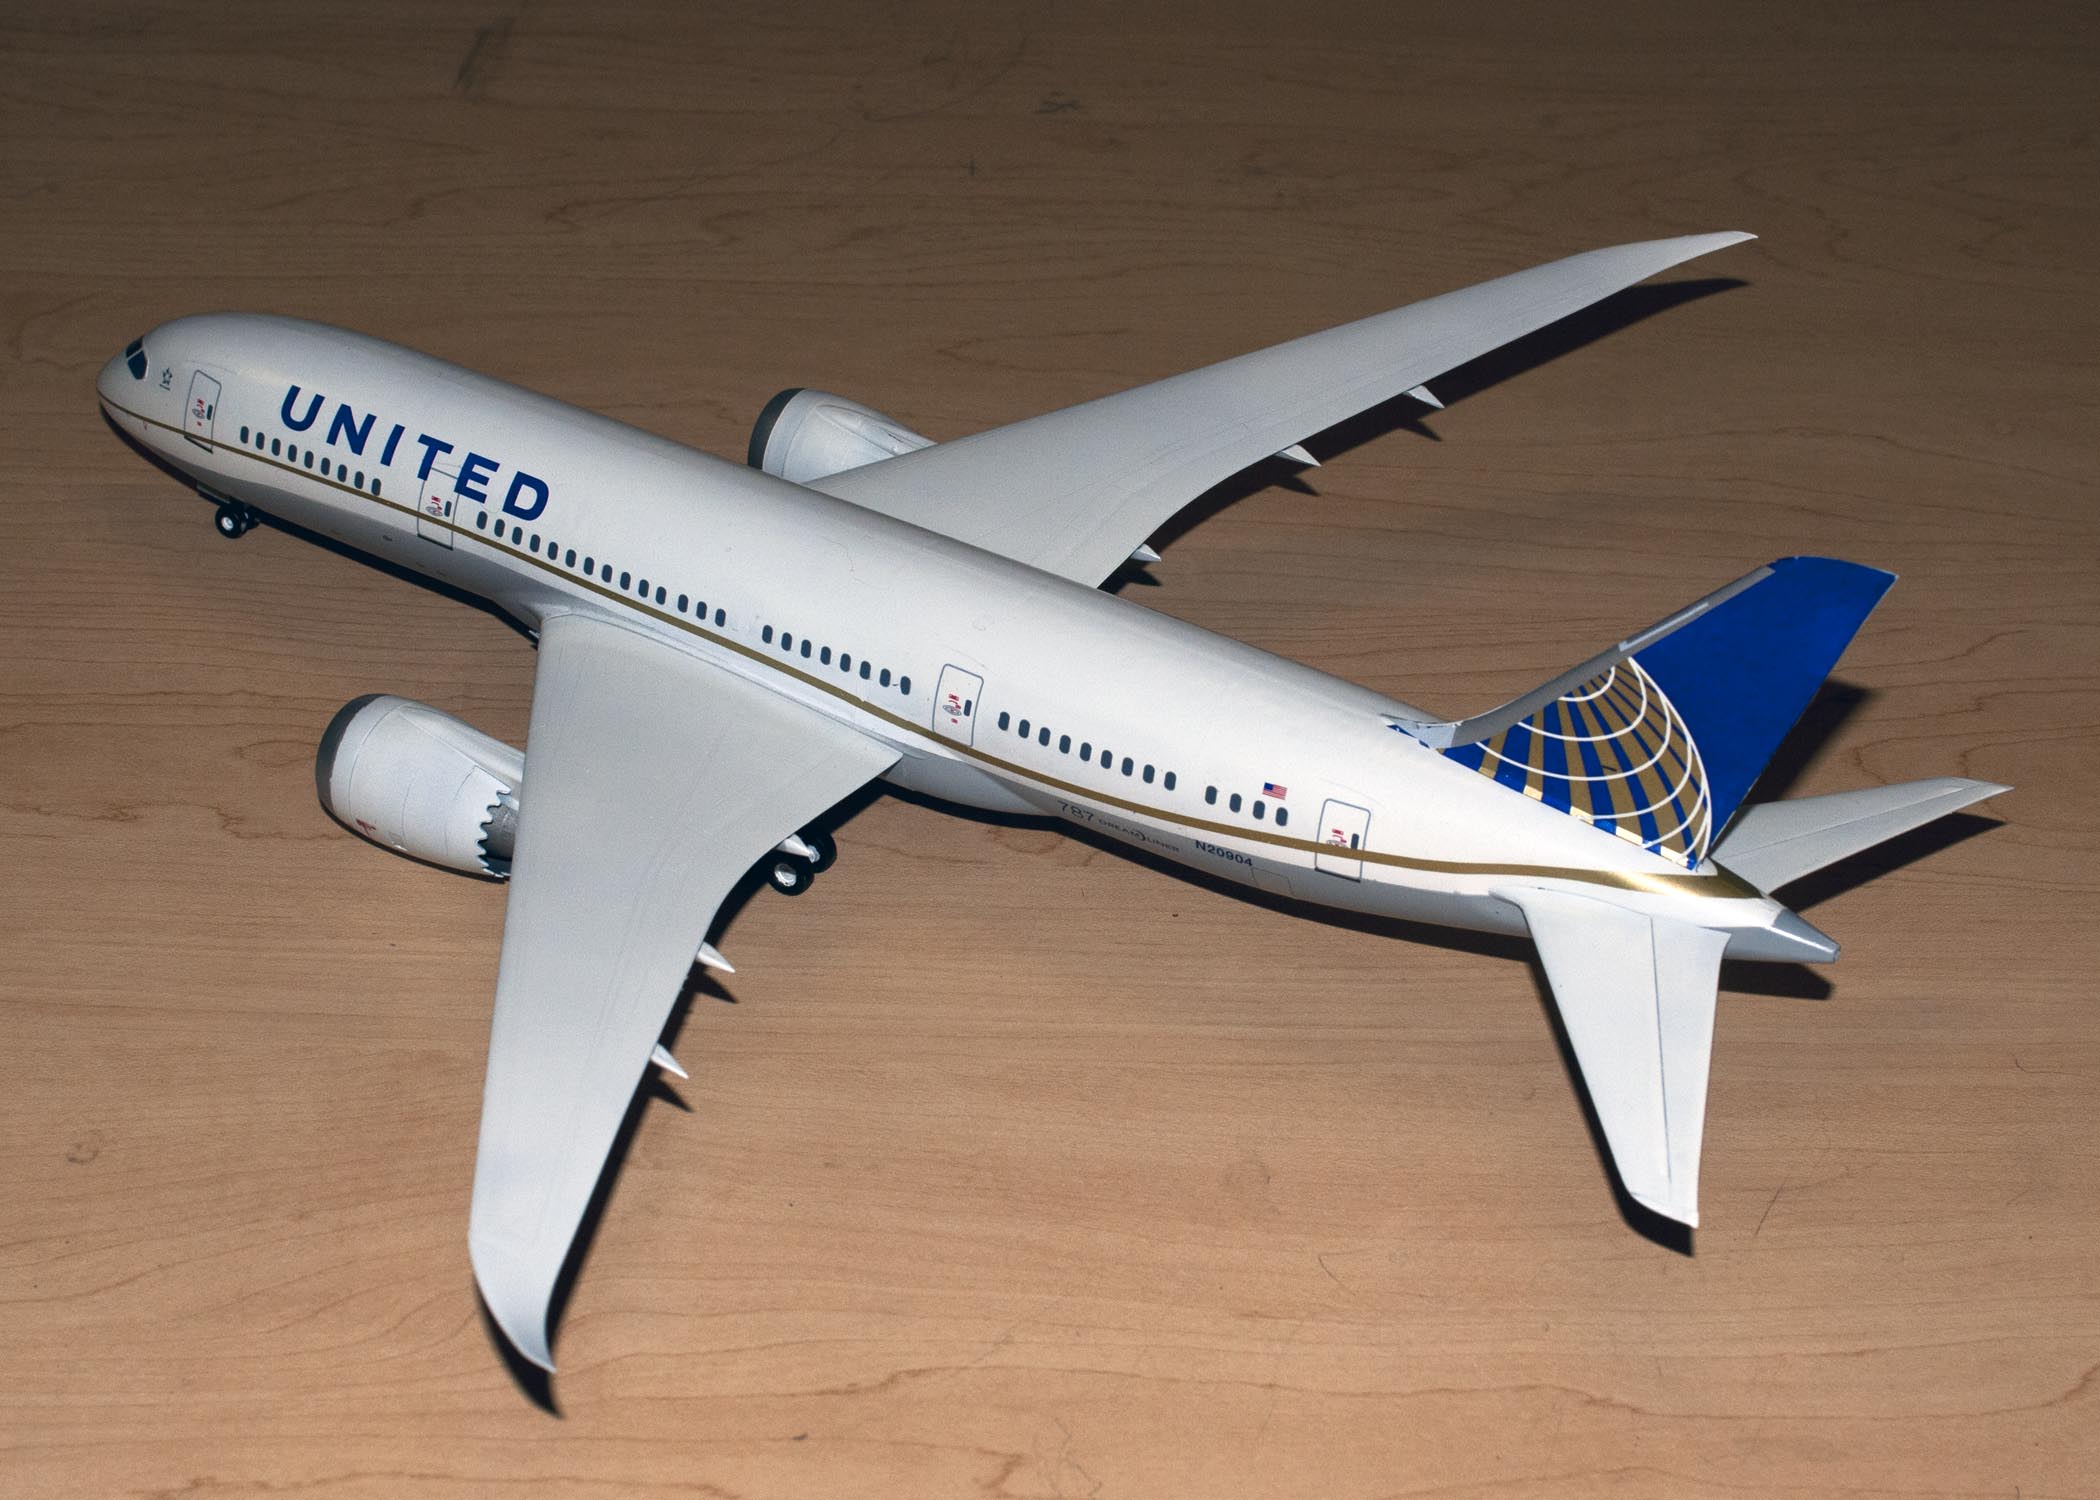
The cast metal parts took a little bit of cleaning up with some small files. Once the parts were cleaned up I did a dry fit to make sure that I had all the glue points determined. I used super glue for these parts. The main landing gear was glued in first and then followed with the 2 smaller parts for each. The four wheel bogies were assembled individually and applied to the main gear assemblies. This process almost insures that they all sit squarely on the ground. The front wheels were then added next. I then attached the wing assembly and it fir great without any glue.
This was an enjoyable build, the Zveda kit was great as all the parts fit well. My next build will probably be a United 727, 720 or 747. The problem is trying to find the decals for these particular planes. I plan to use the United Airline aircraft at the next club exhibit at the Butch O’Hare show next November.
