
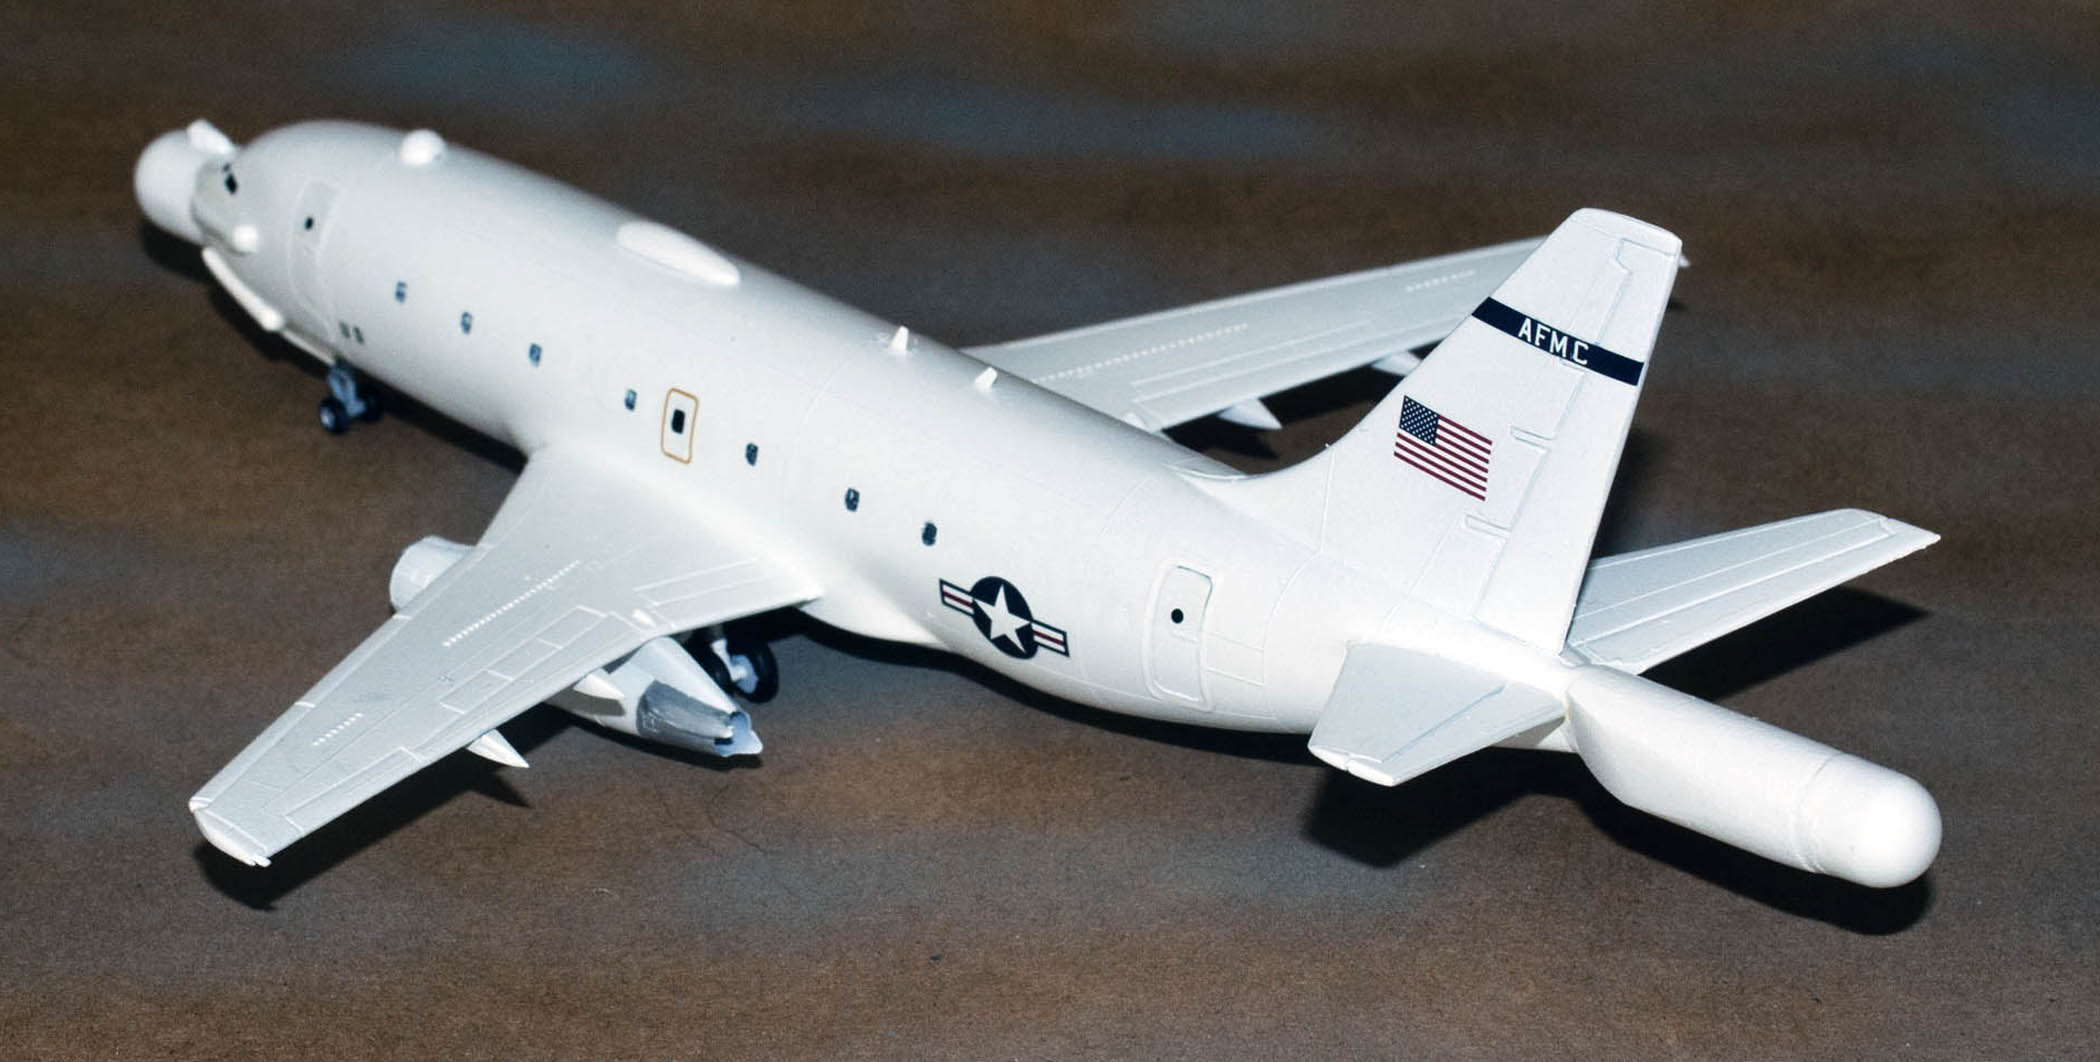
Call Sign RAT 55
Airfix B-737 NT-43A
Kit No. A04178A in 1/144th
by Paul Gasiorowski
The basis for this aircraft was a photograph of a highly modified B-737 sent to me by the “TICK”. Along with the photograph was an overview of what the function of this airplane was. Nobody knows exactly where “RAT 55” lives or precisely what technology it uses to accomplish its mission, but it is sure an exotic looking beast. It’s modified B-737-200 whose life started as a T-43A navigational trainer. It was recovered from the bone yard around the turn of the century and sent to the Lockheed Skunk Works. It made its first flight on March 21, 2001. The current thought it may have its roots dating back to the origin of stealth technology itself. More information can be found at http://foxtrotalpha.jalopnik.com/the worlds-most-secretive-737.com.
It’s been around for 15 years, yet very few photographs of it exist. It seems to frequent the incredibly desolate Tonopah Test and Training Range airport. It also has been reported that its home could be AREA 51.
Since I could not find a model of a B737-200, I decided to use Airfix’s Boeing 737 kit, no. A04178A as the starting point. Prior to starting the kit I mulled over on how to add the 19 foot by 6 foot diameter radomes to the front and rear of the airplane. I had a few ideas, but decided to start building the fuselage and keep pondering what I could use for the radomes.
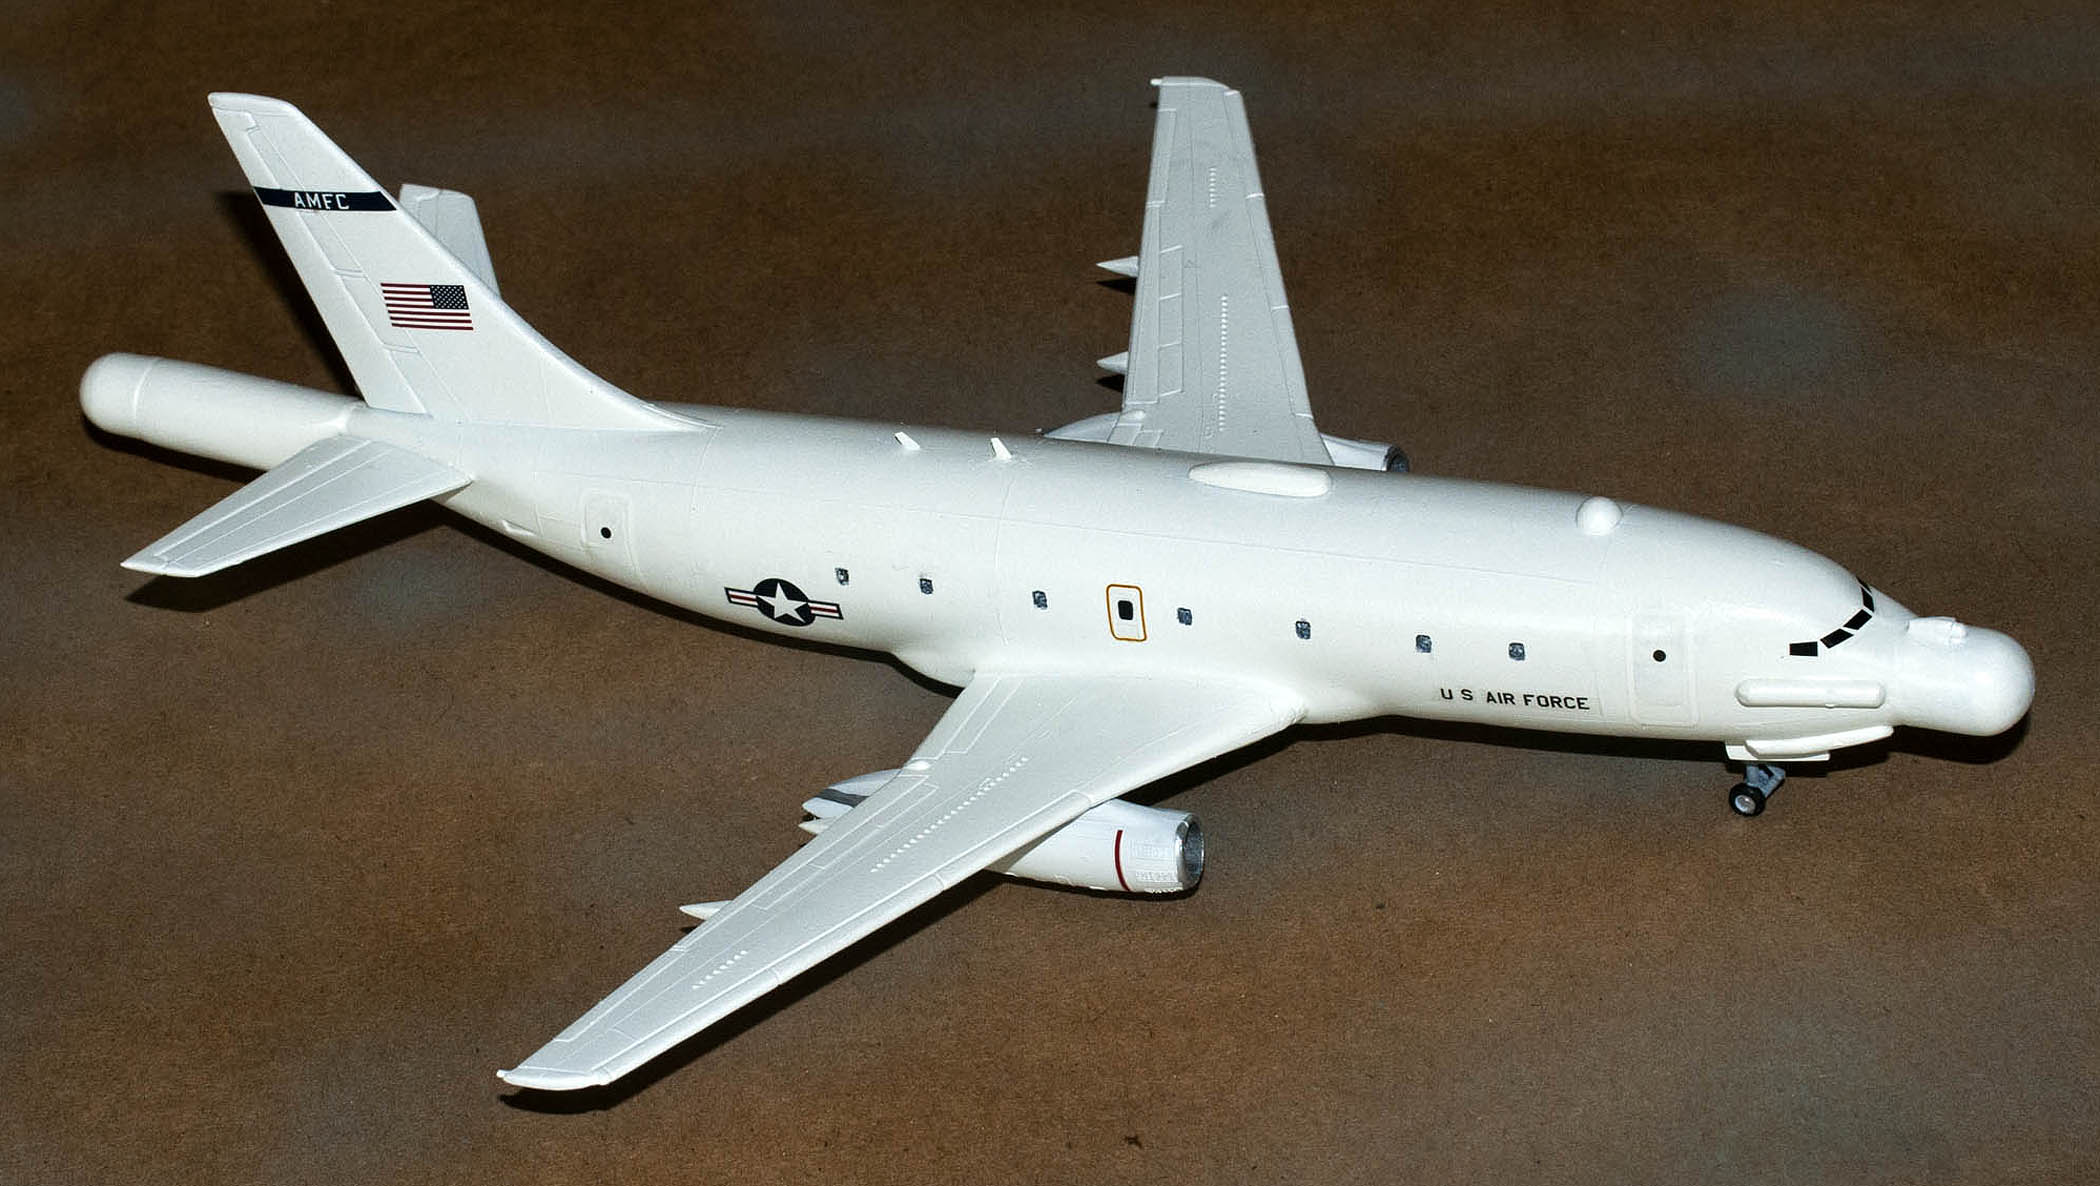
Since most of the windows on the RAT were blocked out and the kit had all open windows in the fuselages halves. To eliminate the windows, I added some thick styrene to the inside of the body. I secured these pieces with super glue and let in dry over night. I had to make sure the styrene would not flex when I went to fill in the windows. Some weight was added to the nose prior to closing the body up. Also At this time all the cargo/luggage doors were cemented in and filled with putty, since RAT did not have these doors as far as I could tell. I marked out the windows that are visible on the RAT and filled in the others with Squadron White Putty. Letting it dry over night, I used more putty to fill in some of the shrinkage spots. The next couple of hours required some sanding of the seams on the fuselage and to smooth out the putty in the windows. I worked on this a couple of times to make sure the filled in windows would not be visible.
In between these steps the wings and engines were built. Not many instructions on the painting of the engines and nacelles. The fan blades were painted silver, the inside of the nacelles were painted Gloss White enamel.
The wheel assemblies were built next and painted the appropriate colors, white for the inside of the doors, the struts silver and the tires with flat black and silver hubs. I did not attach the nose gear doors or the main gear doors till everything was finished. In 144 there is not enough plasticto attach these pieces without the possibility of them getting knocked off somewhere else in the building process of the model. So they would be added at the end of the construction process.
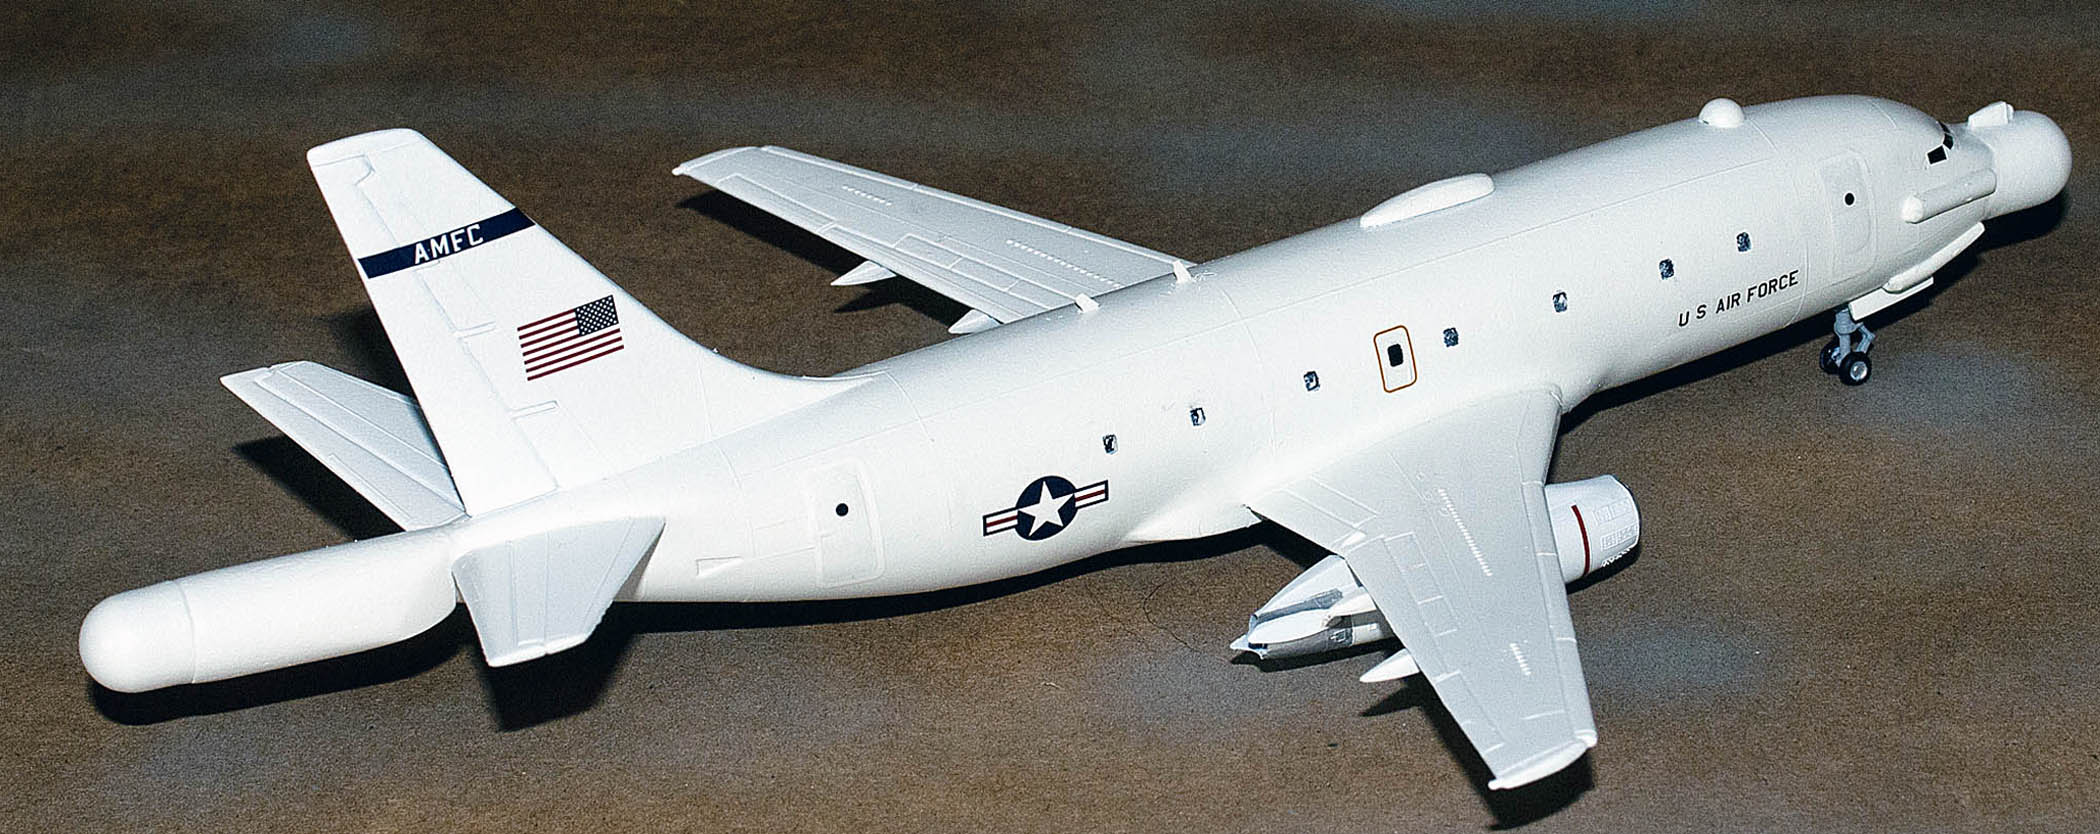
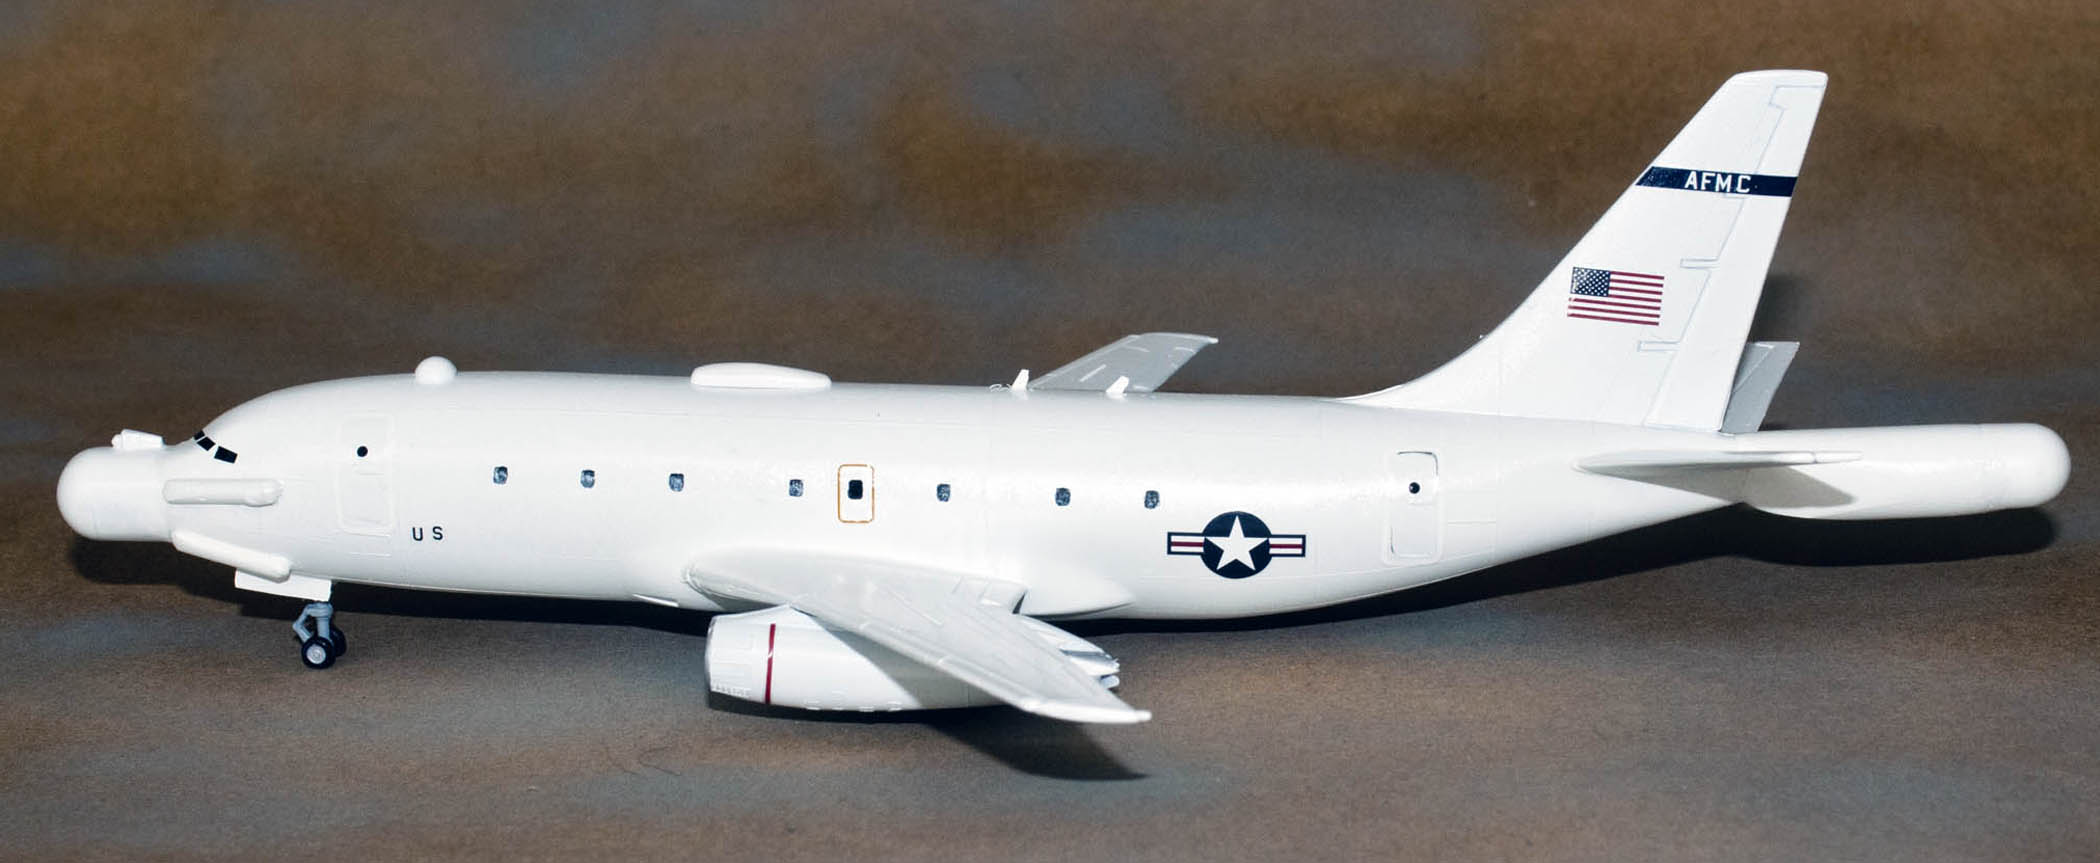
Now the fuselage was ready for the radomes on the front and rear of the plane. For the front radome I used a missile or bomb from my spares box that had the right shape and diameter. I measured the diameter and then cut off the appropriate length from the front of the airplane. I started with a smaller cutoff diameter and sanded it down carefully until it matches the missile diameter. The back radome had a taper going back to the fuselage which presented a problem. After mulling this over and looking through my spares box I could not find anything that would work. Next was a trip to Hobby Lobby to get a piece of dowel rod the right diameter. Looking at the pictures in the article, I started sanding the back edge of the dowel to a taper. Since there was only about 7mm width of plastic at the back end of the plane to attach the radome, this was going to be a problem. The problem would there be enough plastic to hold it the radome if I secured it with only super glue. Eureka! a solution popped into my head. Most B737s had the exhaust for the APU at the tail. I drilled out the dowel rod to 4mm and the tail to 4mm and inserted the brass rod and then used epoxy to secure the radome to the fuselage. Before attaching this piece I had to find a round piece to put on the end of the radome. I used a piece of plastic from a Sharpie end to take care of this and attached it with epoxy. The reason I used epoxy I wasn’t sure if the plastic from the Sharpie would be compatible with super glue.
With most of the major pieces done I painted the sub-assemblies with Tamiya White Surface Primer. I lightly sanded the pieces with some 6000 grit film to take out any slight imperfections. I then filled in any obvious imperfections with more putty and sanded them again. I gave it another light coat of Surface Primer. Once I was satisfied with what I had, I used Model Master Semi Gloss White Acryl 4701 to apply several light coats to cover the airplane. I let it sit for a day or two and came back and gave it several mist coats of Testors Gloss White from a spray can. This gave it a good gloss service to start applying the decals.
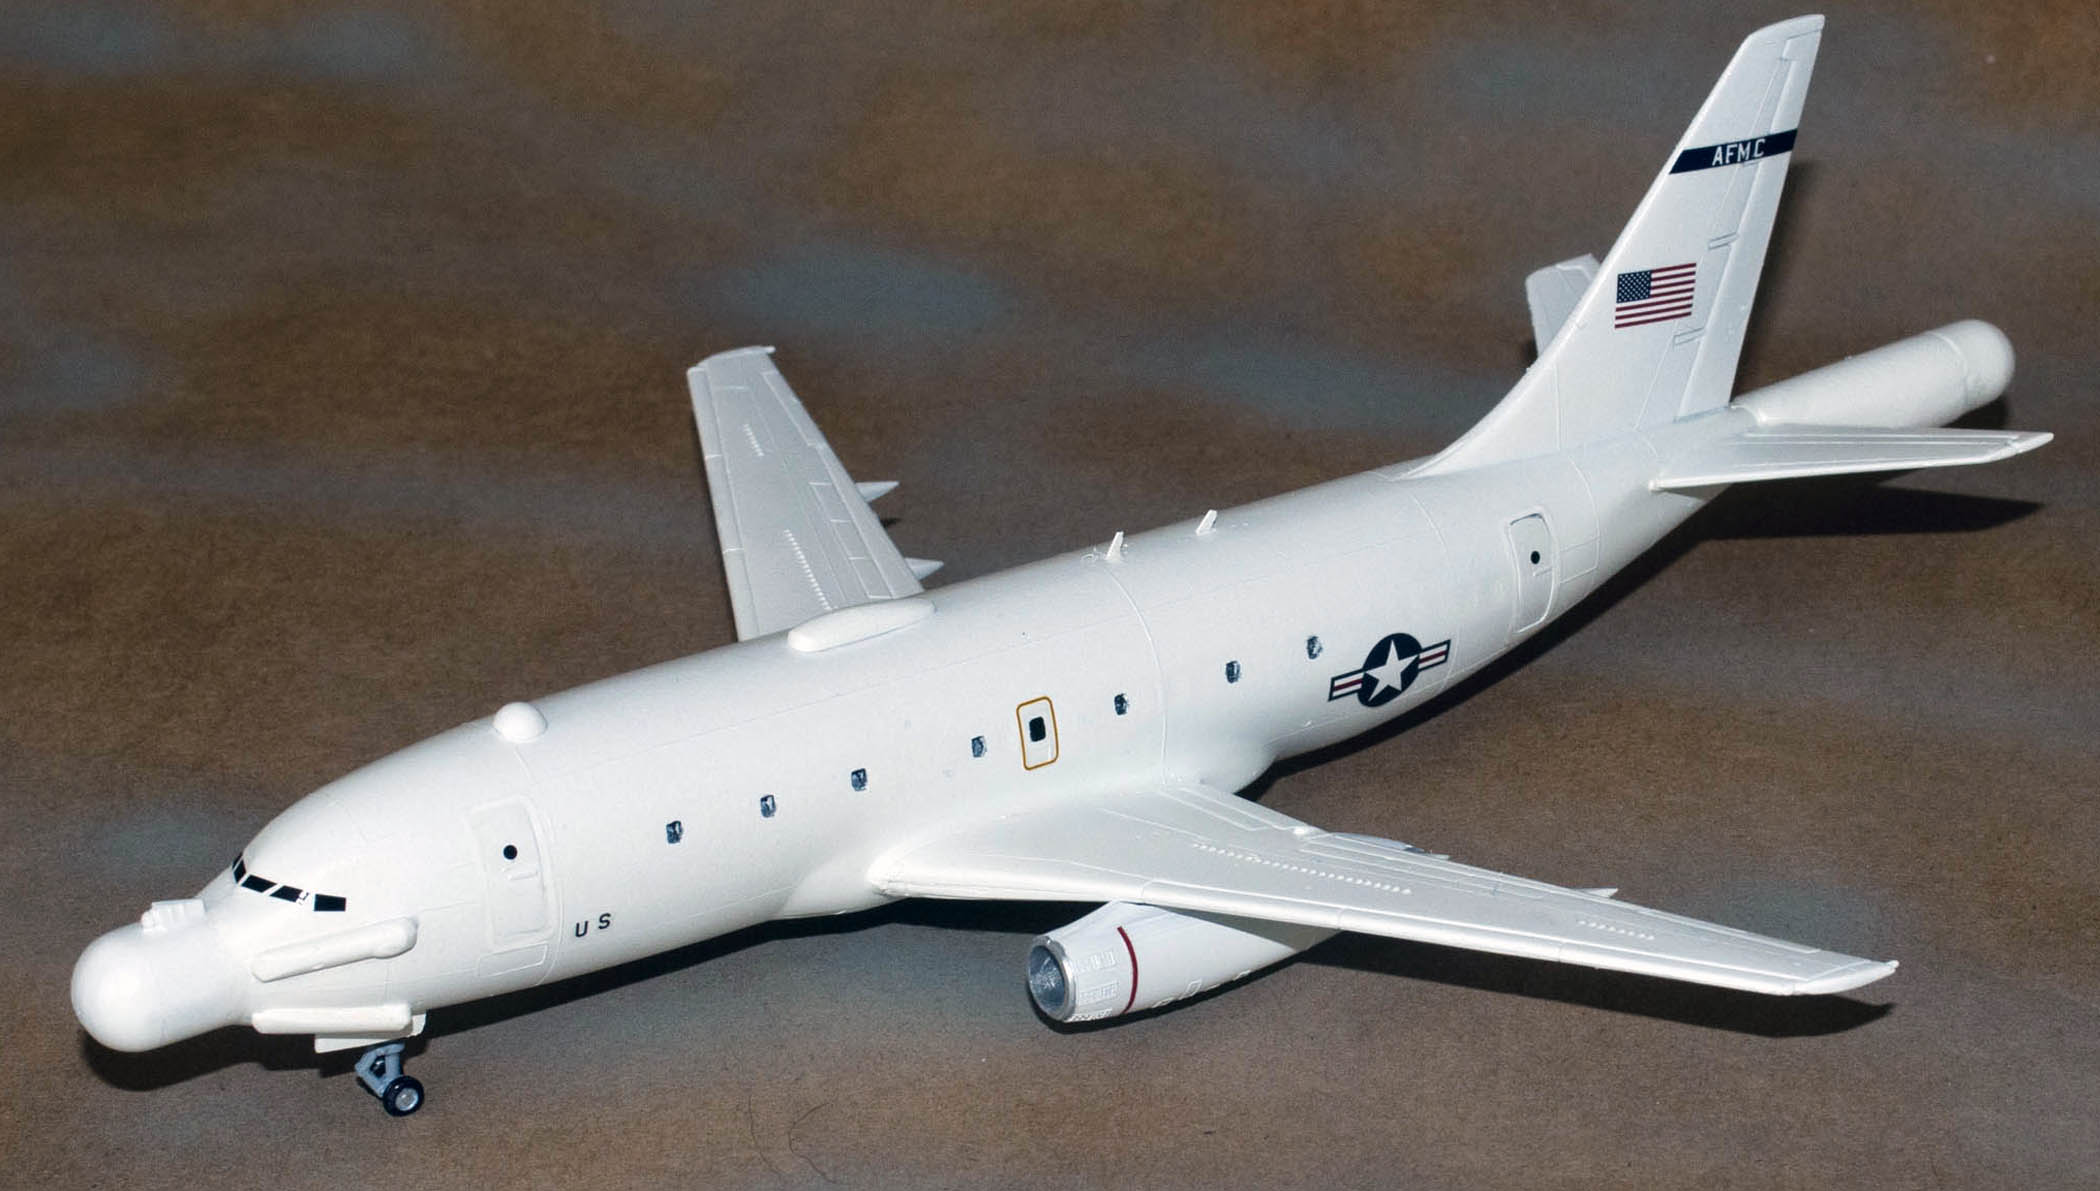
Since the plane didn’t have a lot of markings, I used some U.S. Air Force decals from a previous 144 kit I put together. The U.S. flag was in my spare decal box. I also added some Stars and Bars to the aft fuselage. For the black stripe on the tail, I found some decals that would work. The lettering AFMC is also indicated on the black stripe in the pictures. I found some white alpha decals and added them to the black stripe. The engine had red stripes in the area of the primary fan blade and I found some decals for these items.
All in all a good build and a nice addition to my collection of one-offs that kits haven’t been built for. I now have an Australian Wedge Tail based on a B737, a P-8 Poseidon on a B737 and some other weird planes. I thank the “TICK” for the pictures he keeps sending me to build these planes. I have a couple more in the planning stages.

Nice build. It inspired me to do one as well. Starting point will be Skyline’s Boeing 737-500. Lot of surgery will be required to backdate it.
Sure would like to get into contact with Paul Gasiorowski