
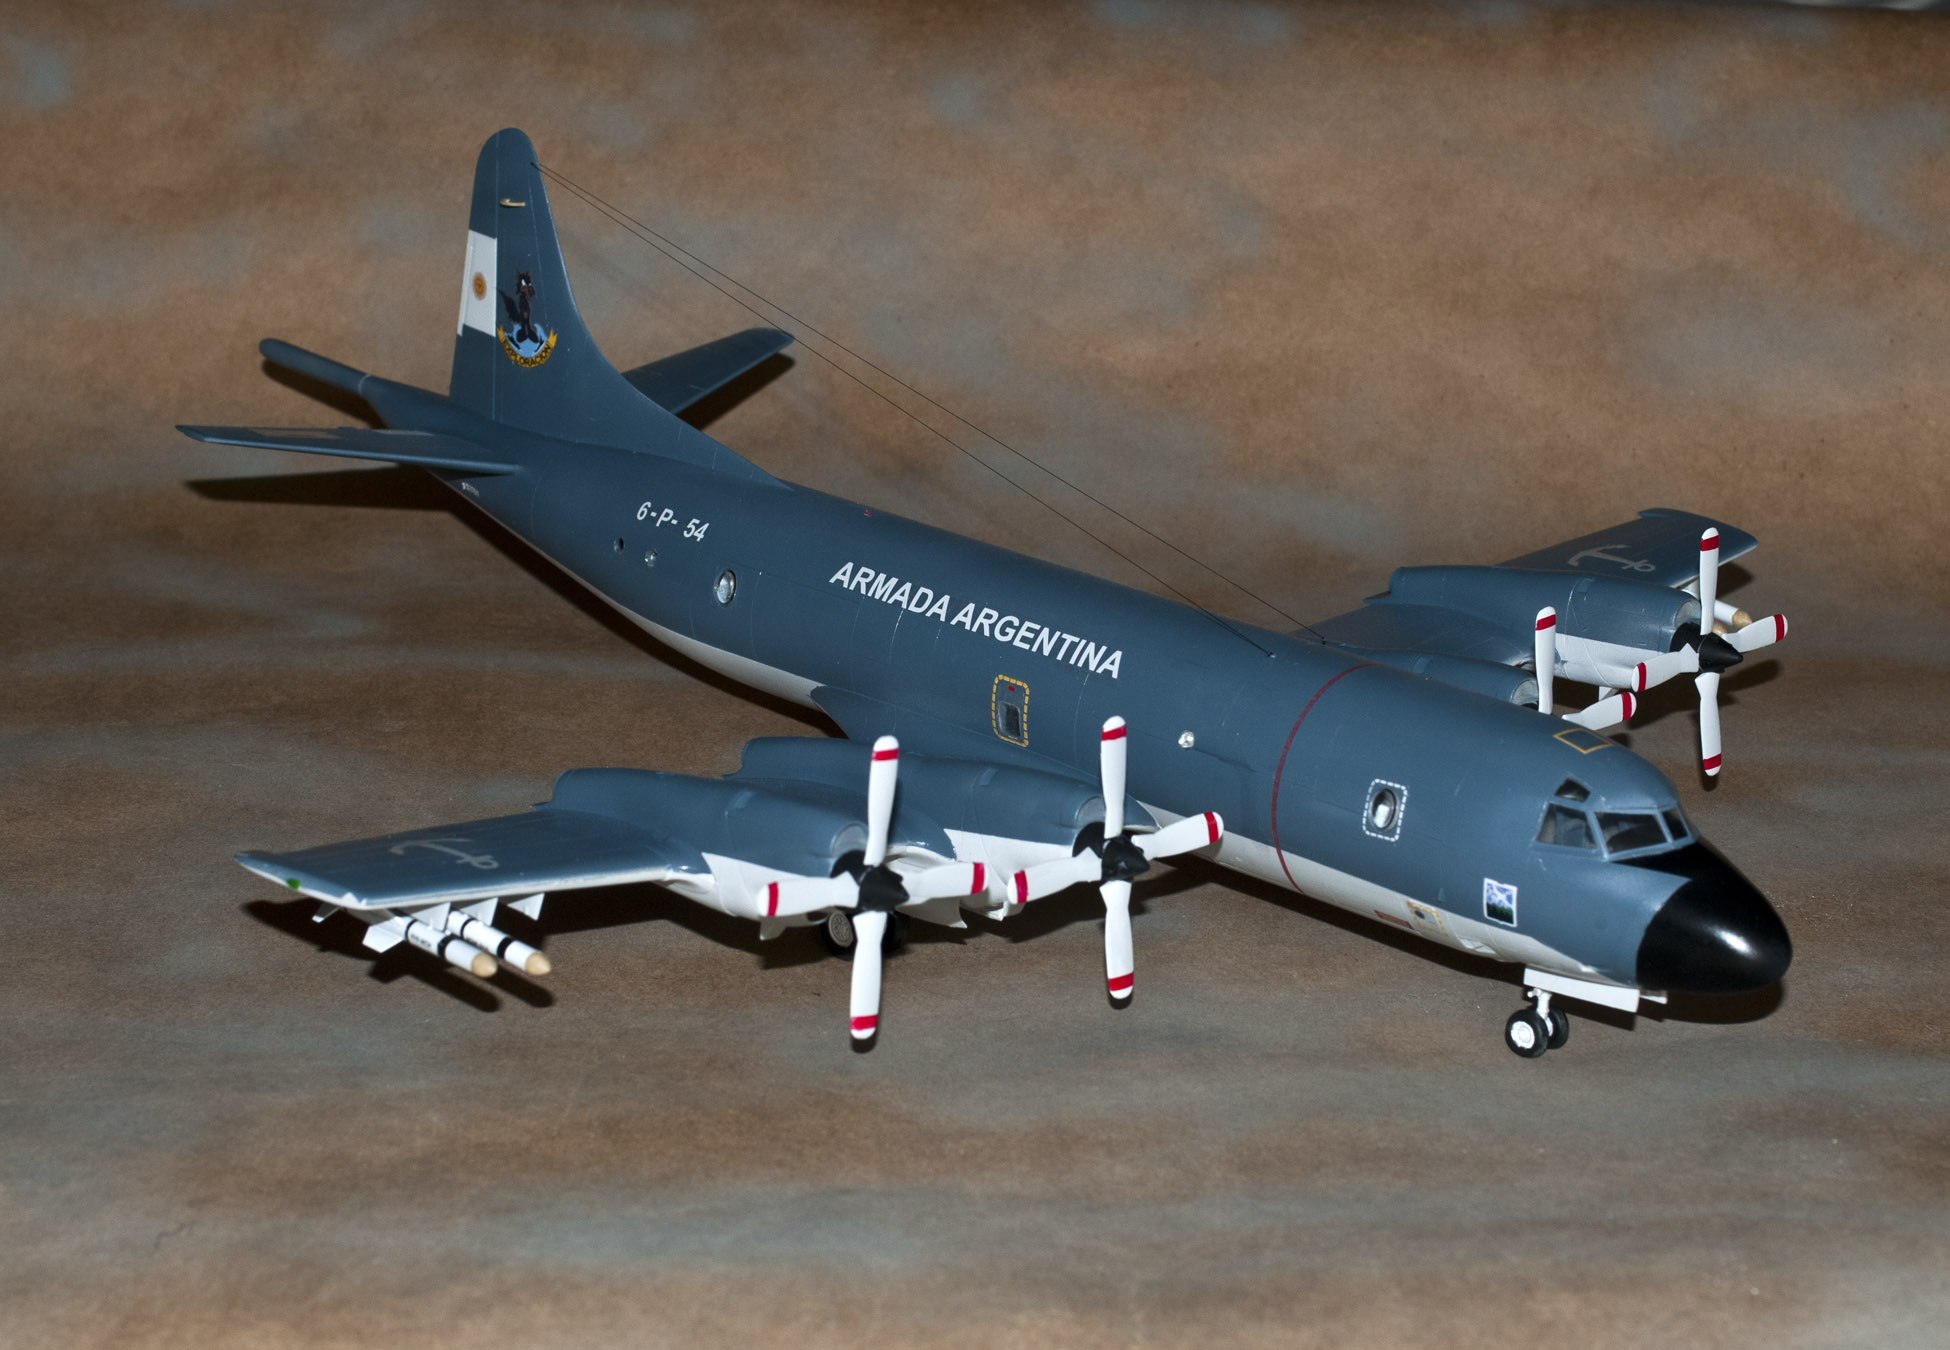
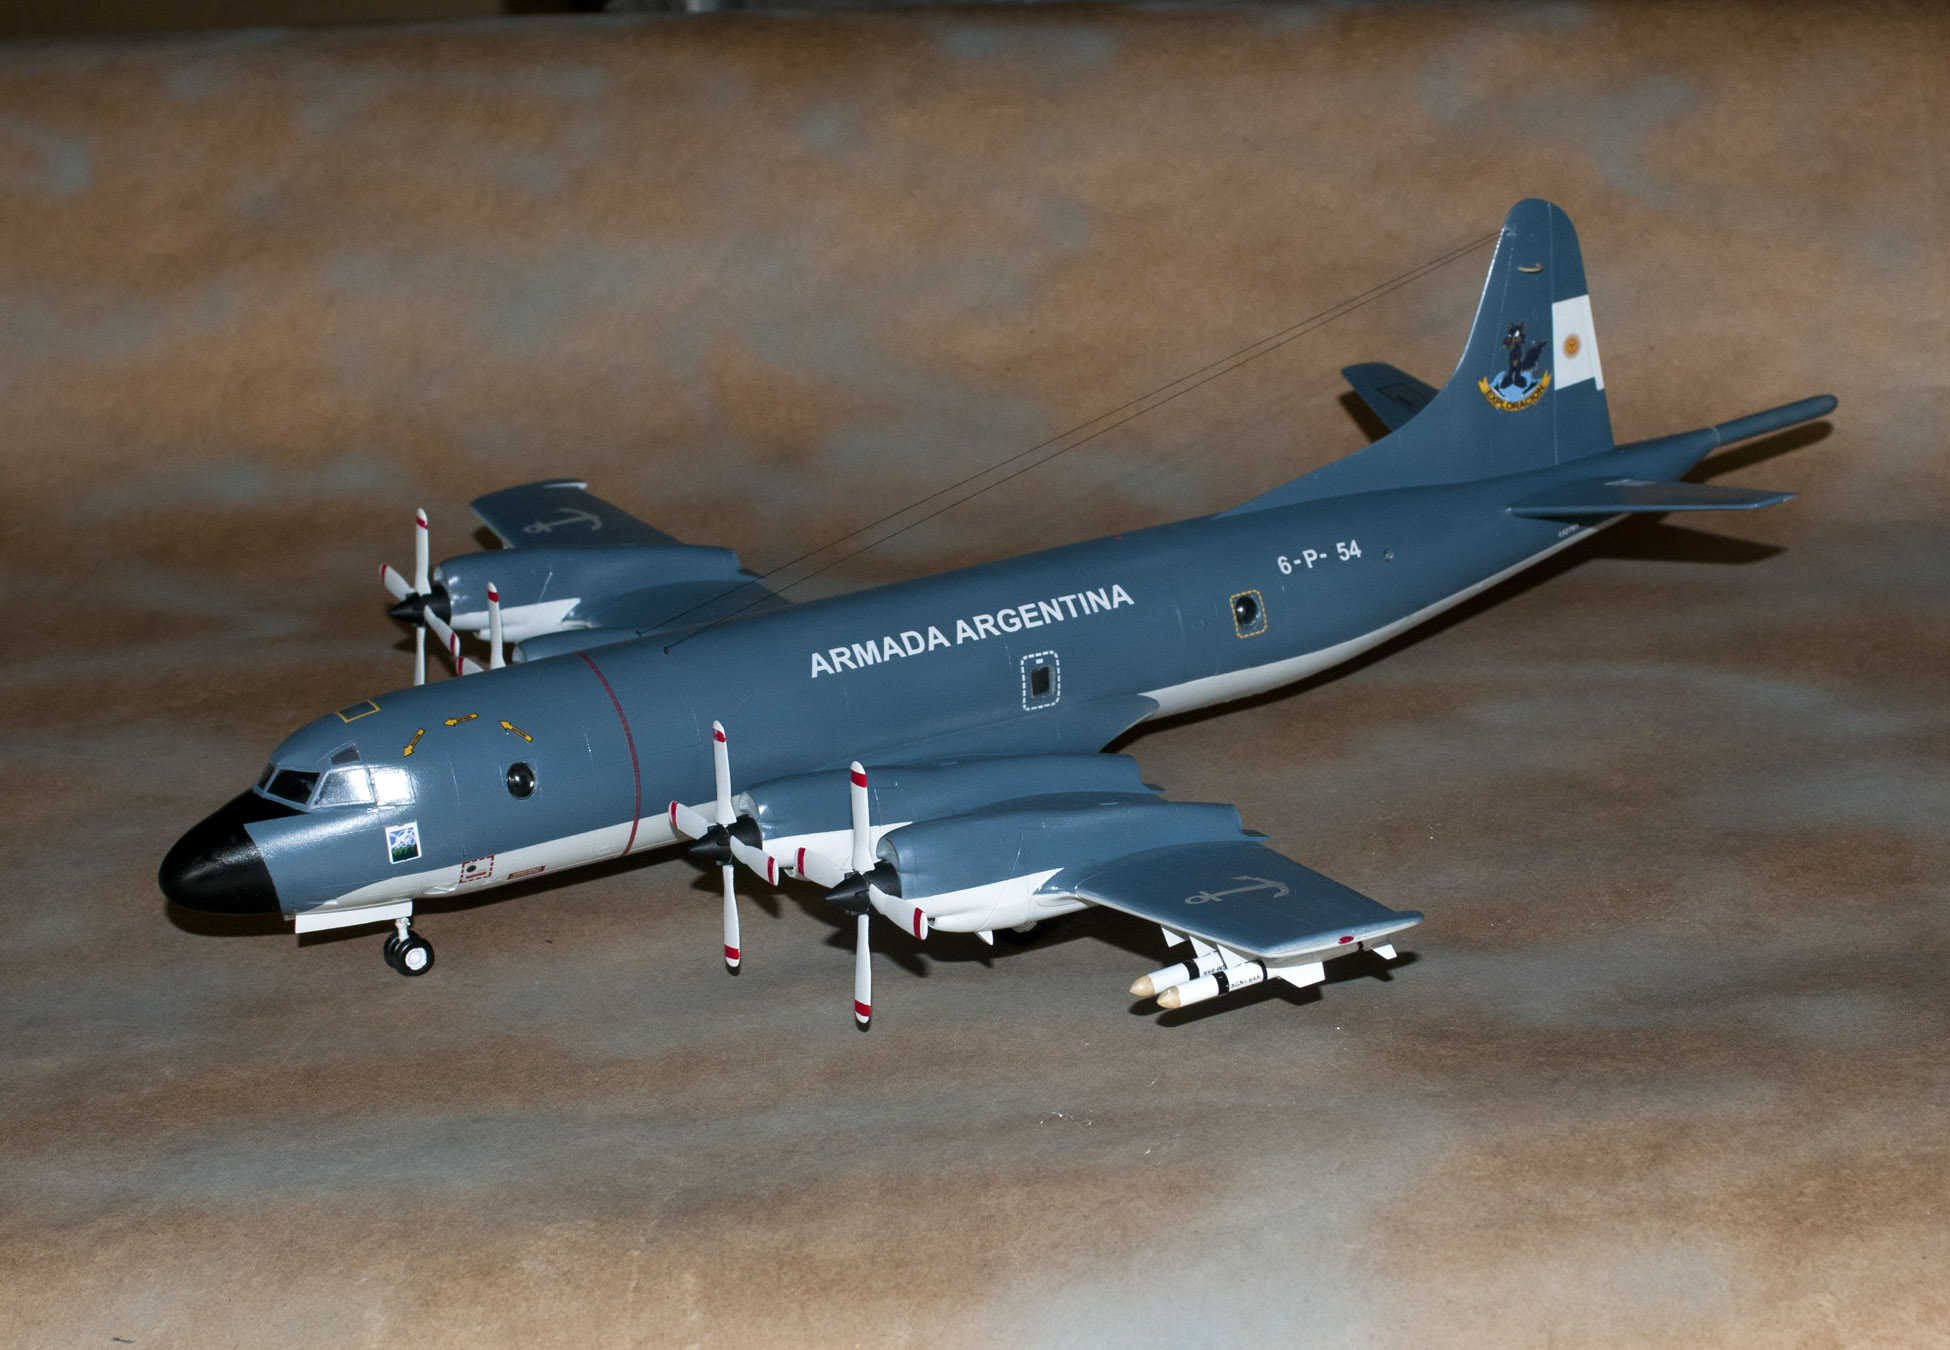
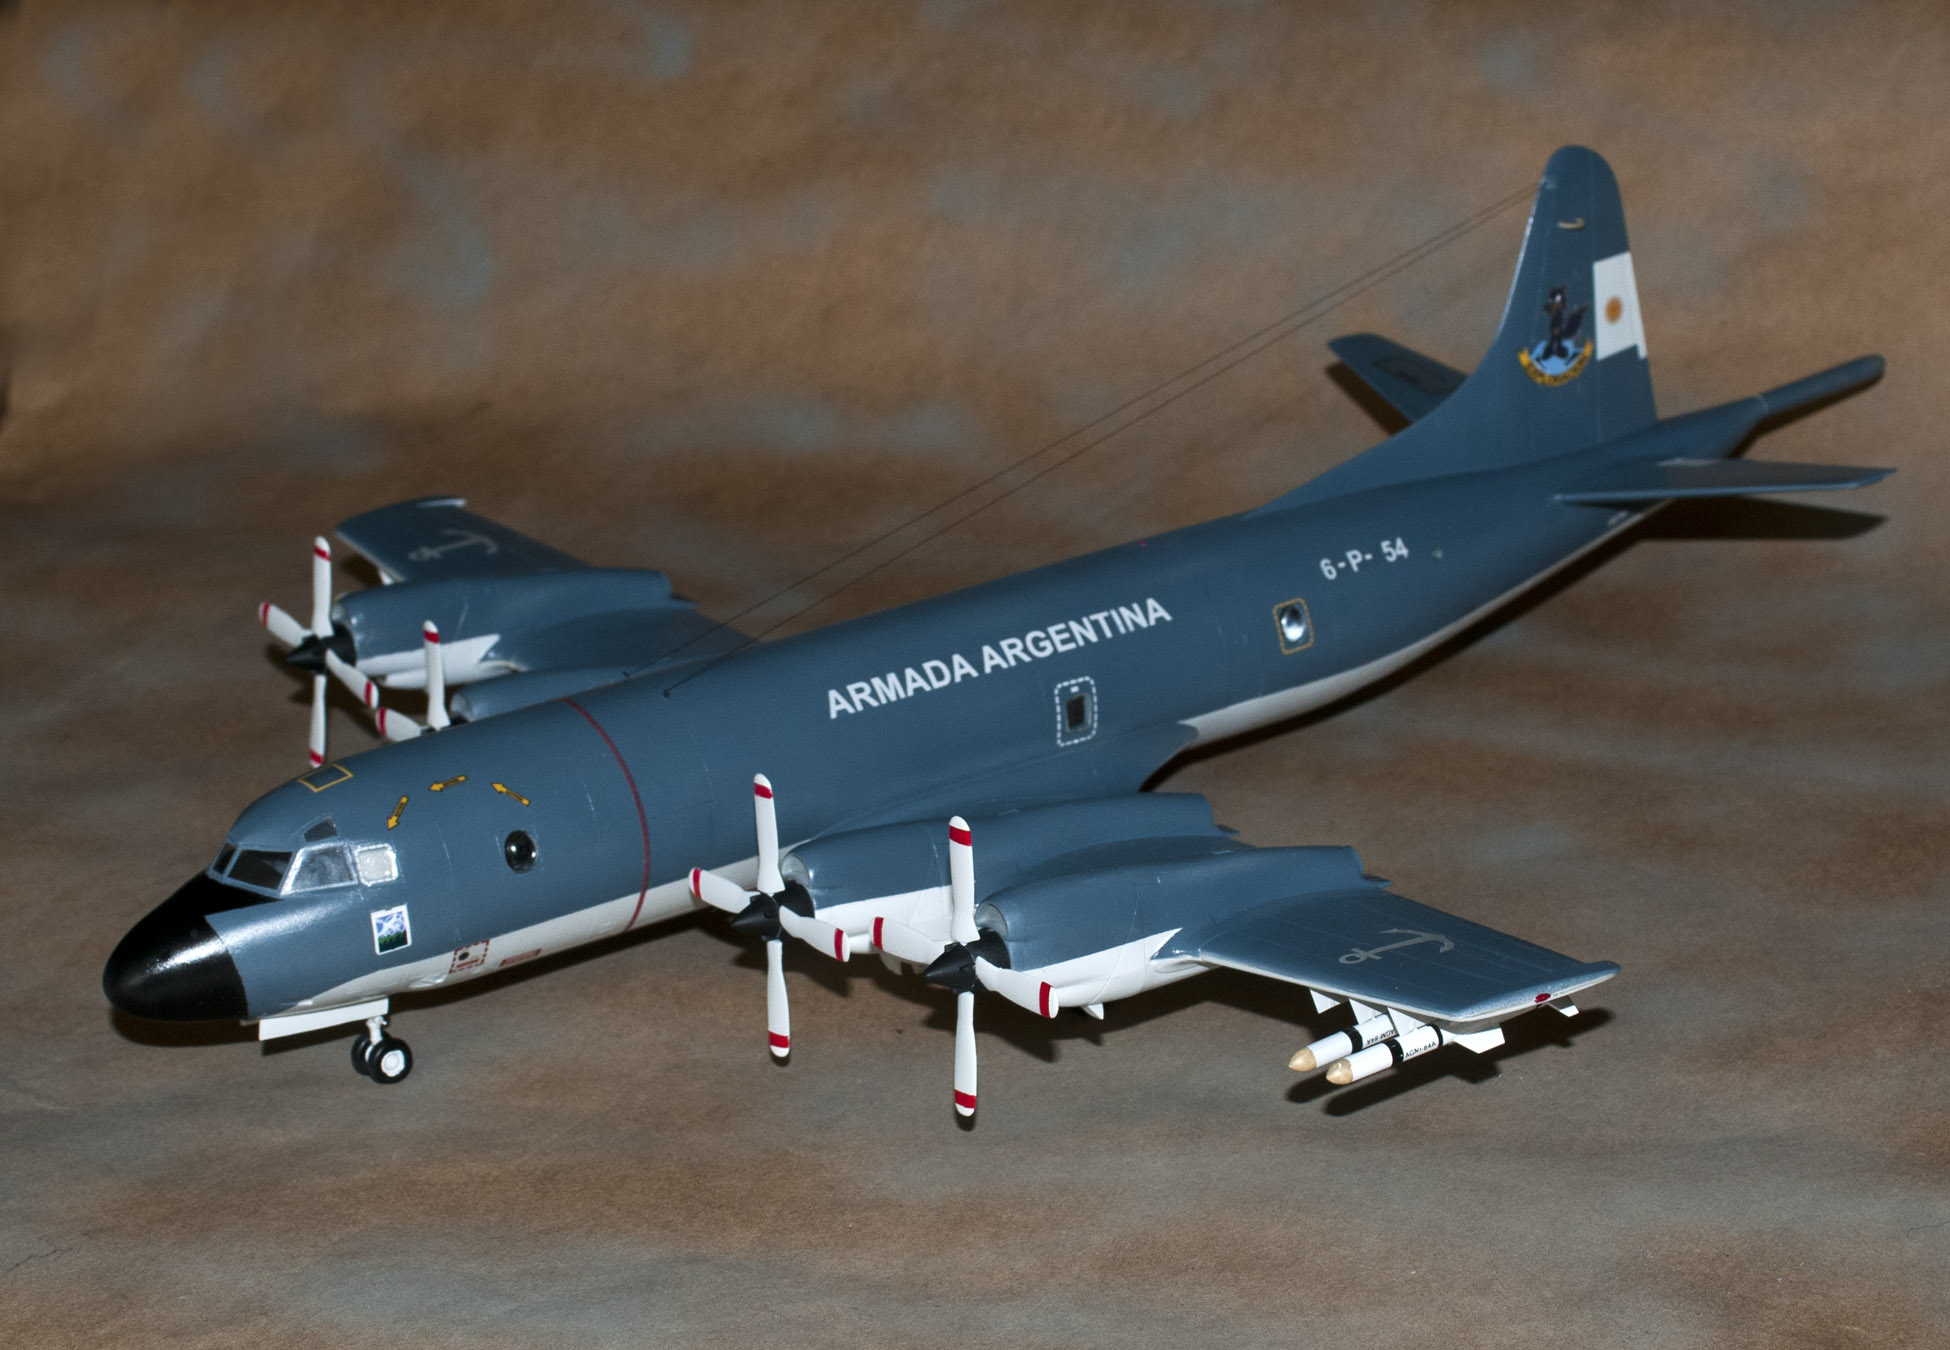
Minicraft P-3C Orion, No. 1147, in 1/72nd scale
by Paul Gasiorowski
Escuadrilla Aeronaval de Exploración (EA6E) (Exploration naval Sqd)
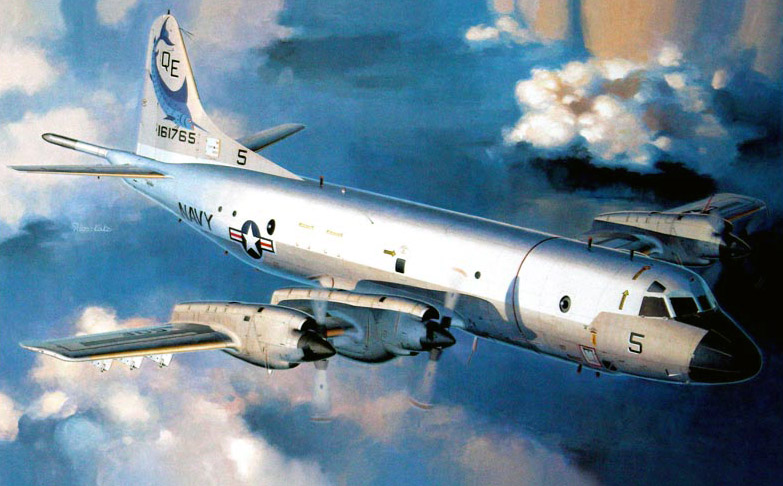
The first P-3 Orion entered service in 1962. It was based on Lockheed passenger aircraft the Electra, shortened in the nose and a MAD boom added which added about 6 feet to the length of the plane. It is in use by several navies, Australia, New Zealand, Spain, Norway, Argentina, Chile, Brazil, Japan, U.S. Customs, Germany, Canada, Spain and others throughout the world. The US Navy is transitioning from the Orion to the P-8 Poseidon.
The model was obtained from a former member Dick Smith who had completed most of the kit except for the propellers and landing gear. I put it on a shelf in the garage where it sat for many years, collecting dust, etc. The reason to complete the kit was the theme for February which was “South of the Border”. I happened to find that the Argentine Navy had several of these aircraft, plus I was able to find a decal sheet for the Argentine Armada, more on the decals later.
Since the kit was mostly complete, I started off by washing the whole thing with soap and water and a toothbrush. Using a hairdryer to blow off most off the water and whatever got inside the aircraft. I then let it sit for a day or and shook it to make sure all the water was out of it. After doing some research on the colors, etc. and receiving the decals it was determined that the colors were Intermediate Blue (35164) and Gull Grey (FS36440). The colors used were Model Master Acrylics.
The decals were from http://www.dekls.com.au. The decal sheet calls out the following colors Grey 26440 Gunze Sango and Intermediate Blue 35109 Gunze Sango H56. The decals are a little different since they are produced as a mirror image, which requires you ‘flip’ the decal over before you apply it. This makes DEK L’s a little easier to apply because it reduces the risk of ‘curling’ or clinging to things. The decals are produced on a continuous piece of decal film, so accurate trimming is necessary. FYI, if you want to build an F-86 Sabre, they have a many different foreign Demo squadron decals. Some of the color schemes are very colorful.

The first thing I did was give it a couple of light coats of Tamiya Gray primer to make sure everything was covered and let it sit for a couple of days to completely dry. I did some rough masking prior to painting the lower fuselage with a couple of coats of Gull Gray. Then I spent some time masking off the lower fuselage and engine nacelles, this took quite a bit of time as I wanted the separation to look the same on all the engine nacelles. This was followed by several light coats of Intermediate Blue. The nose and glare panel on the front of the fuselage was masked off a given two coats of flat black. It was then followed with several light coats of “Future”. Letting is sit for a couple of days, I then glued in all the clear parts. The front windshield was not glued in because it was a great fit. I did give the edges of the windshield a touch of black highlighter on the bottom edge and touched up the upper edges with intermediate blue.

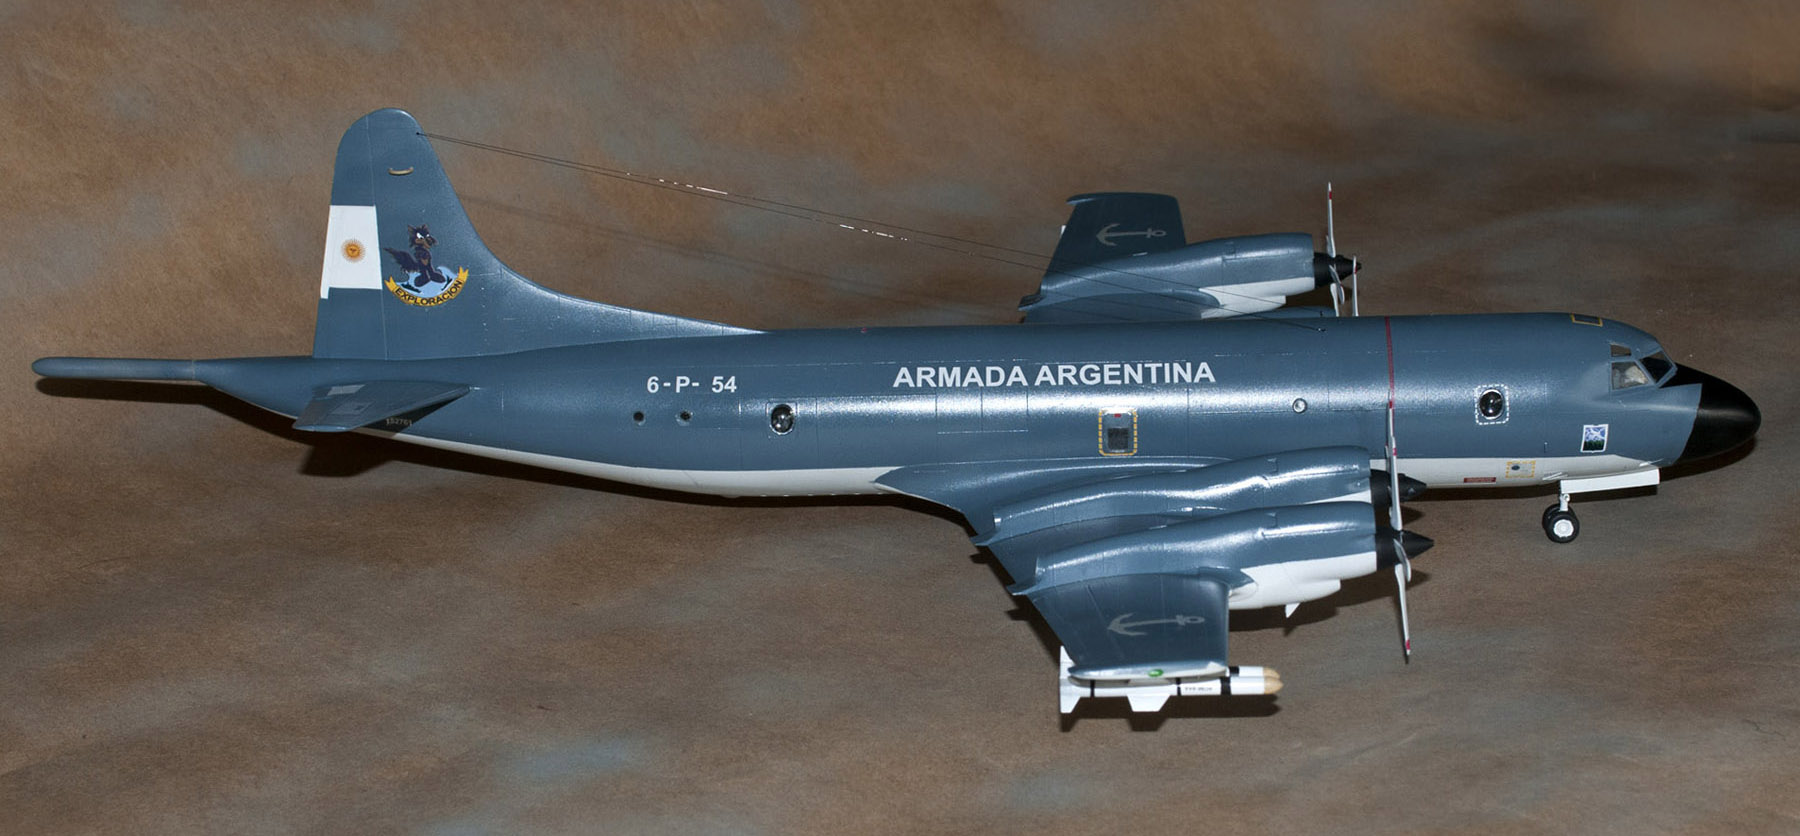
The decals came next, starting with the squadron emblem of the tail. The decal sheet came with a white decal the same size as the color decal, which helps keeping the colors from bleeding through. So I started at the back of the airplane on the port side and worked my way forward. I did the window frame decals the next day. The frame decals were kind of fussy to get down, so once I got them where they should be, I walked away. The following day I did the port side of the plane. There was some silvering of the large decals, especially the long “ARMADA ARGENTINA”. So it would take another coat or two to have a really glossy base. I have yet to knock down the gloss with a flat yet to see if the silvering goes away.
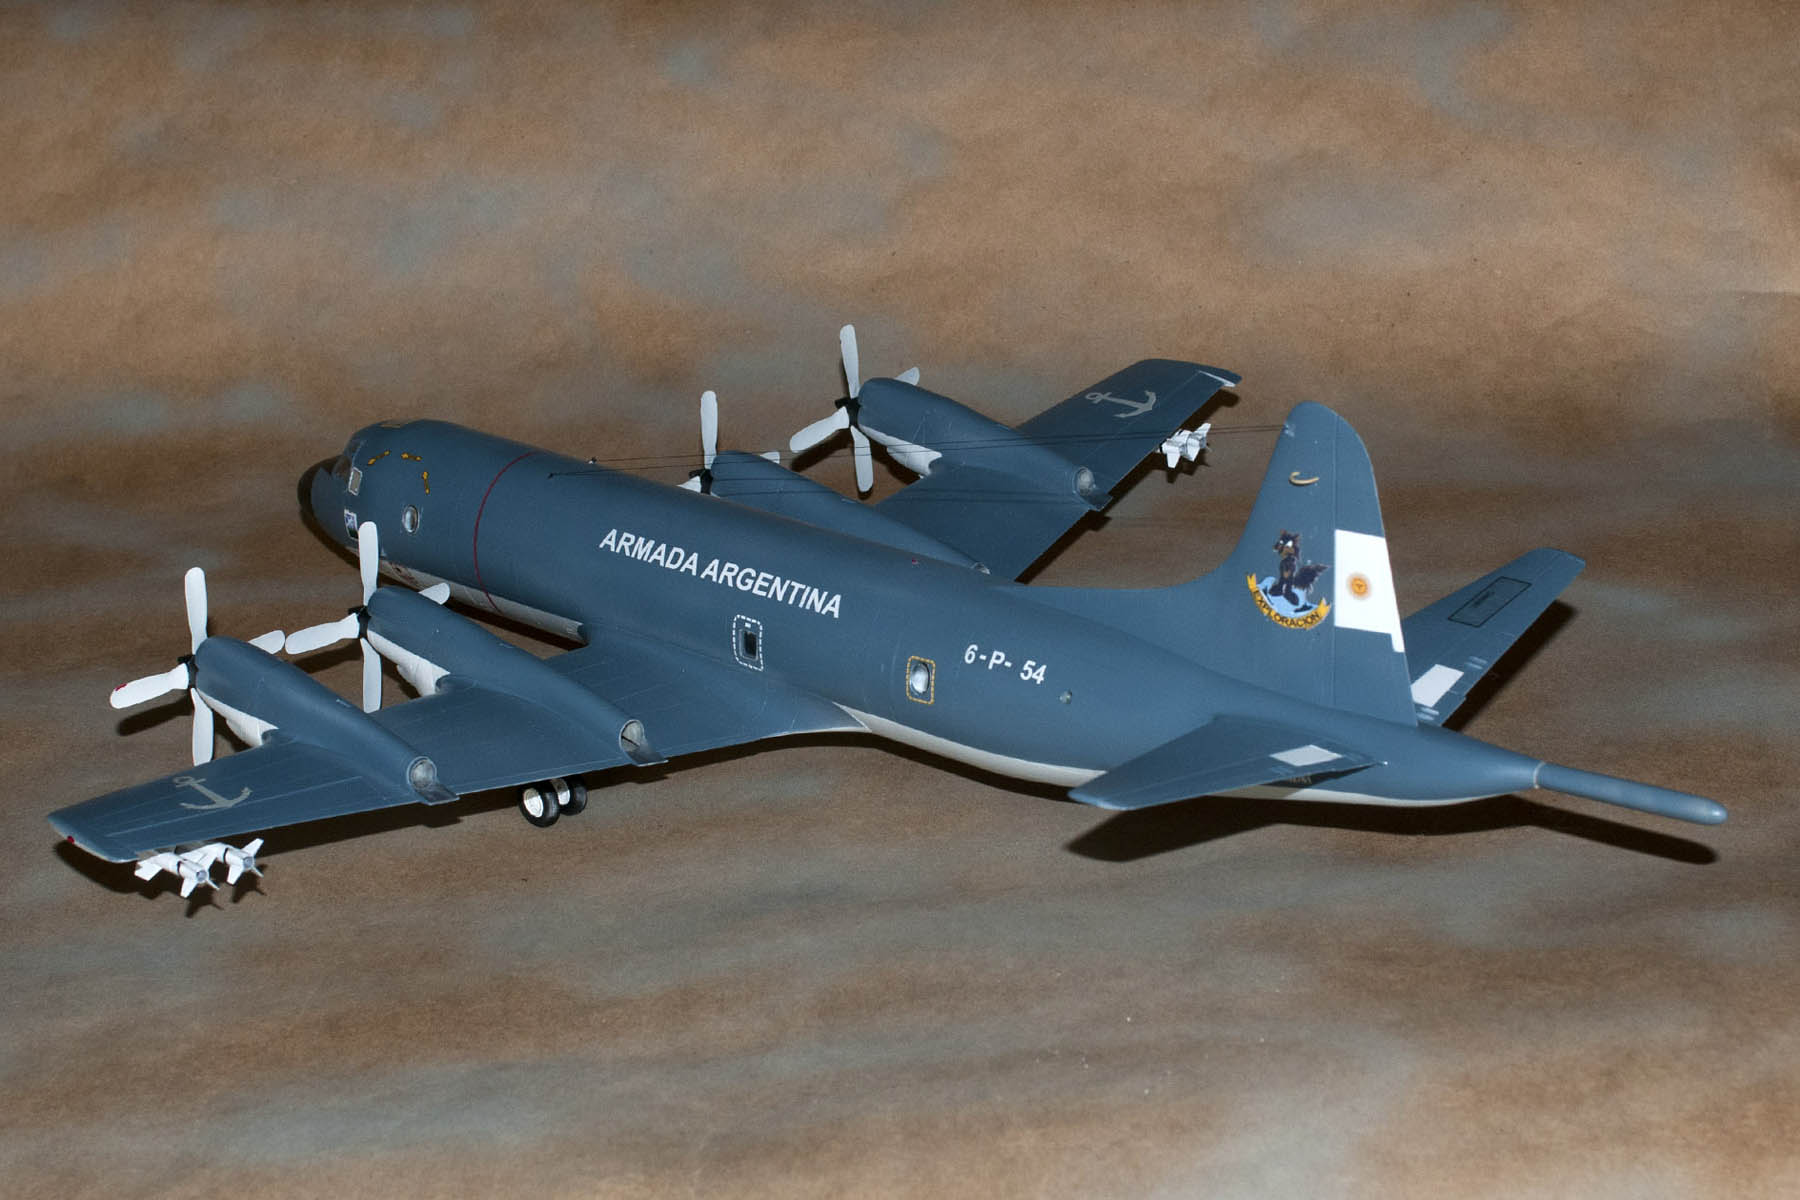
The next thing I worked on was the propellers. I painted the props with primer gray, followed by flat white 2 coats and then the Gloss Red (small bottle) tips, after I masked everything off. The spinners (2 pieces) were painted flat black. Then everything was glued together. The props don’t move because the original shafts were glued in and just attached with glue. Some of the shafts had to be sanded down a bit to make sure the prop assemblies sat flush with the nacelles.
The plane did not come with any missiles, but had the mounts. So I went to the 1/72 missile kit and dug out some Harpoons, which I assembled. I guess if you’re an Anti-submarine/Anti-ship plane you should be carrying some firepower. I painted these up in the appropriate colors and hung them under the wings. I finished the plane by adding some radio wire from the front of the plane to the tail. I used some small brass eyelets from a photo etch kit or the front attachments and drilled a tiny hole in the front of the upper tail and ran some nylon sewing line through it to
the eyelets in the front. After everything dried I ran a black felt tip along the wires to make sure they were visible. I touched up the hole it the tail with a dab of Intermediate Blue.
For not having to build the model from the beginning, it was a nice easy job to finish it. Dick Smith did do a lot of filling and sanding before I got to it. One thing this plane takes up a lot of space, about 18″ x 18″. Dick did give me the original box, which I thought just had the rest of the kit in it, but it was another whole kit.
Bonus pics (not in the PDF review)


hello, excellent model made, but Argentina does not possess the Harpoon missiles, that Chile owns, surely can only carry some type of torpedo but not missiles, greetings and congratulations.